How to Organize Kitchen Cabinets So Items Don’t Get Lost in the Back: Practical Solutions for Deep Storage
You know that sinking feeling when you open a cabinet and have to move ten things just to find the one spice blend you need—and then you realize you already own three of them?
It happens to almost everyone. You buy a new jar of paprika, only to discover two half-empty ones hiding behind a stack of mixing bowls. You search for your favorite baking sheet, and it’s buried under three other pans. Food gets pushed to the back and forgotten until it expires. Money gets wasted. Time gets lost. The root cause is almost always the same: deep cabinets with no system to keep items visible and accessible. The good news is that fixing this problem doesn’t require a kitchen remodel or expensive custom shelving.
TL;DR:
- The Problem: Deep, dark cabinets allow items to drift to the back where they become invisible and forgotten.
- The Solution: Use pull-out shelves, tiered risers, lazy Susans, and clear containers to keep everything visible and within reach.
- The Strategy: Create zones, use vertical space, and develop a simple maintenance routine to keep your system working long-term.
Key Takeaways
- Visibility is everything. You can’t use what you can’t see. Clear containers and open-front organizers solve this.
- Group items by function. Store baking sheets together, spices together, and canned goods together in dedicated zones.
- Use the “first in, first out” rule. Place newer items behind older ones so nothing expires before you use it.
- Take a photo of your organized cabinet. It helps you and your family remember where everything belongs.
- Maintenance matters. Spend five minutes each week resetting your cabinets to keep the system working.
Why Items Get Lost and How to Stop It
The main reason items disappear in kitchen cabinets is depth. Most standard cabinets are about 24 inches deep. That’s fine for the front row, but the back row becomes invisible. Without a way to bring items forward, things naturally get pushed back over time.
“Most kitchen problems come from small maintenance habits that are often ignored.”
Another hidden cause is lack of zones. When you store completely different items on the same shelf, they mix together and create chaos. A shelf with both baking supplies and snack foods becomes a jumbled mess where neither category is easy to find.
The third cause is poor lighting. Dark cabinets make it harder to see what’s in the back, so you stop trying to look there. Out of sight, out of mind.
Step-by-Step Guide to Never Losing Items Again
1. Empty Everything and Declutter
Start fresh. Take every single item out of your cabinets and place them on the counter. Sort them into categories:
- Baking sheets, pans, and cookware
- Food storage containers and lids
- Canned goods and dry pantry items
- Spices, oils, and vinegars
- Small appliances and gadgets
- Mugs, glasses, and serving dishes
Check expiration dates on all food items. Toss anything expired. Donate or give away duplicates and items you never use.
This step is also a great chance to wipe down your shelves and check for pests, spills, or damage.
2. Measure Your Cabinet Interiors
Before buying any organizers, measure the inside of each cabinet:
- Width (side to side)
- Depth (front to back)
- Height (top to bottom)
Organizers that don’t fit are a waste of money. Many people buy shelves or risers that are too tall and don’t account for the space needed to actually grab items.
3. Install Pull-Out Shelves
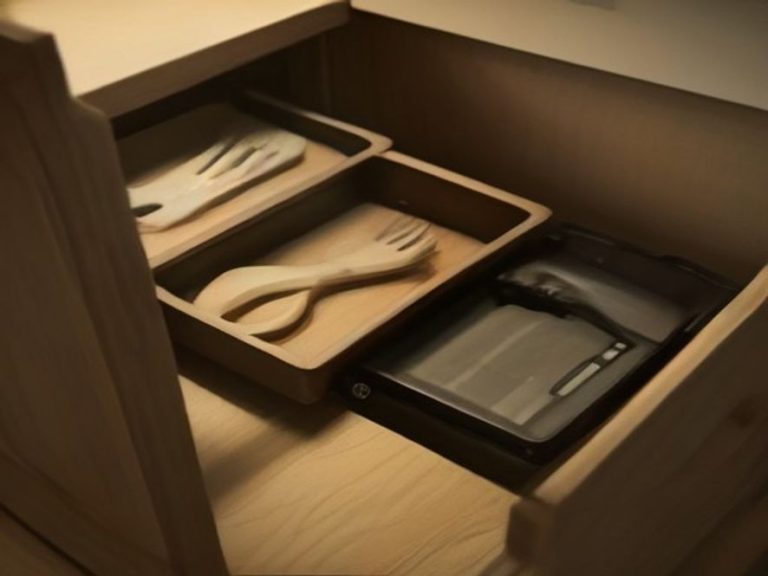
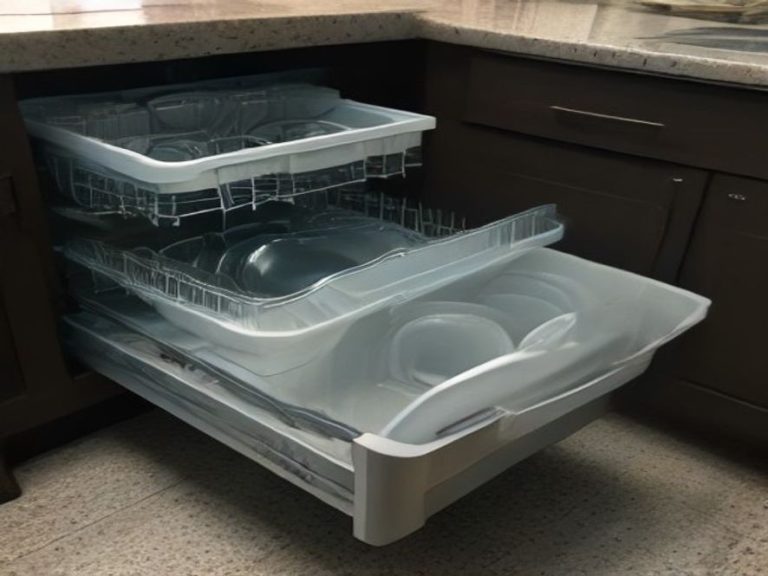
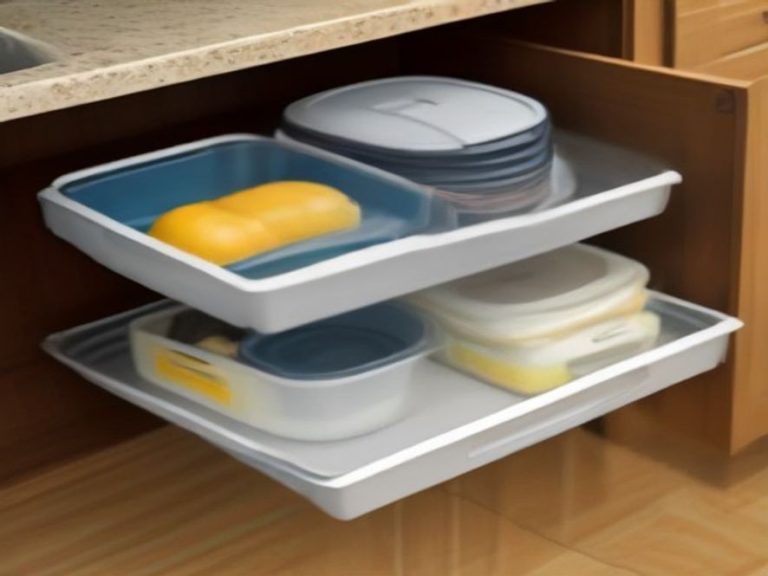
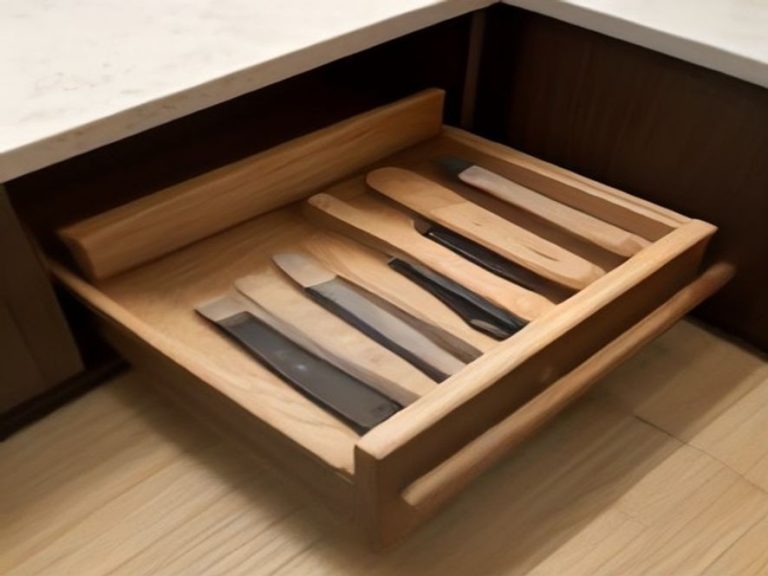
This is the single most effective solution for deep cabinets. Pull-out shelves bring the back of the cabinet right to you. No reaching, no digging, no forgetting.
Options include:
- Ready-made sliding shelf units you can order online or buy at hardware stores
- DIY plywood shelves mounted on drawer slides
- Roll-out trays that sit on existing shelves
Pull-out shelves work especially well for lower cabinets where you store heavy pots, pans, and small appliances. They completely eliminate the need to get down on your hands and knees to search.
4. Use Tiered Shelving and Rack Risers
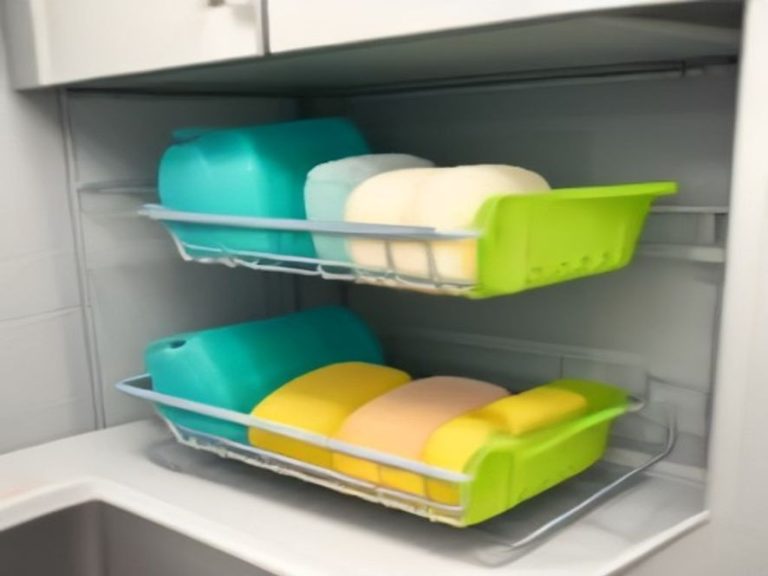
For cabinets that don’t have pull-out shelves, tiered risers are the next best thing. These create two levels on a single shelf, so items in the back are still visible above items in the front.
What works well:
- Can racks that slope downward so older cans roll to the front (first in, first out)
- Two-tier spice racks that show all your spices at a glance
- Plate racks that hold plates and cutting boards vertically instead of stacked flat
Vertical storage is a game changer. Standing items upright instead of stacking them flat makes every single one visible.
5. Group Items Into Zones
Assign each cabinet a specific purpose. When you know what belongs where, you’re much less likely to lose things.
Example zones:
- Baking station: Mixing bowls, measuring cups, baking sheets, cooling racks, flour, sugar
- Cooking station: Pots, pans, spatulas, ladles, oils, vinegars
- Pantry zone: Canned goods, pasta, rice, beans, snacks
- Breakfast zone: Cereal, oatmeal, coffee, tea, mugs
- Food storage zone: Containers, lids, plastic wrap, foil, baggies
Label shelves or bins so everyone in the household knows the system. Labels remove the guesswork and make it easier to maintain order.
6. Use Clear, Uniform Containers
Transfer pantry items like flour, sugar, rice, and pasta into clear, airtight containers. This serves multiple purposes:
- You can see exactly what you have without opening the container
- The uniform shapes stack neatly and maximize space
- Airtight storage keeps pests out and extends freshness
Clear containers with labels create a visually calm kitchen and make inventory simple.
7. Store Like Items Together in Bins
On your shelves, use bins or baskets to corral small items. For example, keep all your spice packets in one small bin, all your tea bags in another, and all your snack bars in a third.
Why this helps: When you need a tea bag, you don’t search the whole cabinet—you just grab the tea bin. It keeps categories separate and prevents items from mixing together.
8. Add Lighting to Dark Cabinets
You can’t see what you can’t illuminate. Battery-powered LED puck lights or motion-sensor light strips make a huge difference in deep, dark cabinets. They’re inexpensive, easy to install, and instantly improve visibility.
Consider putting them in your deepest or darkest cabinets first. You’ll be surprised how much easier it is to find things once you can actually see them.
9. Take a Photo of Your System
Once your cabinets are perfectly organized, take a photo of each one. Keep the photos on your phone or post them inside a cabinet door. This helps you remember where everything goes when it’s time to put things away. It also helps other family members follow the system.
10. Maintain With a 5-Minute Reset
Spend a few minutes each week resetting your cabinets. Pull items forward if they’ve drifted back. Check for items that are low or expired. Tidy any bins that have gotten messy.
This small habit prevents the slow slide back into chaos.
Quick Comparison: Which Organizer Works Best for Deep Cabinets?
| Item/Method | Purpose | Effectiveness | Difficulty Level | Cost |
|---|---|---|---|---|
| Pull-Out Shelves | Brings items from back to front | Very High. Complete visibility and access | Medium. Requires measuring and mounting | $40-$150+ |
| Tiered Riser | Creates two levels on one shelf | High. Back items are still visible | Very Low. Just place on shelf | $10-$30 |
| Lazy Susan | Rotates items within reach | Medium. Good for corners and smaller items | Low. Easy to install | $15-$50 |
| Clear Containers | Makes contents visible at a glance | High. Prevents duplicate buying | Low. Just transfer and label | $5-$20 per container |
| Bins and Baskets | Groups small items by category | Medium-High. Keeps categories separate | Very Low. Just place and label | $5-$15 per bin |
Common Mistakes to Avoid
- Buying organizers before measuring. This is the number one cause of wasted money. Always measure first.
- Storing food containers with their lids separated. Keep lids attached or store them together. Mismatched lids are a common reason containers get abandoned.
- Not labeling anything. Even if you remember where things go, other family members won’t. Labels keep everyone on the same page.
- Overfilling shelves. When shelves are packed too tightly, items get pushed to the back and stay there. Leave some breathing room.
- Forgetting to maintain the system. Organization isn’t a one-time task. It requires a few minutes of upkeep each week.
Frequently Asked Questions (FAQ)
What is the best way to organize deep kitchen cabinets?
Pull-out shelves or sliding trays are the most effective because they bring items from the back directly to you.
How do I stop losing things in my kitchen cabinets?
Use tiered risers, clear containers, and create specific zones for different categories of items.
Should I organize kitchen cabinets by category or frequency of use?
Organize by category first, then place frequently used items at the front and rarely used items at the back.
How can I remember where everything goes?
Take a photo of each organized cabinet and label bins clearly. This makes it easy for everyone to follow the system.
Do I need to buy special organizers?
Not necessarily. Tension rods, shoe boxes, and inexpensive bins can work just as well as expensive organizers. The key is having a system.
How often should I reorganize my kitchen cabinets?
A full reorganize once or twice a year is good, but a quick 5-minute reset every week keeps things from getting out of control.
Which kitchen problem do you want solved next? Share your thoughts in the comments.
More Kitchen Organization Tips and Home Improvement Guides: