How to Organize a Kitchen Cabinet With Sliding Shelves: The Best Way to End the Cabinet Dig
You know that moment when you have to empty half your cabinet just to find the one baking sheet hiding in the back? Sliding shelves are the simple, permanent fix for that frustration.
If you’ve ever crouched down, reached into a deep cabinet, and come out with the wrong pot—or knocked over three things just to grab one—you’re not alone. Deep cabinets are a storage nightmare. Items get pushed to the back, forgotten, and replaced with duplicates. But there’s a smarter way: sliding shelves (also called pull-out shelves or roll-out trays) .
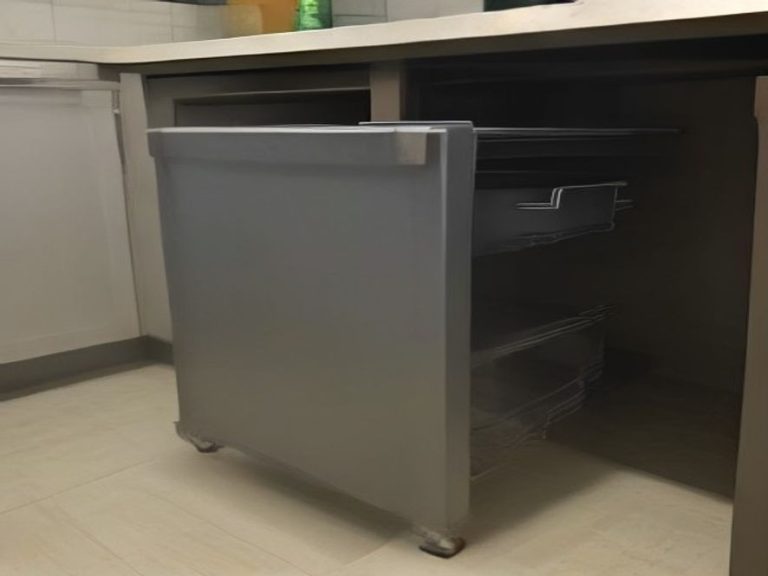
Unlike bins that require you to keep moving things around, these shelves work like drawers. They run on tracks and slide smoothly toward you, bringing everything into plain view . This guide will show you how to choose, install, and organize sliding shelves so you never have to “dig for treasure” in your cabinets again.
TL;DR:
- The Problem: Deep cabinets hide items at the back, wasting food and causing daily frustration.
- The Solution: Sliding shelves bring the entire cabinet depth to you. Everything becomes visible and accessible.
- The Strategy: Choose the right type (no-install trays, DIY, or custom-built), measure carefully, group items by category, and maintain the system with simple daily habits.
Key Takeaways
- Measure before you buy. Getting the dimensions wrong is the biggest mistake. Account for cabinet width, depth, height, and door clearance .
- Choose the right hardware. For heavy items like cast iron, invest in sturdy slides with high weight capacities. Flimsy ones will bend and fail .
- Group items by category. Create zones for baking, cooking, or food storage so related things live together .
- Use dividers and bins. Even with sliding shelves, small items can get messy. Dividers keep baking sheets upright, and clear bins corral spice packets .
- Maintenance is easy. With sliding shelves, a quick 5-minute weekly reset is all you need to keep things tidy.
Why Deep Cabinets Are the Enemy of Organization
The root problem is depth. When a cabinet is 24 inches deep, the back row is invisible. So things get pushed back and forgotten. This leads to duplicate purchases, wasted food, and a lot of unnecessary stress.
“Most kitchen problems come from small maintenance habits that are often ignored.”
Many people reach for lazy Susans or plastic bins as a fix. But these come with their own problems. A lazy Susan wastes space because it needs clearance to rotate. Organizer bins still sit on fixed shelves, which means you’re still reaching and digging . Sliding shelves eliminate this completely. They attach to the cabinet walls and slide out, making every inch of the cabinet usable without bending, reaching, or blind grabbing.
How to Fix Your Cabinet: A Step-by-Step Guide
1. Choose the Right Type of Sliding Shelf for Your Needs
There are three main ways to add sliding shelves to your kitchen cabinets. The best choice depends on your budget, how much DIY you want to do, and your cabinet dimensions.
Option A: No-Install Adhesive Pull-Out Trays
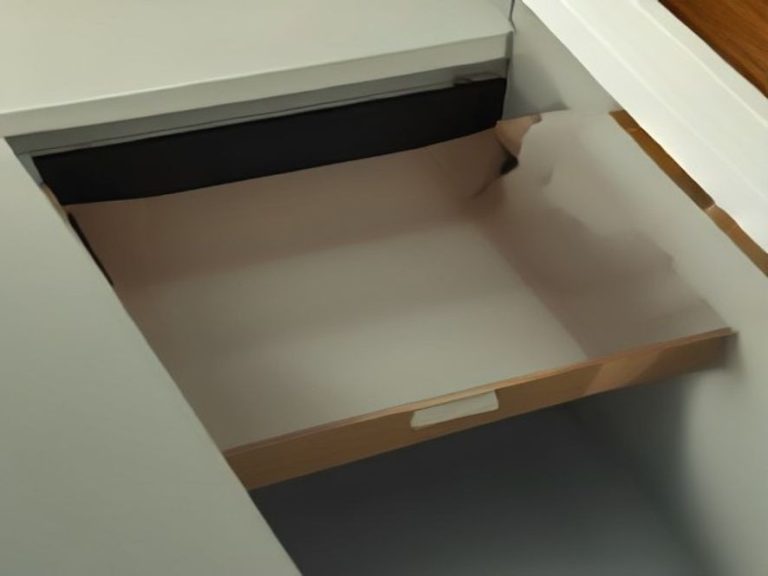
These are the easiest, most budget-friendly option. They come as ready-made trays with heavy-duty adhesive strips. You simply clean the cabinet floor, peel off the backing, and press the tray into place .
- Best for: Renters, beginners, or anyone who wants a quick win without tools.
- Cost: $20-$50 per tray.
- Catch: They sit on the cabinet floor, so you’ll lose some vertical space. They are not ideal for very heavy items.
Option B: DIY Custom Sliding Shelves
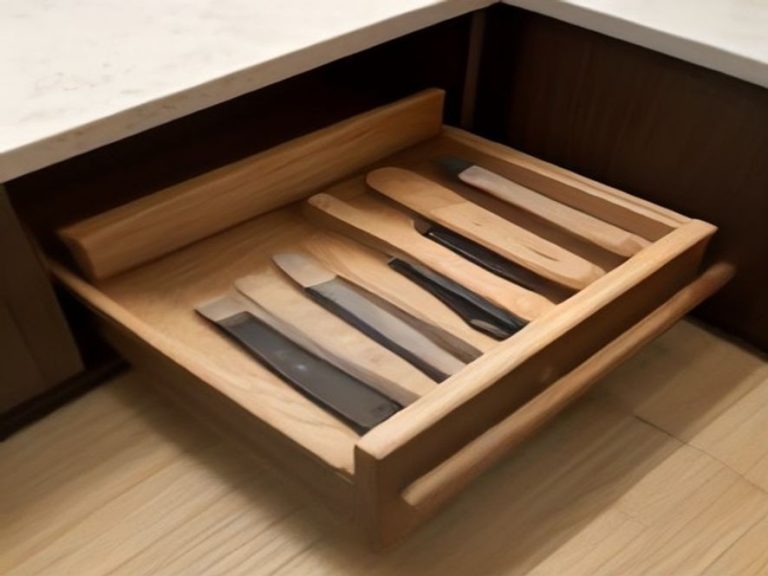
For the handy home cook, building your own shelves is a satisfying and custom solution. This involves buying drawer slides, wood, and building a frame that fits your exact cabinet dimensions .
A simplified breakdown:
- Measure: Measure your cabinet’s interior width, depth, and height. Your shelf will attach to the sides via drawer slides. Don’t forget to account for the slides themselves when measuring width.
- Build the Shelf Frame: Use sturdy wood (like ½-inch finished plywood) to construct a rectangular frame. Cut grooves in the inner edges to slide a thin plywood base into for a secure fit.
- Attach the Slides: Install the drawer slides to the sides of your new shelf and to the inside of your cabinet. Use a level to ensure the slides are straight and even. You may need to add wooden supports (like 2-by-4s) if your cabinet face frame sticks out, to ensure the shelf clears it .
- Insert the Shelf: Once the slides are mounted, simply snap the two halves together.
- Best for: Homeowners with custom cabinet sizes who enjoy DIY projects.
- Cost: $50-$100 per shelf for materials, plus tools.
- Catch: Requires precise measuring and basic woodworking skills. A crooked installation can ruin the function .
Option C: Custom-Made Pull-Out Shelves
This is the premium option. You get shelves custom-built to fit your exact cabinet dimensions in precise 1/8-inch increments. They are made of high-quality materials like 9-ply Baltic birch and feature full-extension, soft-close glides . This is the same as hiring a professional to “re-fit” your cabinets.
- Best for: Homeowners planning a long-term kitchen upgrade who want a seamless, built-in look.
- Cost: $100-$500+ per shelf.
- Catch: The most expensive option, but it adds value to your home and is built to last a lifetime .
2. Declutter and Plan Your Zones
Before you install or place your new shelves, you need to decide what goes where. Empty the cabinet you’re working on. Sort items into three piles: Keep, Donate, and Toss .
Pro Tip: If you haven’t used it in the last year, you probably don’t need it. Be honest with yourself about what deserves prime real estate in your cooking space.
Once you’ve purged, group similar items together. This is called creating “zones” .
- Baking Zone: Mixing bowls, measuring cups, baking sheets, cooling racks.
- Cooking Zone: Pots, pans, cooking oils, spatulas, and ladles.
- Food Storage Zone: Containers, lids, and plastic wrap.
3. Install Your Sliding Shelves
If you’re using no-install adhesive trays, simply clean the cabinet surface with rubbing alcohol, peel off the backing, and press the tray firmly into place for at least a full minute .
If you’re doing a DIY or custom install, follow the manufacturer’s instructions carefully. A common tip is to use a speed square to ensure your slides are perfectly aligned. If your slides are crooked, the shelf won’t slide smoothly.
Important Safety Reminder: When using tools for installation, always wear protective eyewear and follow all power tool safety guidelines.
4. Organize and Group Items on the Shelves
Now for the fun part—putting items back. Use dividers to separate baking sheets and cutting boards so they don’t slide into a pile. Use clear bins or small baskets to corral items like spice packets, chip clips, or measuring cups .
Clear containers are a game-changer because you can see exactly what you have without opening them.
5. Maintain With a 5-Minute Reset
Spend a few minutes each week resetting your shelves. Pull them out, slide forward any items that drifted back, and check for things that are nearly empty. This small habit prevents the slow slide back into chaos.
Quick Comparison: Which Sliding Shelf Solution Is Best for You?
| Item/Method | Purpose | Effectiveness | Effort Level | Cost |
|---|---|---|---|---|
| Adhesive Pull-Out Tray | Add sliding function without tools | Medium. Good for lightweight items | Very Low. Just stick in place | $20-$50 |
| DIY Custom Shelf | Custom fit with basic woodworking | High. Supports heavy items well | High. Requires measuring, building, and tools | $50-$100 |
| Custom-Built System | Professional, seamless, full extension | Very High. Full access and high weight capacity | Low (installation only). Pro design | $100-$500+ |
Frequently Asked Questions (FAQ)
What are sliding shelves?
They are platforms installed inside cabinets that slide out on tracks, bringing items from the back to the front like a drawer .
Are sliding shelves worth it?
Yes, especially for deep cabinets. They improve accessibility, prevent forgotten items, and add up to 50% more usable storage .
Can I add sliding shelves to my existing cabinets?
Yes. You can choose no-install adhesive trays, a DIY project, or a custom-built system that fits your existing cabinet box .
What is the best way to organize pots and pans on sliding shelves?
Use dividers to keep baking sheets upright and group heavier pots together. Store lids in a separate pull-out or on a lid organizer.
Do sliding shelves work in corner cabinets?
Yes. Specialized sliding or swing-out organizers are designed for corner cabinets. They can capture the corner space better than a lazy Susan because they don’t need as much rotation clearance .
How much weight can sliding shelves hold?
It depends on the hardware. High-end systems can hold up to 100 lbs or more. No-install adhesive trays usually have lower weight limits, so check the product specifications before storing heavy items .
Which kitchen problem do you want solved next? Share your thoughts in the comments.
More Kitchen Organization Ideas and Practical Solutions: