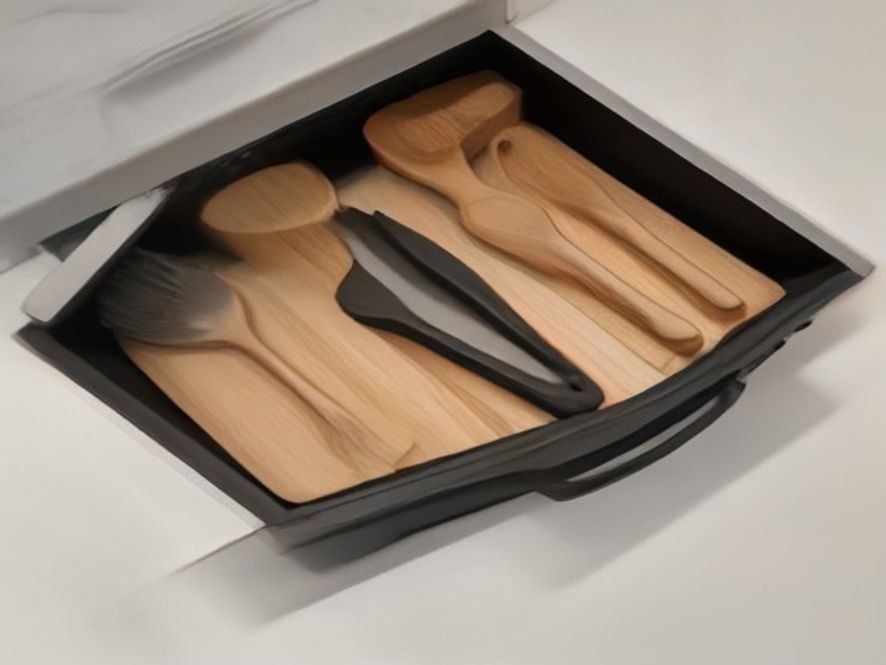
How to Organize a Kitchen Drawer for Spatulas, Tongs and Cooking Tools: Best Guide & Smart Storage Solutions
That drawer that refuses to close because spatulas and tongs are tangled in a chaotic mess can turn a simple meal prep into a frustrating wrestling match.
You’re trying to flip a pancake, but your spatula is buried under a pile of gadgets you never use. Your tongs are jammed sideways, and you can’t find the slotted spoon you need for the pasta. It’s a daily struggle that wastes time and kills your cooking vibe. This guide offers practical, easy-to-follow solutions to fix that overstuffed drawer and turn it into a model of kitchen organization.
TL;DR
Organizing your cooking tools drawer is all about using the right dividers and separators to keep spatulas, tongs, and utensils in their own designated spots. By categorizing tools by function and using adjustable or expanding dividers, you can prevent tangling, protect your tools, and make meal prep smoother and more enjoyable.
Key Takeaways
- Categorize by function: Group similar tools together—spatulas with spatulas, tongs with tongs, and other utensils by their use .
- Use drawer dividers: Adjustable or expanding dividers are the best way to create distinct sections that prevent tools from shifting and tangling .
- Consider specialized organizers: There are specific organizers made just for utensils, including tiered options that maximize vertical space .
- Place most-used tools in front: Keep your everyday favorites, like a slotted spoon or a fish spatula, at the front for quick access .
- Secure loose items: A non-slip mat or weighted dividers will stop your organizer from sliding around when you open the drawer .
The Real Causes Behind a Chaotic Utensil Drawer
The main culprit behind a messy utensil drawer is a lack of boundaries. When you toss spatulas, tongs, whisks, and serving spoons into a drawer without dividers, they naturally shift and tangle every time you open and close it. This creates a frustrating “jumble” where finding the right tool feels like a game of pick-up sticks .
Another common cause is having too much stuff. We tend to accumulate multiple sets of spoons, spatulas in every size, and gadgets for “just in case.” This overcrowding leads to jamming, making it hard to open and close the drawer properly. The fix is to declutter ruthlessly and then create a system that gives each tool its own designated home.
Step-by-Step Guide: How to Organize Your Cooking Tools Drawer
Ready to fix that frustrating drawer once and for all? Here’s a step-by-step guide to get you there.
Step 1: Empty and Declutter Everything
Pull absolutely everything out of the drawer. This is the most critical step because you can’t organize what you can’t see. Take a good, honest look at your collection.
- The Keep or Toss Game: Hold up each item. Ask yourself: “Have I used this in the last year?” “Is it damaged?” “Do I have duplicates?”
- Be Ruthless: That weird melon baller you bought for one recipe five years ago? Toss it. That damaged spatula with the melted edge? Toss it. You want to keep only the tools you genuinely use on a regular basis .
Step 2: Categorize Your Tools
Once you’ve pared down your collection, group the survivors into logical categories. This makes it easier to see how much space each group needs and helps you choose the right dividers.
- Spatulas & Turners: Rubber, silicone, metal, and slotted turners.
- Tongs: All sizes, from small to large, and any specialized grips.
- Spoons & Ladles: Wooden spoons, slotted spoons, pasta servers, and ladles for soups and sauces.
- Specialty Tools: Whisks, potato mashers, pastry blenders, zesters, or peelers (if stored here).
- Everyday Essentials: This is the “front of the drawer” group—the things you reach for daily, like a good spatula and a slotted spoon.
Step 3: Choose the Right Organizers
The secret to a tidy drawer is the right dividers. Here are your best options:
- Expanding Drawer Dividers: These are the most versatile and popular choice. They use a spring or friction mechanism to expand and stay securely in place against the sides of the drawer. You can place them horizontally or vertically to create custom compartments .
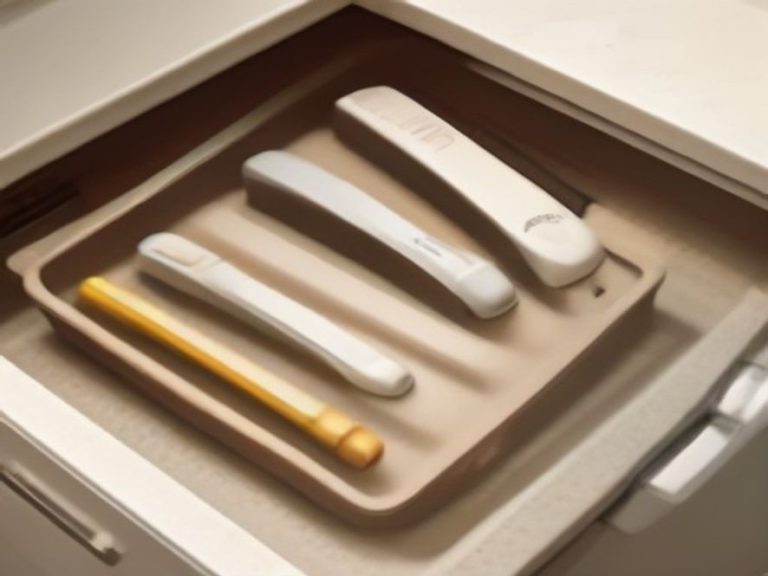
- Utensil Trays: If you have a shallower drawer, a plastic or bamboo tray with pre-set sections is a great choice. They come in various configurations to hold different types of tools .
- Tiered Organizers: For deeper drawers, these are a game-changer. They have an elevated tier in the back, allowing you to store more tools in the same drawer length .
- Weighted Dividers: Some dividers come with weighted bottoms, which means you don’t even need a drawer to use them—they won’t tip over or slide around .
Step 4: Arrange Your Compartments
Now, start putting your categories into the sections you’ve created.
- Placement Strategy: Put your most-used tools in the front compartments. This makes cooking less of a chore because everything you need is right at your fingertips .
- Categorize by Size: Place your tallest tools, like large spatulas and tongs, in the back to keep the front easy to see and access.
- Separate Metals: If you’re mixing materials, it’s a good idea to keep metal utensils separate from wooden or silicone ones. This can prevent scratching or damage, and keeps the drawer looking neat.
Step 5: Secure and Maintain
Once everything is in its place, you want it to stay in its place. Place a non-slip drawer liner at the bottom of the drawer before putting your organizers in. This prevents everything from sliding around as you open and close it. A quick five-minute wipe-down every few months will keep your drawer looking great and functioning perfectly.
Comparison Table: Best Organizers for Spatulas, Tongs & Tools
| Organizer Type | Best Used For | Key Benefit | Difficulty Level | Cost |
|---|---|---|---|---|
| Expanding Dividers | Customizing layouts for any size drawer | Creates custom-sized sections | Very Easy | Low |
| Pre-Set Utensil Trays | Shallower drawers with a standard layout | Ready to use straight away | Very Easy | Low |
| Tiered Organizers | Deep drawers with a lot of tools | Doubles storage capacity | Easy | Medium |
| Weighted Dividers | Keeping sections stable without a drawer | Stays put without sliding | Very Easy | Medium |
Chart: Time Saved with an Organized Utensil Drawer
This chart shows how much time you can save on a daily and weekly basis by having a proper system for your spatulas, tongs, and cooking tools.
Time Saved with an Organized Utensil Drawer
FAQ
Why should I use dividers in my utensil drawer?
Dividers create clear boundaries, preventing tools from sliding around and tangling, which makes it much easier to find what you need quickly.
What’s the best way to organize a deep drawer for cooking tools?
Use tiered organizers or place vertical dividers to create sections. This allows you to store more tools in different layers, maximizing the vertical space .
How do I keep my drawer organizer from sliding?
Place a non-slip drawer liner at the bottom of the drawer before putting in your organizers. Many dividers also have non-slip feet.
Can I store all my cooking tools in one drawer?
Yes, if the drawer is large enough. The key is to use dividers to separate spatulas and tongs from spoons and other utensils, keeping everything in its own zone.
What should I do with the tools I don’t use?
Donate or discard them. There’s no point in keeping tools that you never use—they only take up valuable space and add to the clutter.
How often should I clean my utensil drawer?
A quick clean every couple of months is a good habit. Remove everything, wipe down the drawer and the dividers, and check for any crumbs or grease buildup .
Are wooden utensils safe to store in a drawer?
Yes, just make sure they are completely dry before putting them away to prevent them from absorbing moisture and warping.
Did this guide help you think about tackling your cooking tools drawer? What other kitchen challenges are you facing? Let us know in the comments below!
Smart Kitchen Organization: Tips and Solutions for a Functional Cooking Space: