How to Fix Deep Kitchen Cabinet Chaos: The Best Guide to Organizing Your Storage
That frustrating moment when you reach into the back of a deep cabinet and find a mystery container from last year—or worse, can’t find what you need at all—is exactly what this guide will help you solve.
Deep kitchen cabinets are a classic love-hate story. You love the storage potential, but hate how quickly they become dark holes where pots, pans, and pantry items disappear. If you’ve ever felt like you’re playing a game of kitchen archaeology every time you cook, you’re not alone. The good news is that with a few smart strategies, you can transform your deep shelves into organized, accessible spaces that actually make cooking easier.
TL;DR
Deep kitchen cabinets can be difficult to organize because items get lost in the back. Pull-out shelves are the most effective, permanent solution, allowing full access to everything. For a less permanent approach, use clear bins, tiered shelves, and under-shelf baskets to create visible layers. The key is grouping items by use, keeping daily essentials accessible, and leaving some empty space for flexibility.
Key Takeaways
- Pull-out shelves are the most effective solution for deep cabinets, bringing the back of the shelf to you
- Clear, shallow bins with handles help create organized zones and improve visibility
- Tiered shelf risers double your storage space by using vertical height
- Group items by how you use them, not just by type—keep prep items near the prep area
- Stick to the “one in, one out” rule to prevent clutter from creeping back
The Real Problem Behind Deep Cabinet Chaos and How to Fix It
Deep kitchen cabinets, often about 60 cm deep, create a zone of wasted space past the 30 cm mark. Anything stored behind that invisible line becomes “out of sight, out of mind.” This leads to forgotten ingredients, duplicate purchases, and a persistent feeling of clutter. The search results and professional organizers all agree that the most successful approach is not just about buying containers, but about fundamentally changing how you access your storage.
Why Deep Shelves Turn Into Black Holes
The primary challenge with deep shelves is simple physics. Standard fixed shelves force you to stack items in front of each other. To reach something in the back, you often have to pull everything out of the front first. This is frustrating and time-consuming, leading to an “I’ll deal with it later” attitude that only worsens the problem. The solution is to add movement to the shelf itself.
The Pull-Out Shelf Solution: The Single Most Effective Fix
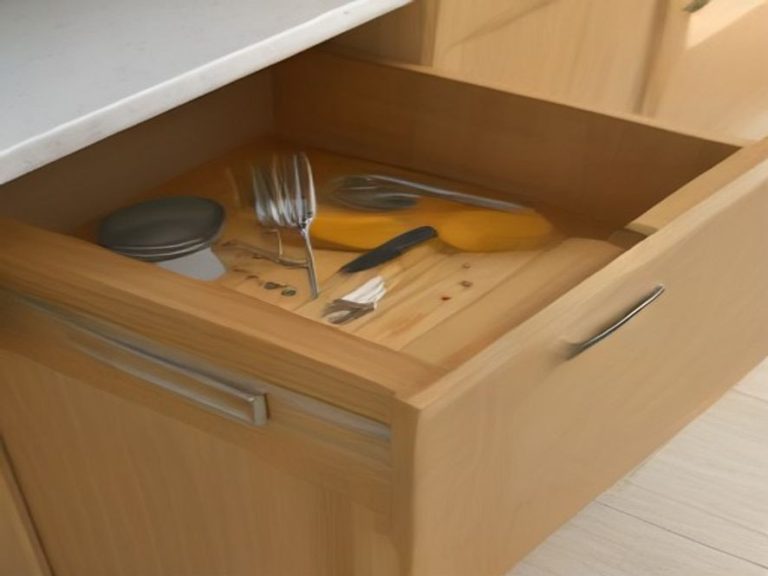
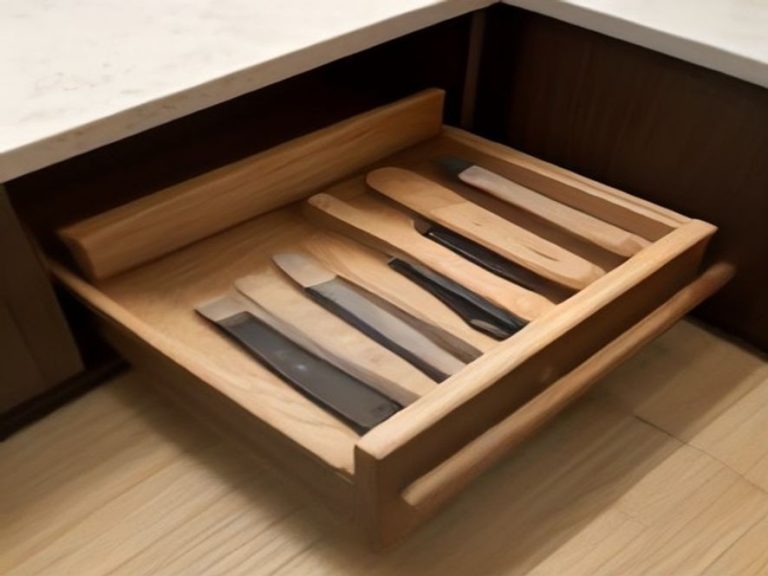
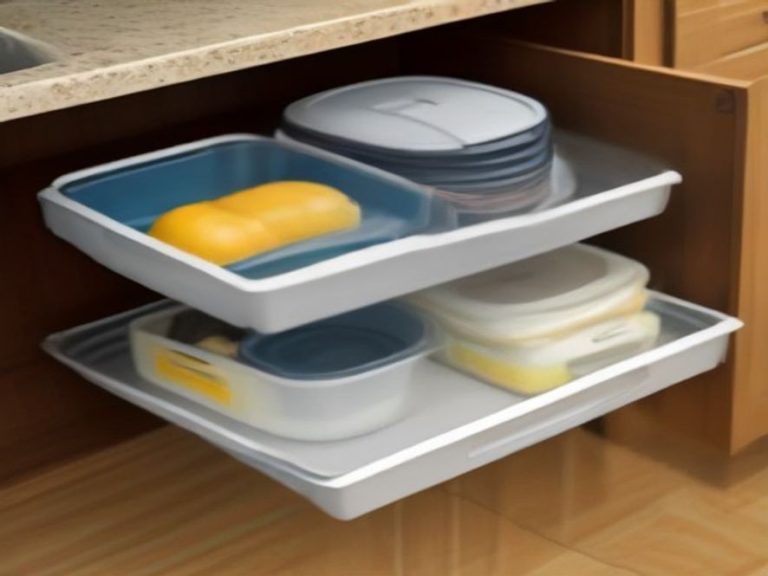
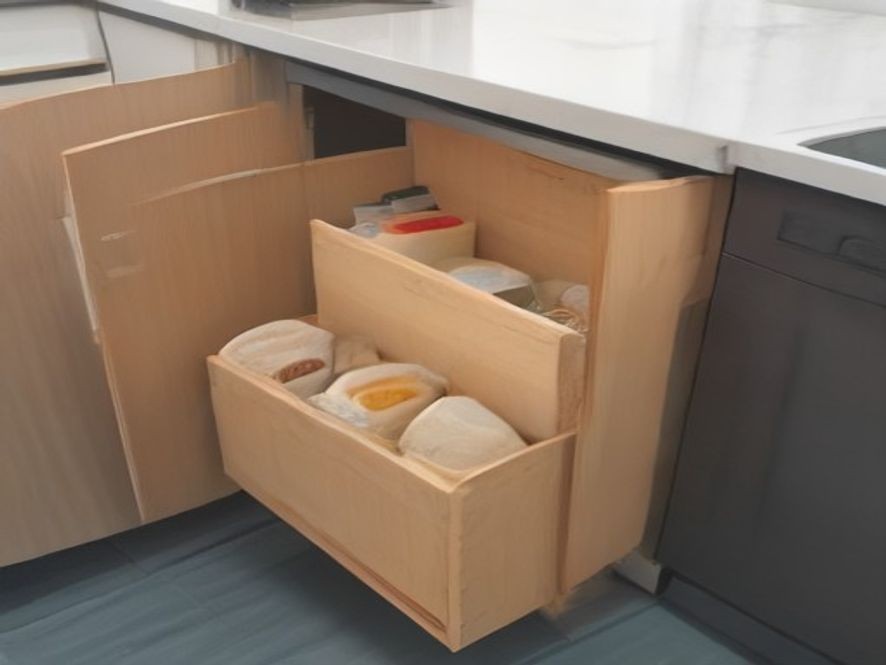
If you can make one change to your kitchen, installing pull-out or sliding shelves is the most impactful option. Pull-out shelves turn a dark, deep cabinet into a functional drawer. This allows you to access every item in the cabinet without bending down or rummaging. The back of the cabinet comes to you.
How to Install a DIY Pull-Out Shelf: For a more permanent fix, you can build a simple pull-out shelf:
- Measure Your Cabinet: Determine the width, height, and depth of your cabinet. Remember to account for the space needed for the drawer slides.
- Build the Shelf Frame: Use finished 1-by-2 boards to create a frame for the outer edge of your shelf.
- Cut the Shelf Base: Cut a ½-inch-thick plywood board to fit inside the frame.
- Assemble the Shelf: Attach the components with wood glue and brad nails.
- Install Drawer Slides: Screw the drawer slides to the sides of the shelf. Then, install the larger pieces on the inside of the cabinet. Use a level to ensure they are even.
- Fit the Shelf: Snap the two halves of the slides together to fit the shelf into the cabinet.
Important Consideration: Adding pull-out shelves will sacrifice a small amount of vertical space. Ensure you don’t need to store any overly tall items in that particular cabinet. If you’re renting or prefer a less permanent solution, consider roll-out drawer organizers that require minimal installation.
Comparison Table: Best Deep Cabinet Organizing Methods
| Item/Method | Purpose | Effectiveness | Difficulty Level | Cost |
|---|---|---|---|---|
| Pull-Out Shelves | Bring entire shelf to you for full access | High – Most effective solution | Medium – Requires DIY or professional install | $$$ – Higher cost |
| Clear Storage Bins | Group similar items; handle allows to “pull” forward | Medium-High – Good for grouping and visibility | Low – Just place in cabinet | $ – Low cost |
| Tiered Shelf Risers | Double vertical space; creates multiple levels | Medium – Good for plates, bowls, or cans | Low – Just place on shelf | $$ – Moderate cost |
| Lazy Susans | Rotate to access items in corner cabinets | Low-Medium – Can be unstable | Low – Just place in cabinet | $$ – Moderate cost |
| Under-Shelf Baskets | Reclaim “dead air” space below a shelf | Low – Best for lightweight items only | Low – Slide onto shelf | $ – Low cost |
Kitchen Storage Efficiency Comparison Chart
This chart visualizes the effectiveness of different organization methods for deep cabinets based on the insights from the sources.
Step-by-Step Guide to Organizing Your Deep Cabinets
Here’s a practical, tried-and-true approach to taming your deep kitchen cabinets.
Step 1: Clear and Assess Everything
This is the most critical step. Take everything out of your cabinets. This allows you to see exactly what you have, what you use, and what you can donate or discard. Professional organizers recommend setting a time limit, like an hour, to tackle each cabinet one at a time to avoid feeling overwhelmed.
Step 2: Group by Zone, Not Just by Type
Stop organizing solely by category (e.g., all baking items together). Instead, organize by the moment of use. This is how professional kitchens work. Store pans near the stove, plates and bowls near the dishwasher or table, and coffee mugs above the coffee maker. This reduces extra steps and makes cooking smoother.
Step 3: Use the “Height Rule” to Position Items
Once you have your zones, use the “height rule” to decide which shelf items go on:
- Hip-to-Eye Level: This is your “prime real estate.” Put your most frequently used items here.
- Above Eye Level: Perfect for less-often used items like specialty bakeware or large serving platters.
- Below Hip Level: Good for heavy or bulky items you don’t need daily, like a heavy Dutch oven.
Step 4: Choose Your Organizing Tools
Select organizers that fit your newly created zones and shelf height.
- For Deep Cabinets: Use a pull-out shelf for heavy items like pots and pans. For lighter items, clear bins with handles allow you to pull an entire group of items forward.
- For Vertical Height: Shelf risers are excellent for creating a second layer for plates, bowls, or canned goods.
- For Dead Space: Under-shelf baskets can store lightweight items like foil, plastic wrap, or dish towels, making use of the space beneath a shelf.
Step 5: Implement the “One In, One Out” Rule
To keep your new organization system from collapsing, follow the “one in, one out” rule. When you buy a new kitchen item, get rid of an old one. This prevents clutter from accumulating again. Leave roughly 20 percent of each shelf empty for flexibility with new or larger items.
Expert Insight
“Most kitchen organizing fails because it optimizes for looks rather than for the walk. The principle that survives is duller and free: put each thing where you first reach for it.”
FAQ Section
How should I organize my deep kitchen cabinets?
Organize by zone first, then by height. Store items where you first reach for them—pans by the hob, plates by the dishwasher—then place daily items at hip-to-eye level.
What is the best solution for organizing deep cabinets?
The most effective solution is installing pull-out or sliding shelves. They bring the back of the cabinet to you, making all items visible and accessible.
How can I organize deep cabinets without buying new shelves?
Use clear storage bins with handles, tiered shelf risers, and under-shelf baskets. These tools create layers and improve visibility and access without permanent installation.
Why do my deep cabinets always end up a mess?
Items get pushed to the back and forgotten, and fixed shelves force you to move things to reach what’s behind. A lack of a clear system causes clutter to accumulate.
How can I organize my kitchen cabinets without spending a lot of money?
Start by emptying and sorting everything. Group items by use and return them to the shelves with accessibility in mind. You can use free options like cardboard boxes as temporary bins.
Should I decant all my food into matching containers?
Only if it genuinely helps. Decanting is useful for dry goods that suffer from humidity, but it’s often an aesthetic choice that doesn’t improve function.
How do I keep my cabinets organized long-term?
Stick to the “one in, one out” rule, leave some shelf space empty, and ensure your system makes it easier to put things away than to leave them out.
References
Expert Sources on Kitchen Organization and Cabinet Solutions:
- Tasting Table – Cabinet Organization Guide
- Apartment Therapy – Pro Organizer Tips
- CalcBold – Zone-Based Kitchen Organization
Which kitchen problem do you want solved next? Share your thoughts in the comments.