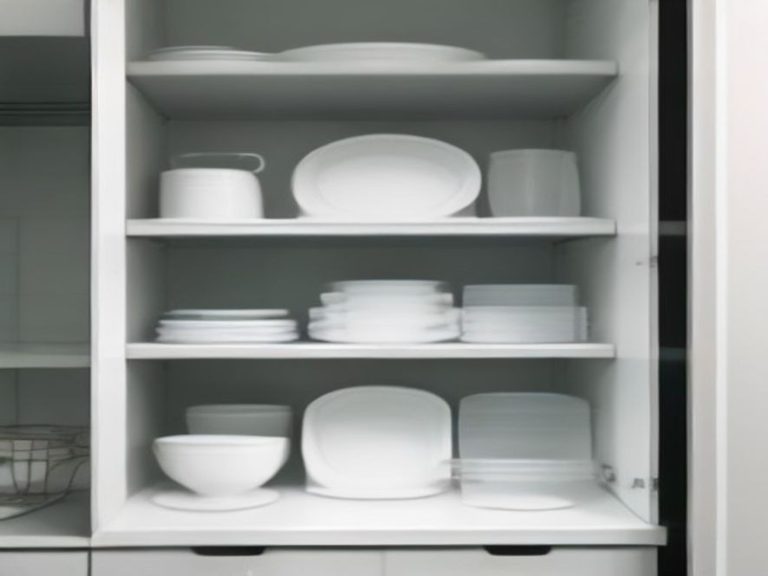
How to Organize Deep Kitchen Drawers So Everything Is Easy to Find
That frustrating moment when you open a deep drawer and can’t find the pan you need—so you end up pulling everything out and making an even bigger mess—can ruin your cooking flow.
Deep kitchen drawers should be a blessing, not a burden. They hold so much promise—pots, pans, mixing bowls, even small appliances. But their very size can turn them into dark, chaotic pits where things go to disappear. If you’re tired of playing “kitchen archaeology” every time you cook, it’s time to transform those deep drawers into the most functional spots in your kitchen .
TL;DR
Stop treating deep drawers as one giant catchall. Start by emptying and decluttering. Then, divide the space using dividers or bins to create zones for specific item types (like cookware, bakeware, or food storage). Store frequently used items vertically—especially baking sheets, cutting boards, and pot lids—so you can grab just one without unstacking a pile. Maintain the system with a quick review every few months.
Key Takeaways
- The biggest mistake? Piling items on top of each other. This makes it impossible to reach the bottom without a mess .
- The best solution? Create a “grid” or zones using adjustable dividers to give every category of item its own space .
- A game-changer: Use vertical storage for flat items like baking sheets, cutting boards, and pot lids. It lets you flip through them like files .
- Think in layers: Use sliding trays or two-tier systems to utilize the full height of the drawer for both small and large items .
- Give each drawer one job: A dedicated cookware drawer works much better than a miscellany drawer.
The Real Problem: Deep Drawers Are Too Open
Here’s the thing: deep drawers aren’t poorly organized because they’re too small. They’re poorly organized because they’re too open . That big, empty space invites you to pile things in, stacking pots six high and tossing lids in wherever they land. But this is a trap. As professional organizer Tracey Showalter puts it, “The kitchen is the most valuable real estate in the house,” and we’re often squandering it .
Step-by-Step Fix Guide: Tame Your Deep Drawers
Ready to fix that drawer for good? Here’s the plan.
Step 1: Empty, Clean, and Sort
This is the part nobody wants to do, but it’s non-negotiable . Take everything out of the drawer and put it on your counter. Now you can see what you’re actually working with. Wipe down the empty drawer. Then, sort your items into piles: “keep,” “donate,” “relocate,” and “trash.” You’ll probably find items that don’t belong in that drawer at all—like that random birthday candle collection .
Step 2: Give Every Drawer One Main Job
Don’t just use a deep drawer as a general “kitchen stuff” zone. Give it a clear purpose. This is the single most important step. It’s the difference between a tool and a trap. For example:
- Cookware Drawer: Pots, pans, lids.
- Bakeware Drawer: Baking sheets, cooling racks, muffin tins.
- Prep Drawer: Mixing bowls, colanders, measuring cups, and graters .
Step 3: Create Zones with Dividers and Organizers
Instead of one big, open space, divide your drawer into smaller compartments. This stops items from sliding into each other and creating chaos.
- Adjustable Drawer Dividers: These are a game-changer. They expand to fit your drawer’s width and can be moved to create custom-sized sections for spatulas, tongs, or even small appliances . Pro Tip: Some products use a spring or locking mechanism to stay securely in place, which is important for heavy items .
- Pegboard Systems: For cookware or plates, a peg system is fantastic. The pegs lock stacks in place so nothing slides when you open the drawer. This can protect non-stick surfaces from getting scratched .
- Clear Bins and Trays: These are perfect for corralling smaller, loose items like measuring spoons, cooking clips, or small gadgets. The best part? You can see exactly what’s inside at a glance, preventing you from buying duplicates .
- IKEA UPPDATERA Sliding Organizer: A smart, affordable solution for deep drawers. This felt tray rests on the top edges of the drawer and slides back and forth, effectively creating a “second layer” of storage for small items like spices or cling film .
Step 4: Think Vertical—Stop Stacking, Start Filing
Stacking feels efficient, but it’s the enemy of accessibility. If you have to move three items to get to the one you want, your system is broken.
- Tension Rods: Place tension rods vertically in the drawer to create slots for baking sheets, cutting boards, or platters. You can pull them out like files—no stacking required .
- Lid Organizers: Pot and pan lids are notorious for causing avalanches. Use a vertical lid organizer to stand them upright. It ends the chaos of searching for the right lid .
- File Holders: A simple magazine rack laid on its side works perfectly as a divider for baking sheets .
Step 5: The “Layer” Strategy for Ultimate Depth
A deep drawer can be like a two-story house. Use the full height to your advantage.
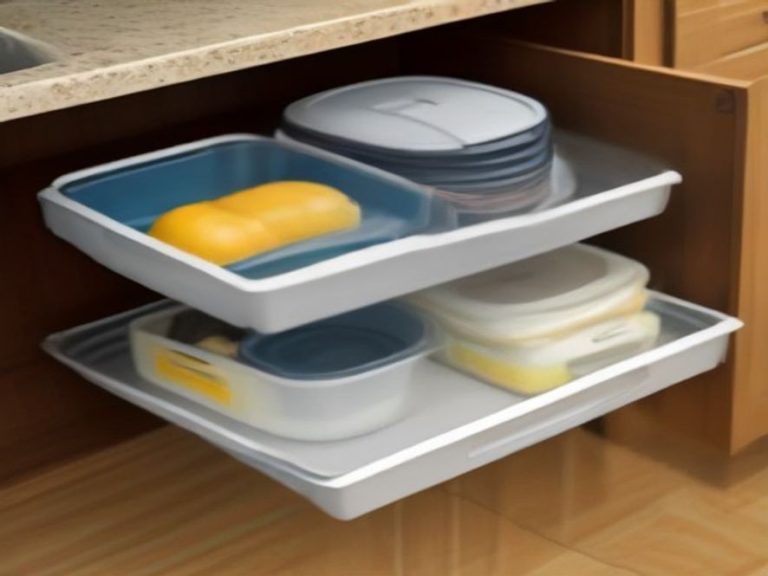
- Sliding Top Trays: These are brilliant. A tray sits on the top edges of the drawer, creating a shallow, sliding compartment for small items (like spices or measuring cups) while larger items sit in the main space below .
- Stacking Organizers: You can also use stackable bins or containers for items that can be logically separated, like baking supplies on the top tier and larger gadgets below .
Comparison Table: Deep Drawer Storage Solutions
| Item/Method | Purpose | Effectiveness | Difficulty Level | Cost |
|---|---|---|---|---|
| Adjustable Dividers | Create custom zones for grouped items | High; flexible and adaptable to your specific drawer | Easy (drop-in) | $15 – $40 |
| Pegboard Systems | Keep pots, pans, and plates locked in place | Very High; prevents sliding and protects surfaces | Moderate (install base) | $50 – $100+ |
| Sliding Top Trays | Use the drawer’s vertical space for two layers | High; perfect for deep drawers | Easy (drop-in) | $5 – $30 |
| Tension Rods | Create vertical slots for flat items | High; a simple solution for baking sheets & lids | Easy (no tools) | Under $20 |
| Clear Bins | Corral small, loose items | Medium; keeps similar small items together | Easy | $5 – $25 |
Maintaining Your System: The One-Drawer-a-Week Rule
Even the best systems can slip back into chaos over time. The secret isn’t to do a massive clean-out every year. Instead, “set aside a couple hours every few months to go through them,” or even better, “tackle one drawer at a time over the course of a week” . This keeps the task manageable and prevents chore dread.
Frequently Asked Questions (FAQ)
1. Why do my deep kitchen drawers get so messy so quickly?
Large drawers let everything slide around and get buried. The open space encourages you to pile things on top of each other instead of organizing them logically .
2. What is the best drawer organizer for deep kitchen drawers?
It depends on what you store. For cookware, a pegboard system or vertical dividers are best. For utensils, adjustable dividers that create long, narrow slots work perfectly .
3. How do I organize pot lids in a deep drawer?
Use an adjustable lid organizer that sits on the side of the drawer. This stores the lids upright, so they don’t stack and fall .
4. How do I organize baking sheets and cutting boards?
Store them vertically. You can use tension rods or a simple file holder to stand them upright so you can pull out just the one you need .
5. Can I use a deep drawer for food storage containers?
Yes. Dedicate the drawer to food storage and use dividers or clear bins to separate containers by size. Store lids upright in a section of their own to avoid the “lid avalanche” .
6. How often should I reorganize my deep kitchen drawers?
Give them a quick review every 3–4 months. Toss expired food and donate or relocate items you don’t use anymore to keep the system working .
“Most kitchen problems come from small maintenance habits that are often ignored.”
Which kitchen drawer is your biggest frustration? Share your thoughts in the comments—I’d love to help you fix it!