How to Organize Kitchen Cabinets So You Can See Everything: The Golden Rule for a Clutter-Free Kitchen
You open your cabinet door, and instead of instantly grabbing what you need, you find yourself pushing aside bottles, digging through stacks, and wondering if that jar of paprika you bought last month is actually hiding behind the mixing bowls.
It’s a frustrating experience that happens in kitchens everywhere. Deep cabinets and cluttered shelves turn your cooking space into a game of hide and seek. You waste time searching, buy duplicates of items you already own, and sometimes forget about food entirely until it expires.
The secret to fixing this is surprisingly simple: make sure you can see everything . When every item in your cabinets is visible and accessible, you save time, reduce food waste, and actually enjoy cooking in your kitchen again.
TL;DR:
- The Golden Rule: If you can’t see it, you won’t use it. Visibility is the foundation of an organized kitchen .
- The Solution: Use pull-out shelves, clear containers, tiered risers, and drawer dividers to bring items into plain view.
- The Strategy: Start with how you use your kitchen, fix deep cabinets first, group by task not by category, and maintain with a quick weekly reset.
Key Takeaways
- Visibility forces you to edit. When you can see everything, you naturally keep less clutter and buy fewer duplicates .
- Pull-out shelves are the best fix for deep cabinets. They bring the back of the cabinet right to you .
- Clear containers with labels make inventory instant. You can see exactly what you have without opening anything .
- Organize by task, not by category. Store items near where you use them—spices near the stove, dishes near the sink .
- High shelves need drawer-like bins. This keeps items from being forgotten above eye level .
Why Visibility Is the Golden Rule of Kitchen Organization
The most important principle for keeping your kitchen cabinets organized is simple: if you can see it, you will use it. If you can’t, you won’t .
This rule works for three powerful reasons:
1. It forces you to edit. When your goal is visibility, you have to be choosy about what stays. You might technically have room to pack a shelf four containers deep, but those items in the back will never see the light of day . This rule pushes you to store less and really think about what you keep around.
2. You always know exactly what you have. When you can see everything, you stop overbuying. You know you already have sherry vinegar and two cans of tomatoes—because they’re right there in plain sight !
3. It makes putting things away much easier. No more shoving items into open corners or searching for available space. When every item has a visible spot, returning things to their place becomes effortless .
Step-by-Step Guide to Visible Cabinets
Step 1: Empty, Declutter, and Clean
Start fresh. Take everything out of one cabinet and put it on your counter . Sort items into three piles: keep, donate, and toss. Be honest about what you actually use.
“You can’t see what belongs until everything’s out in the open.”
Check expiration dates and toss anything expired. Wipe down the shelves while they’re empty. This one-cabinet-at-a-time approach prevents overwhelm and builds momentum .
Step 2: Start With How You Use Your Kitchen
Before buying organizers, think about your daily cooking habits . Walk through making a meal and notice where you naturally reach for things. That’s where they should live .
Organize by task, not by category :
- Near the stove: Cooking oils, spices, utensils, pot holders
- Baking zone: Measuring cups, mixing bowls, flour, sugar, baking sheets
- Food storage cabinet: All containers and lids in one dedicated spot
- Near the sink: Glasses, mugs, dish soap
When your cabinet organization follows your workflow, items actually get put away correctly .
Step 3: Fix Deep Cabinets First
Deep cabinets are where items go to disappear. The goal is to make nothing require digging .
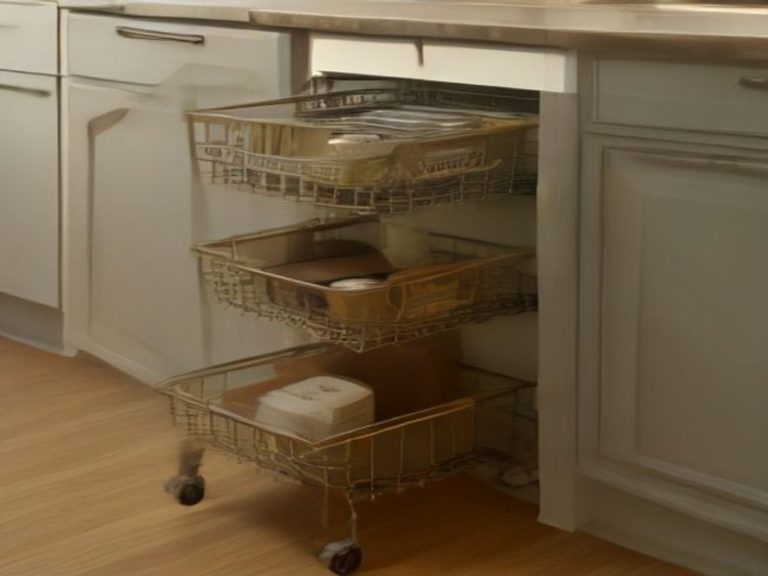
Install pull-out shelves or sliding baskets. This is the single best upgrade for lower cabinets. Everything slides into view, you can reach items in the back, and you stop buying duplicates of things you forgot you had . Pull-out shelves can give you up to 50% more usable space .
Keep the front third for daily items. Push backstock and occasional-use items to the back. The front zone is for things you grab multiple times a week .
Use vertical dividers for flat items. Baking sheets, cutting boards, and serving trays shouldn’t be stacked. Install dividers so each item stands upright . You can use small tension rods turned vertically as instant dividers .
Add shelf risers for pots and pans. Instead of nesting pots, use a riser to create two levels. Small pots on top, large ones below .
Step 4: Use Clear Containers With Labels
Transfer dry goods like flour, sugar, pasta, and snacks into clear, airtight containers . This serves multiple purposes:
- Immediate visibility: You can see exactly what you have without opening containers
- Uniform stacking: Square containers maximize shelf space
- Freshness preservation: Airtight containers keep food fresh longer and protect against pests
Label everything. Labels create a clear system for where items belong and help family members maintain the system . No more mystery containers!
Step 5: Use High Shelf Space Wisely
High shelves are prime spots for items to get forgotten. The solution is surprisingly simple: turn high shelves into drawers using bins.
Choose clear bins that fit your shelf dimensions. Group similar items together in each bin, like oils and vinegars or baking supplies . Instead of teetering on a step stool while rummaging around, you can pull the whole bin down and see everything at once .
“Without this hack, whatever you place on high shelves risks being forgotten.”
Step 6: Use Cabinet Doors for Extra Storage
The inside of cabinet doors is often ignored, but it can hold lightweight items that free up shelf space :
- Measuring spoons on adhesive hooks
- Pot holders and oven mitts
- Small cutting boards
- Foil or plastic wrap
Just make sure items don’t block the shelves when the door closes .
Step 7: Use Drawer Dividers
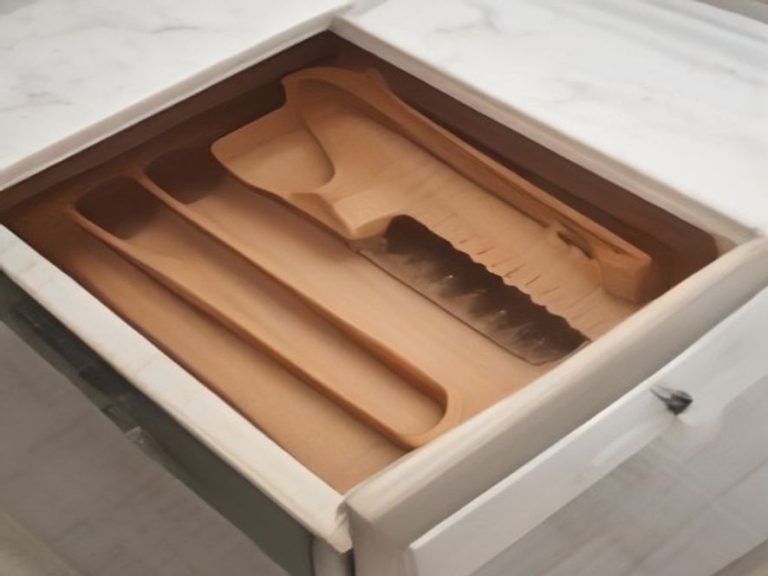
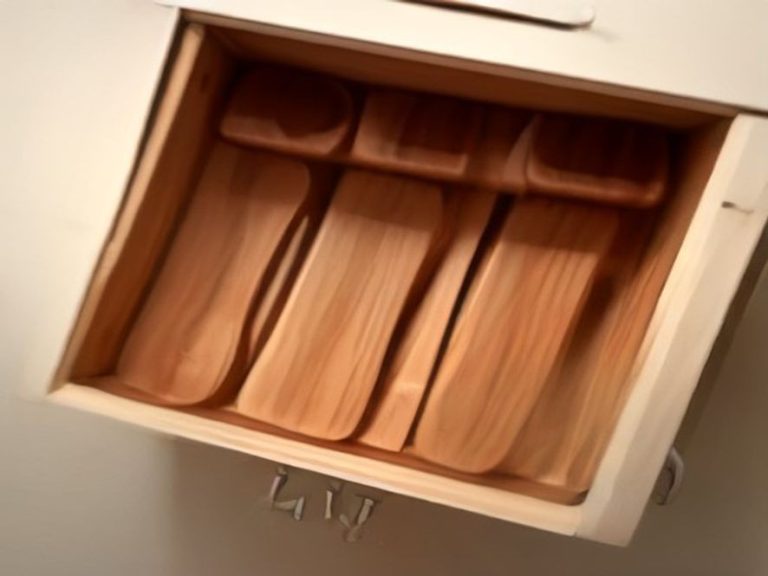
Drawers become messy fast when items slide around. Drawer dividers separate utensils, measuring spoons, and cooking tools so you can see everything at a glance . Adjustable dividers are especially useful because you can change the layout as your needs change .
Step 8: Fix Corner Cabinets With Smart Organizers
Corner cabinets are notorious for hiding items. The best solutions bring items out to you :
- Lazy Susan with tiered trays: Simple and improves access, especially for spices and oils
- Pull-out diagonal shelves: Slide straight out for full access to pots and heavy cookware
- Swing-out trays (Le Mans style): Pivot into the room for instant visibility of stacked pans
“I once designed a kitchen where the cook joked it felt like unpacking a magic box every time she pulled it open.”
Step 9: Maintain With a Quick Weekly Reset
Organization isn’t a one-time event. Spend five minutes each week:
- Pull items forward if they’ve drifted back
- Check for nearly empty containers
- Return items to their designated spots
This small habit prevents the slow slide back into chaos .
Quick Comparison: Which Organizer Works Best for Visibility?
| Item/Method | Purpose | Effectiveness | Difficulty Level | Cost |
|---|---|---|---|---|
| Pull-Out Shelves | Brings items from back to front | Very High. Complete visibility and access | Medium. Requires measuring and mounting | $40-$150+ |
| Clear Containers | Makes contents visible instantly | High. Prevents duplicate buying | Low. Transfer and label | $5-$20 |
| Bin Storage on High Shelves | Turns high shelves into pull-down drawers | High. Prevents forgotten items | Very Low. Just place bins | $5-$15 per bin |
| Lazy Susan | Spins items into view | Medium-High. Good for corners | Very Low. Just place | $15-$50 |
| Tiered Shelf Riser | Creates two levels on one shelf | High. Back items become visible | Very Low. Just place | $10-$30 |
| Drawer Dividers | Keeps drawer items separated | High. Everything visible at a glance | Very Low. Expand and place | $10-$30 |
| Door-Mounted Hooks | Uses inside door for lightweight items | Medium. Frees up shelf space | Very Low. Stick or hang | $5-$15 |
Frequently Asked Questions (FAQ)
What is the golden rule of kitchen organization?
Make sure you can see everything. If you can’t see it, you won’t use it, and you’ll end up buying duplicates .
What is the best way to organize deep kitchen cabinets?
Pull-out shelves or sliding trays are the most effective. They bring items from the back directly to you and prevent forgotten items .
How do I organize high cabinets so items don’t get forgotten?
Use clear bins on high shelves. You can pull the whole bin down to see everything inside, rather than rummaging blindly .
Why should I use clear containers in my cabinets?
Clear containers let you see exactly what you have without opening anything. They also make stacking easier and keep food fresh longer .
Should I organize kitchen cabinets by category or by use?
Organize by how you use your kitchen. Store items near where you use them—spices near the stove, dishes near the sink .
How can I use cabinet doors for storage?
Add hooks or slim racks inside doors for measuring spoons, pot lids, or small cutting boards. Just make sure they don’t block the shelves when the door closes .
How do I keep corner cabinets organized?
Use pull-out shelves, lazy Susans, or swing-out trays. These bring items from the deepest corner to you .
Which kitchen problem do you want solved next? Share your thoughts in the comments.
More Kitchen Organization Tips and Practical Home Solutions: