Why Is My Kitchen Sink Basket Strainer Leaking? A Complete Fix Guide
You finish washing the dishes, reach under the sink for a sponge, and your hand lands in a puddle. That telltale drip is coming from right where the basket strainer meets the sink — your basket strainer is leaking.
A leaking basket strainer is one of the most common kitchen plumbing annoyances. The good news is that it’s almost always a simple DIY fix that takes under an hour and costs less than $25 for a replacement part. This guide walks you through why it happens and the best way to seal it for good.
TL;DR
A leaking basket strainer is usually caused by dried-out plumber’s putty that has cracked or shrunk over time, a loose locknut underneath the sink, or a worn rubber gasket. The fix involves removing the old strainer, thoroughly cleaning the sink surface, applying fresh plumber’s putty (or silicone for stone sinks), and reinstalling the assembly. Most homeowners complete the repair in 30 to 45 minutes with basic tools. If the strainer body itself is cracked or rusted, replacement is the only option.
Key Takeaways
- The seal fails over time: Plumber’s putty dries out and cracks after years of use, letting water seep between the strainer flange and the sink basin.
- Start with a simple test: Fill the sink with a few inches of water and watch underneath. If water drips from the strainer connection, the seal has failed.
- Material matters: Use plumber’s putty for stainless steel or porcelain sinks, but use silicone sealant for granite, marble, or composite sinks — putty can stain porous stone.
- Cleanliness is critical: Scrape away every bit of old putty before installing the new strainer.
- Don’t overtighten: The locknut should be snug, not forced. Overtightening can crack plastic nuts or damage the sink.
The Real Causes Behind a Leaking Basket Strainer and How to Fix It
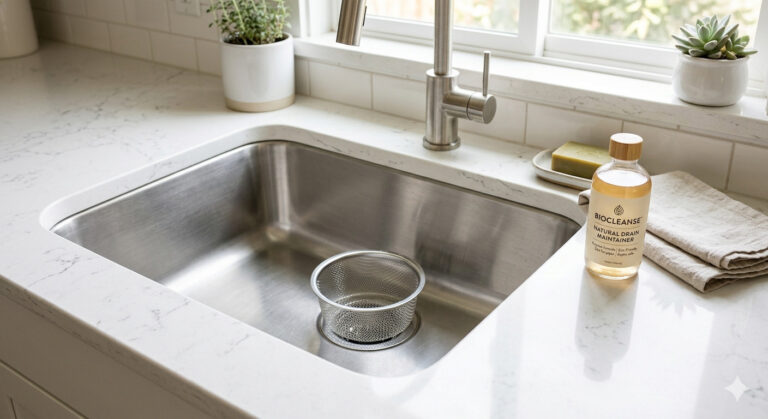
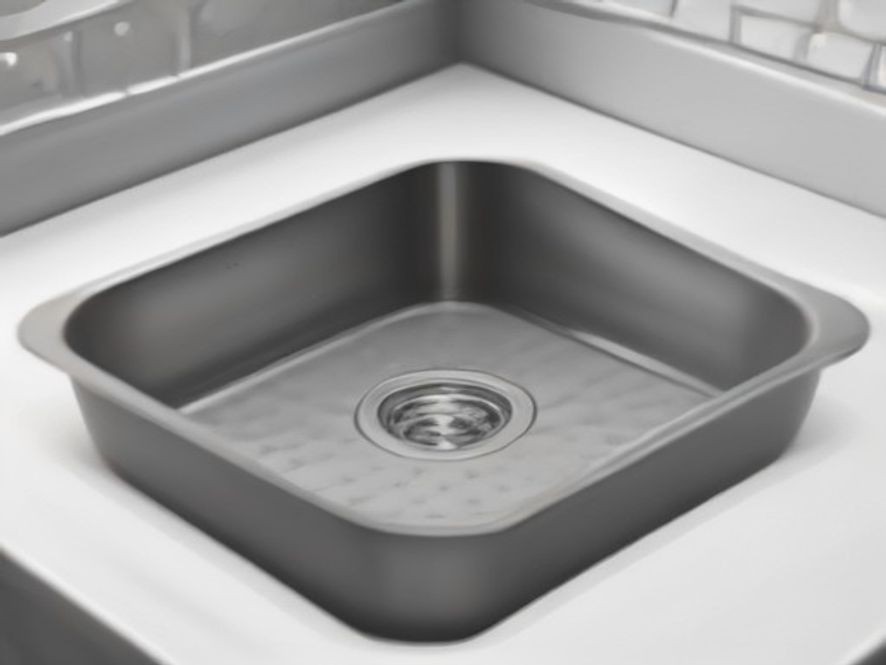
The basket strainer is the metal ring you see at the bottom of your sink basin. It connects the sink to the drain pipe below and relies on a seal to keep water flowing down the pipe. When that seal fails, water escapes into your cabinet.
Why the Basket Strainer Leaks: Common Culprits
Dried-Out Plumber’s Putty
The most common cause is old putty that has hardened, cracked, or shrunk over time. Plumber’s putty is a clay-like compound that fills the gap between the strainer flange and the sink. It’s waterproof but not permanent. Years of exposure to water, cleaning chemicals, and temperature changes take their toll. Hot water can even soften the putty, causing it to gradually squeeze out and create gaps.
A Loose Locknut
The strainer is held in place from underneath by a large locknut. Vibration from daily sink use, storing heavy items that bump pipes, or just normal wear can loosen this nut. A loose nut means the strainer isn’t pressed tightly against the putty, creating a gap for water to escape.
Worn Rubber Gasket
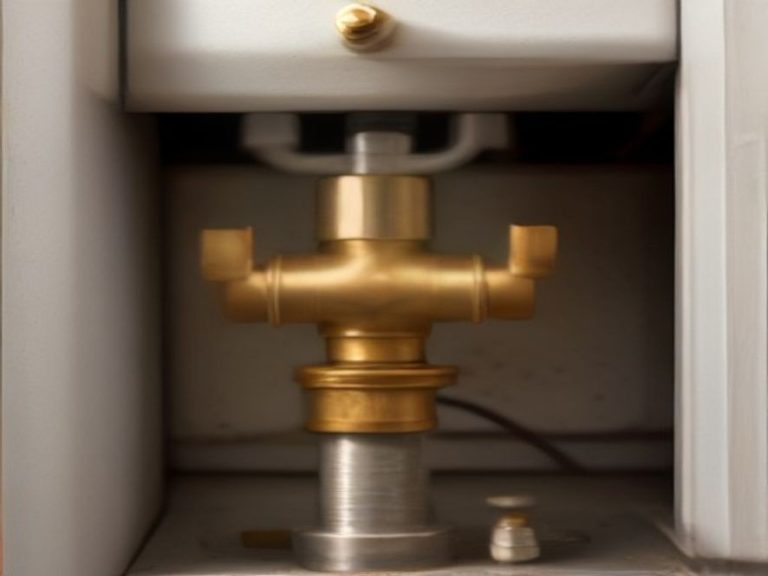
Underneath the sink, a rubber gasket sits between the locknut and the sink basin. Over time, this gasket can crack, flatten, or deteriorate. The rubber washer and cardboard friction ring both play a role in creating the watertight seal from below.
Cracked or Corroded Strainer Body
Metal strainers can develop hairline cracks from over-tightening, or they can rust over time. A cracked strainer lets water through even if the seal is perfect. If you see rust or visible cracks around the drain, replacement is the only option.
Incorrect Sealant Type
Using the wrong sealant for your sink material can cause premature failure. Plumber’s putty should never be used on granite, marble, or composite sinks — the oils can stain porous stone. Silicone sealant is the safer choice for these materials.
How to Fix a Leaking Basket Strainer: Step-by-Step
This repair takes about 30–45 minutes and requires basic tools. You do not need to turn off the water supply for this repair since you’re working on the drain, not the supply lines.
Tools and Materials You’ll Need:
- Replacement basket strainer kit (if needed) — $10–$30
- Plumber’s putty or silicone sealant
- Adjustable wrench or channel-lock pliers
- Basin wrench or basket strainer wrench (recommended)
- Bucket
- Putty knife or scraper
- Clean rags
Step 1: Confirm the Source
Before taking anything apart, confirm the strainer is the problem. Fill the sink with a few inches of water and let it sit for a minute. Look under the sink with a flashlight. If water drips from where the strainer meets the sink basin, the strainer seal has failed.
Step 2: Clear Out and Set Up
Remove everything from under the sink. Place a bucket directly under the drain pipes to catch water when you disconnect them. Put down towels to protect the cabinet floor.
Step 3: Disconnect the Drain Pipe
Loosen the slip nut connecting the P-trap (the U-shaped pipe) to the tailpiece (the vertical pipe from the strainer). Use pliers or channel-lock pliers. Let any water drain into your bucket, then carefully pull the pipes apart.
Step 4: Remove the Old Strainer
From under the sink, locate the large locknut holding the strainer in place. Use a basin wrench, spud wrench, or channel-lock pliers to turn it counter-clockwise. This nut can be stubborn. To keep the strainer from spinning while you turn the nut, stick the handles of a pair of pliers into the crossbars of the strainer from above, or use a basket strainer wrench. Once the nut is off, push the strainer up and out from above.
Step 5: Clean the Sink Surface Thoroughly
This step is critical. Use a putty knife or scraper to remove every bit of old putty from the sink opening and the underside of the sink rim. Wipe the area clean with a rag. Any leftover residue will prevent the new seal from working.
Step 6: Apply Fresh Sealant
Knead a golf-ball-sized amount of plumber’s putty in your hands to warm it up and make it pliable. Roll it into a rope about the thickness of a pencil — roughly ½ inch in diameter. Press it around the underside of the new strainer flange, making sure the entire circumference is covered without gaps.
If your sink is granite, marble, or composite: Use silicone sealant instead of putty. Apply a consistent bead around the underside of the flange. Putty can stain these materials.
Step 7: Install the New Strainer
From above, press the putty-coated strainer firmly into the sink opening. Make sure it’s centered and sits flush with the basin surface. Apply even pressure and some putty will squeeze out — this tells you the seal is forming.
Step 8: Tighten from Below
Under the sink, slide the rubber gasket onto the threaded body of the strainer, then the cardboard or friction ring, then thread on the locknut. Have someone hold the strainer from above using needle-nose pliers in the crossbars while you tighten the locknut below. Tighten until you see excess putty squeeze out evenly around the strainer rim — this is the sign of a good seal. Do not overtighten — you can crack the strainer or the sink.
Step 9: Reconnect and Test
Reattach the tailpiece and P-trap, tightening the slip nuts securely. Run water into the sink and check underneath for leaks. If all is dry, you’ve fixed it. Wipe away any excess putty that squeezed out from above.
Simple Tips to Prevent Future Leaks
- Inspect under the sink every few months: A quick visual check can catch a loose nut or failing seal early.
- Replace the strainer if it’s over 10 years old: Even if it’s not leaking, aging metal can develop hidden cracks or corrosion.
- Don’t use chemical drain cleaners: Harsh chemicals can degrade the rubber gasket and metal components over time.
- Use a sink strainer basket: The removable basket catches food scraps and protects the seal from debris damage.
When to Call a Professional Plumber
This repair is DIY-friendly, but call a plumber if:
- The locknut is completely seized and won’t budge even with penetrating oil.
- The sink basin itself is cracked — this requires professional replacement.
- The leak persists after you’ve replaced the strainer and cleaned everything thoroughly. A deeper issue in the drain line could be causing the problem.
Frequently Asked Questions (FAQs)
1. Why is my kitchen sink basket strainer leaking even after I tightened it?
Tightening won’t fix dried-out putty or a cracked strainer. You need to remove the strainer, clean the surface, and apply fresh putty or silicone.
2. Can I use plumber’s putty on a granite sink?
No. Plumber’s putty contains oils that can stain granite, marble, and other porous stone. Use silicone sealant instead.
3. How long does plumber’s putty last?
It typically lasts 5–10 years, depending on water quality and exposure to cleaning chemicals. When it hardens or cracks, it needs replacement.
4. Do I need to turn off the water to replace a basket strainer?
No. The basket strainer is on the drainage side, not the water supply side. You can leave the water on.
5. How do I know if the strainer is cracked or just the seal is bad?
Inspect the strainer carefully after removal. If you see hairline cracks, rust, or corrosion, replace it. If it looks solid, fresh putty usually fixes the leak.
6. What size basket strainer do I need?
Standard kitchen sink drain openings are 3½ inches in diameter. Most replacement strainers are designed for this size and fit standard sinks.
References
Trusted Sources for Kitchen Sink Strainer Repairs:
- Fix Up First – How to Fix a Broken Kitchen Sink Basket Strainer
- Las Vegas Review-Journal – Likely Causes for Leak Under Sink
- Jaspector – Basket Strainer Guide
- Ask the Builder – Kitchen Sink Strainer Installation
Which kitchen problem do you want solved next? Share your thoughts in the comments.