How to Fix a Kitchen Faucet with Weak Flow After Installation: Causes & Solutions
You finally installed that shiny new kitchen faucet, but when you turn it on, the water barely trickles out. This frustrating surprise is one of the most common post-installation problems—and usually an easy fix.
TL;DR
Weak water flow after installing a new kitchen faucet is almost always caused by debris in the aerator or cartridge, partially closed shut-off valves, a kinked supply line, or a built-in flow restrictor. Installation work often dislodges particles from old pipes that get trapped in the new faucet’s internal components. Most of these issues can be diagnosed and fixed in minutes without calling a plumber.
Key Takeaways
- Debris in the aerator is the #1 cause—small particles from plumbing work get caught in the screen and block flow .
- The shut-off valves under the sink might be partially closed—double-check they’re fully open .
- Flush the faucet lines after installation to clear out installation debris .
- A kinked supply line can restrict flow just like bending a garden hose .
- Don’t ignore the cartridge—it has narrow ports that can trap tiny particles .
The Real Reason Your New Faucet Has Weak Flow
You just spent time and effort installing a brand-new kitchen faucet, and now it’s not working right. The good news: this isn’t unusual, and it’s rarely because the faucet itself is defective .
Here’s what’s actually happening:
Debris from Installation Is the Main Culprit
When you install a new faucet, you’re working with old plumbing that has years of sediment, mineral deposits, and rust flakes sitting in the pipes . Even if you’re careful, turning the water on and off can dislodge these particles.
According to Delta Faucet, particles of solder, copper chips, plumber’s tape, and other installation materials can get caught in aerators and cartridges . These tiny particles are big enough to block the narrow passages inside a new faucet’s cartridge or clog the fine mesh of the aerator screen.
Aerator clogged? This is the most common spot. The aerator is the fine mesh screen at the tip of your faucet—it’s designed to catch debris, and during installation, it does its job well .
Cartridge blocked? Modern faucets rely on cartridges with narrow ports for water flow. A single tiny speck can drastically reduce flow .
The Shut-Off Valves Might Not Be Fully Open
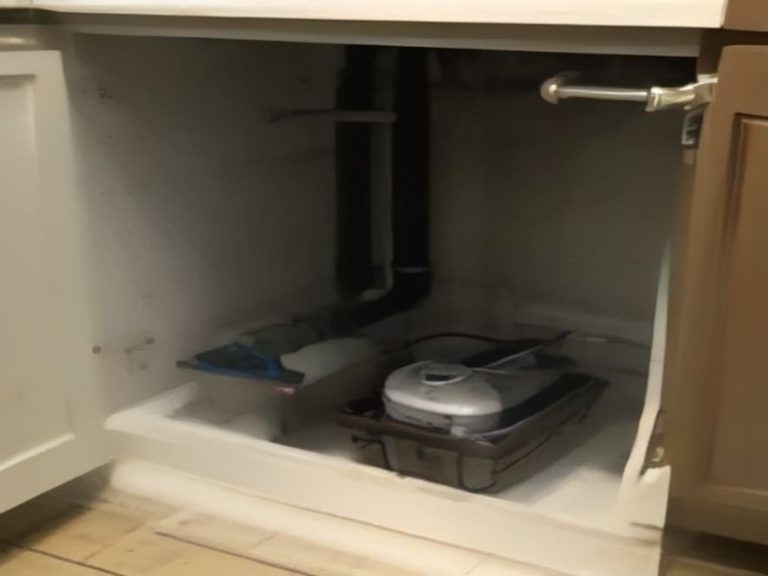
Under your sink, the hot and cold shut-off valves may have been turned off during installation. If you didn’t open them all the way afterward, water flow will be restricted .
*Italicized tip: *Turn the valves counterclockwise until they stop—not just until water starts flowing. A partially open valve is a common oversight .*
A Kinked Supply Line
The flexible supply lines connecting your shut-off valves to the faucet can get kinked during installation . A sharp bend restricts water flow just like a kink in a garden hose.
Flow Restrictors Save Water—But Reduce Flow
Many new faucets come with factory-installed flow restrictors (often a small colored plastic disc) designed to save water . These limit flow to around 1.5 to 2.2 gallons per minute . While this is intentional and often required by plumbing codes, it can feel like low pressure compared to older, unrestricted faucets.
Step-by-Step Fix Guide
Follow these steps in order. This is the approach faucet manufacturers like Delta recommend .
Step 1: Check the Shut-Off Valves
- Look under the sink and locate the hot and cold shut-off valves.
- Turn both valves fully counterclockwise until they stop .
- Run the faucet and check if the flow improves.
If you only get a little movement or the valve feels stuck, don’t force it—you may need a plumber .
Step 2: Remove and Clean the Aerator
This resolves the majority of post-installation low-flow issues .
- Unscrew the aerator from the tip of the faucet spout. Use a cloth-wrapped pliers if it’s stuck .
- Inspect it for debris—you’ll likely see tiny flakes or particles.
- Rinse the screen under running water or soak it in vinegar for an hour to dissolve mineral deposits .
- Before reinstalling, turn the faucet on briefly with the aerator removed . If water flows strongly, you’ve found the problem.
- Reinstall the aerator and test again.
Step 3: Flush the Lines (The Manufacturer’s Method)
Delta Faucet recommends this procedure for all new faucet installations :
- Remove the aerator and the black sealing gasket above it.
- Turn the faucet handle to the full-on hot and cold mixed position.
- Flush the lines for two minutes before turning the water off.
- Replace the aerator.
If problems persist, a more thorough flush is needed :
- Turn off the water supply to both hot and cold.
- Remove all internal components (cartridge and aerator).
- Turn water supplies back on and let run for 30-60 seconds. Use a bucket upside down over the faucet to deflect water into the sink.
- Turn water supplies off, reassemble, and turn water back on.
Step 4: Inspect Supply Lines for Kinks
- Look under the sink at the flexible supply lines.
- Check if any lines are sharply bent, pinched, or trapped .
- Gently straighten any kinks and ensure lines have smooth curves.
- Confirm hot and cold lines are connected to the correct faucet inlets.
Step 5: Check and Clean the Cartridge
If the problem persists after cleaning the aerator and checking the valves, debris may be trapped in the cartridge .
Safety reminder: Turn off the shut-off valves before removing the cartridge .
- Remove the faucet handle (check your manufacturer’s instructions—models vary).
- Remove the cartridge and inspect for debris, plumber’s tape fragments, or manufacturing particles .
- Rinse the cartridge with water—avoid harsh tools that could damage seals .
- With the cartridge out, briefly open the shut-off valves to flush water into a bucket, clearing debris from the supply and valve body .
- Reinstall the cartridge and test.
Step 6: Consider the Flow Restrictor
If you’ve tried everything and the flow still seems weak, your faucet may have a built-in flow restrictor .
- Remove the aerator assembly.
- Look inside the spout for a small colored plastic disc (often green, red, or blue) .
- Using needle-nose pliers, gently pry the restrictor out .
- Reassemble and test.
Important: Check your local plumbing codes—removing flow restrictors may violate water conservation regulations in some areas.
Post-Installation Low Flow Causes Comparison
| Cause | Diagnostic Sign | DIY Fix | When to Call Pro |
|---|---|---|---|
| Debris in aerator | Flow is weak from spout; removing aerator restores pressure | Clean or soak the aerator; flush lines | If debris keeps appearing repeatedly |
| Partially closed shut-off valve | Weak flow on hot, cold, or both; valve isn’t fully open | Turn valve fully counterclockwise | If valve is seized or damaged |
| Kinked supply line | Weak flow; kink visible under sink | Straighten the kink; re-route hose | If hose is damaged |
| Debris in cartridge | Aerator is clean, valves are open, but flow still weak | Remove, clean, and reinstall cartridge; flush valve body | If cartridge is damaged |
| Flow restrictor | Flow is consistent but weaker than expected | Remove the restrictor from aerator assembly | If you’re unsure about local codes |
Frequently Asked Questions (FAQ)
Why does my new kitchen faucet have low pressure but the old one was fine?
The most common reason is debris from the old pipes getting caught in the new faucet’s aerator or cartridge. Installation work dislodges particles that the old faucet had already passed through .
How do I flush the lines after installing a new faucet?
Remove the aerator, turn the faucet to the full-on mixed position, and flush for two minutes. This clears debris from the supply lines .
What if only the hot or only the cold water is weak?
Focus on that specific supply line—check the shut-off valve for that side, inspect the supply line for kinks, and check if debris is stuck in the cartridge’s hot or cold port .
Can a flow restrictor cause weak pressure?
Yes. Many new faucets have factory-installed flow restrictors that limit water to save energy. You can often remove them, but check local water conservation laws first .
Should I call a plumber?
If you’ve cleaned the aerator, checked the valves and supply lines, flushed the lines, and cleaned the cartridge—and flow is still weak—the problem may be deeper in your plumbing .
References
Trusted Plumbing Resources for Post-Installation Faucet Problems:
- Delta Faucet – Proper Flushing Procedures for New Faucets
- Home Fixer Guide – Pressure Loss After Replacing Faucet
- The Household Needs – Flow Restrictor Guide
- Liberty Home Guard – Faucet Replacement Troubleshooting
Which kitchen problem do you want solved next? Share your thoughts in the comments.