How to Organize a Small Pantry With Limited Shelf Space: Smart Solutions for Every Inch
You open your pantry door, and a box of crackers falls on your foot while a bag of flour spills everywhere. There’s barely enough room to store your groceries, let alone find anything. This is a common frustration in small kitchens, but the good news is that limited shelf space doesn’t have to mean limited functionality. This guide will show you the best way to organize a small pantry with limited shelf space, so you can actually find what you need when you need it.
TL;DR
Organizing a small pantry starts with a complete clean-out to toss expired items and see exactly what you have . The most effective strategy is maximizing vertical space—use shelf risers, stackable bins, and over-the-door organizers to double your storage capacity without adding more shelves . Group items by category and create zones based on how often you use them, keeping daily staples at eye level . Use clear containers for dry goods so you can see what you have at a glance, and don’t forget the back of the door—it’s prime real estate for spices and small items .
Key Takeaways
- Start with a Clean Slate: Empty your pantry completely and check expiration dates before you organize anything .
- Go Vertical: Use shelf risers, stackable bins, and over-the-door racks to maximize height .
- Create Zones: Group similar items together and keep everyday essentials at eye level .
- Use Clear Containers: Transfer dry goods to clear, airtight containers for better visibility and freshness .
- Label Everything: Labels help everyone in the household know where things belong .
- Use the FIFO Method: Place new items behind older ones to prevent waste .
The Real Challenges of a Small Pantry and How to Fix Them
A small pantry is extra challenging because every inch counts. Let’s look at what makes these spaces tricky and how to solve each problem.
The “Lost Jar in the Back” Problem
Deep shelves in small pantries are notorious for hiding items in the back. You end up buying duplicates because you can’t see what you already have . This is where pull-out shelves and lazy Susans become your best friends .
The “Not Enough Shelves” Problem
Limited shelf space means you can’t spread items out. But you can go up instead of out . Shelf risers, stackable bins, and tall containers let you use vertical space that would otherwise be wasted .
The “Door is Wasted Space” Problem
Most people ignore the back of their pantry door, but it’s valuable real estate . Over-the-door racks can hold spices, small snack packs, or even cleaning supplies .
A Step-by-Step Guide to Organizing a Small Pantry
Here is a practical plan to transform your cramped pantry into a functional space.
Step 1: Do a Complete Clean-Out and Inventory
This is the most important step. You can’t organize what you don’t know you have.
- Empty Everything: Take all items out of your pantry and lay them on your counter .
- Check Expiration Dates: Toss anything expired, stale, or that you haven’t used in months .
- Group by Category: As you sort, group like items together—baking supplies, canned goods, snacks, grains, and breakfast items .
- Wipe Down Shelves: Clean thoroughly before putting anything back .
Step 2: Maximize Vertical Space
In a small pantry, height is your secret weapon. Here are the best ways to use it .
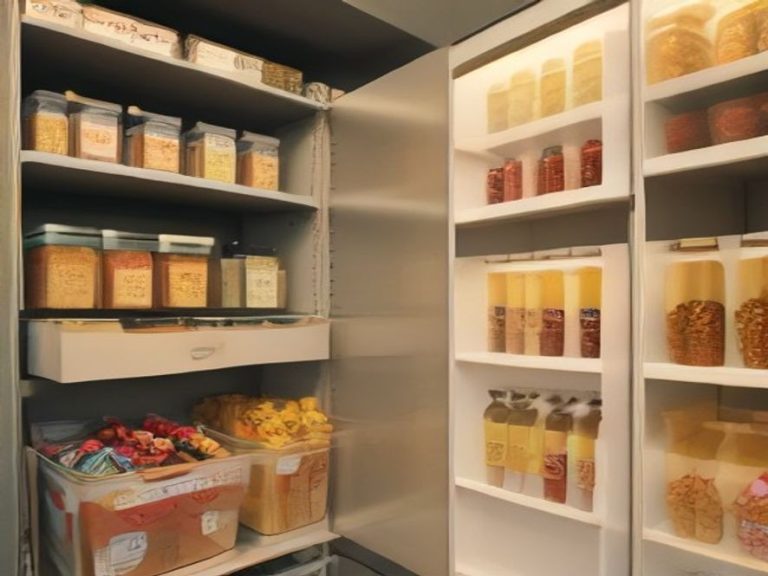
- Use Shelf Risers: These create a second tier on a shelf, essentially doubling your storage capacity. Canned goods, spices, and jars become instantly visible .
- Choose Stackable Bins: Stackable containers let you build upward without wasting space. Look for clear bins with handles so you can pull them out easily .
- Add Over-the-Door Racks: The back of your pantry door is prime real estate for spices, seasoning packets, small snack packs, or foil and plastic wrap .
Step 3: Group by Category and Create Zones
When everything has a home, it’s easier to find and put away.
- Create Zones: Designate specific areas for baking supplies, canned goods, snacks, breakfast items, grains, and condiments .
- Place Everyday Items at Eye Level: Put things you use daily at eye level where they’re easiest to reach. Less frequently used items can go higher or lower .
- Group Like Items Together: Keep all canned vegetables together, all pasta together, all baking supplies together. This helps you see what you’re running low on .
Step 4: Use Clear Containers for Dry Goods
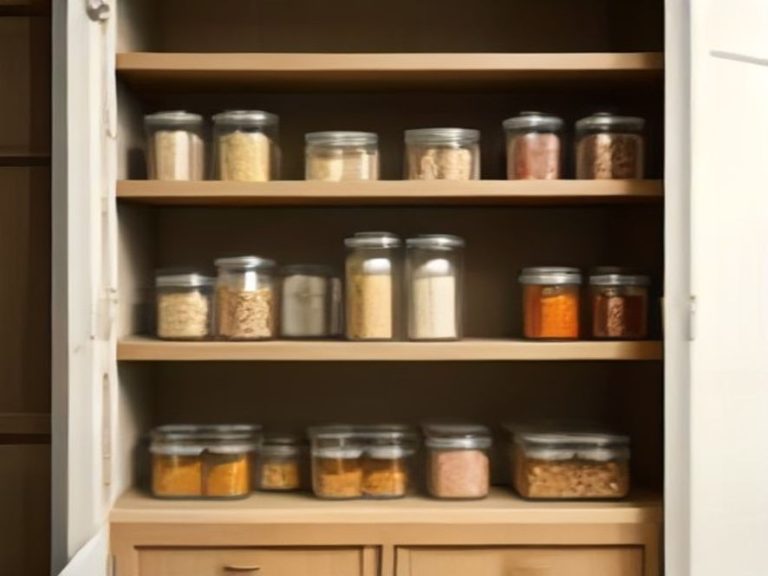
Transferring dry goods to clear, airtight containers is one of the most impactful changes you can make .
- Why It Works: You can see exactly what you have and how much is left without digging through bags .
- Choose Stackable Shapes: Square or rectangular containers stack better than round ones, maximizing your limited shelf space .
- Keep Food Fresh: Airtight containers keep out moisture and pests, extending the life of your dry goods .
Step 5: Label Everything
Labels aren’t just for looks—they make the system work for everyone in your household .
- Why It Matters: Your family doesn’t know your system. Labels help them put things back in the right spot .
- What to Label: Label bins, baskets, and containers with the category or ingredient name. You can use chalkboard labels, a label maker, or even masking tape with permanent marker .
Step 6: Use the FIFO Method
FIFO stands for “First In, First Out.” Place newer items behind older ones so you always use the oldest food first . This prevents waste and keeps your small pantry from becoming a graveyard of forgotten items.
Step 7: Consider Renter-Friendly Solutions
If you’re renting, you don’t need to install permanent shelving. Freestanding shelving, labeled bins, door organizers, and adhesive LED lights are all removable and effective . A slim rolling cart can also slide into a narrow gap and be moved when you need extra counter space .
Quick Reference: Small Pantry Solutions
| Problem | Solution |
|---|---|
| Items hidden in the back | Use pull-out shelves or lazy Susans |
| Not enough shelf space | Use shelf risers and stackable bins |
| Wasted door space | Install an over-the-door rack |
| Can’t see what you have | Transfer dry goods to clear containers |
| Family can’t find things | Label bins and containers |
| Food goes to waste | Use the FIFO method |
Frequently Asked Questions
What if I don’t have money for expensive containers?
You don’t need to buy expensive containers. Repurpose glass food jars from your groceries—just remove the labels and paint the lids to match . Shoeboxes, small baskets, mason jars, and wooden crates all work well .
What’s the best shelf depth for a small pantry?
Standard shelf depths are 12–16 inches. Twelve inches works well for canned goods and jars, while 16 inches fits larger containers .
How can I make the most of a very narrow pantry?
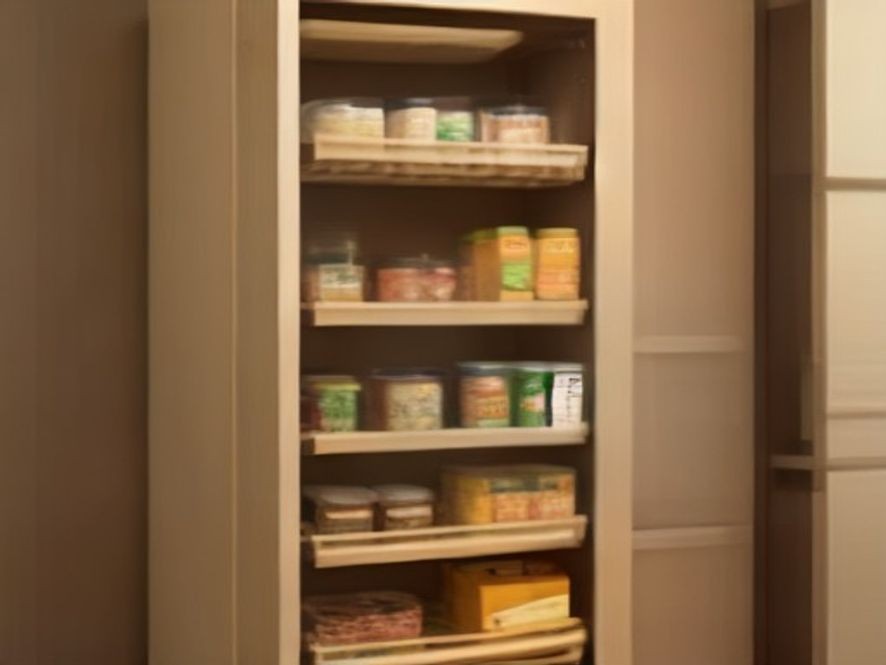
Use a slim rolling cart or a narrow pull-out pantry that’s only 4–6 inches wide. These fit into small gaps and can hold oils, spices, and tall jars .
Should I store bulky appliances in my small pantry?
No. Store rarely used appliances elsewhere—in a basement, garage, or high cabinet. Your pantry should house items you access regularly .
How can I add lighting to a dark small pantry?
Add battery-powered LED strip lights or motion-sensor puck lights. They’re inexpensive, easy to install, and make a huge difference in visibility .
References
Smart Solutions for a Small Pantry:
- Coohom – Small Pantry Organization: 5 Smart Ideas
- Décor Australia – How to Organise a Small Pantry
- Home as We Make It – Tiny Kitchen Pantry Organization Tips
- Love & Renovations – Small Pantry Organization Ideas
A small pantry doesn’t have to be a constant source of frustration. With the right strategies—maximizing vertical space, using clear containers, and creating zones—you can transform even the tiniest pantry into a functional, organized space. Remember, it’s not about having a magazine-perfect pantry; it’s about having one that works for you.
Which kitchen problem do you want solved next? Share your thoughts in the comments.