How to Organize Kitchen Drawers Without Using Too Many Organizers: Simple DIY Solutions & Storage Tips
That moment you open a kitchen drawer and it looks like a kitchen gadget explosion is a frustrating start to any cooking session.
It happens to the best of us. You’re in the middle of cooking, you need a spatula, and you’re greeted by a tangled mess of utensils, random lids, and that one avocado slicer you bought on a whim years ago. You don’t necessarily need a drawer full of expensive plastic trays to fix this. The best way to organize kitchen drawers often involves a little creativity and a few simple principles, not a trip to the store.
TL;DR (Too Long; Didn’t Read)
To organize your kitchen drawers without spending a fortune on organizers, empty everything out and group items by function. Use what you already have, like small boxes or adjustable dividers, to create zones for different tasks. Store items where you use them—cooking utensils near the stove, prep tools near your cutting board. For deep drawers, think vertically to store pots, pans, and lids upright so you can grab them easily. The goal is a system so simple it survives a busy weeknight cooking session.
Key Takeaways
- Declutter ruthlessly. Empty the drawer completely and only put back what you use.
- Group like items. Sort items into broad categories like “cooking,” “prep,” and “baking.”
- Think vertically for deep drawers. Store baking sheets and pot lids on their sides.
- Use DIY or adjustable dividers. Repurpose small boxes or use expandable dividers.
- Keep a dedicated “junk” drawer. Give it a system with small bins for batteries, tape, and pens.
The Real Causes Behind Kitchen Drawer Chaos and How to Fix Them
Let’s be honest: a messy drawer isn’t a personal failing; it’s often the fault of a system that doesn’t work. The primary culprits are a lack of defined zones, treating all drawers the same, and keeping too much stuff. The solution isn’t to buy more organizers but to adopt smarter habits.
Why Standard Organizers Can Often Be the Problem
It might sound counterintuitive, but those beautiful, fixed organizers with a spot for every single utensil can actually create more frustration in a real, working kitchen. The issue is that they often demand “perfect placement,” which is next to impossible when you’re rushing to get dinner on the table. If you put a spatula back at a slight angle, it might not fit, leading to clutter. They also don’t adapt when you buy new tools, leaving them without a home. The most effective and lasting organization uses zones, not precise slots.
Step-by-Step Guide to Organizing Your Drawers
Step 1: Empty, Declutter, and Clean
This is the most important step. You can’t organize what you don’t know you have. Take everything out of the drawer and put it on your counter. This is also your chance to give the empty drawer a quick wipe-down.
As you look at your pile of kitchen tools, it’s time to be honest. Sort your items into a few simple piles:
- Keep: Things you use on a regular basis.
- Relocate: Items that belong somewhere else in the kitchen.
- Toss/Donate: Broken items or duplicates you don’t need.
“Most kitchen problems come from small maintenance habits that are often ignored, and clutter is one of the most common.”
Step 2: Assign a Purpose to Each Drawer
Instead of throwing everything back into any drawer, think about where you use things. This is a key part of kitchen organization that reduces the time you spend searching for what you need. Group like with like and store them near their designated workspace.
A simple framework to follow is:
- Stovetop Drawer: For cooking utensils you grab while cooking, like spatulas, wooden spoons, tongs, and ladles.
- Prep Area Drawer: For tools used before cooking, like measuring cups and spoons, peelers, and kitchen shears.
- Baking Drawer: For rolling pins, pastry brushes, and measuring cups for dry ingredients.
- Food Storage Drawer: For plastic wrap, aluminum foil, and zip-top bags.
- Italicized practical tip: By storing items based on where you use them, you make your cooking workflow smoother and more intuitive.
Step 3: Create Zones Using DIY or Adjustable Dividers
Without something to section off a drawer, everything will slide around and become messy again within days. You don’t need a specific organizer for every utensil; you just need some gentle boundaries.
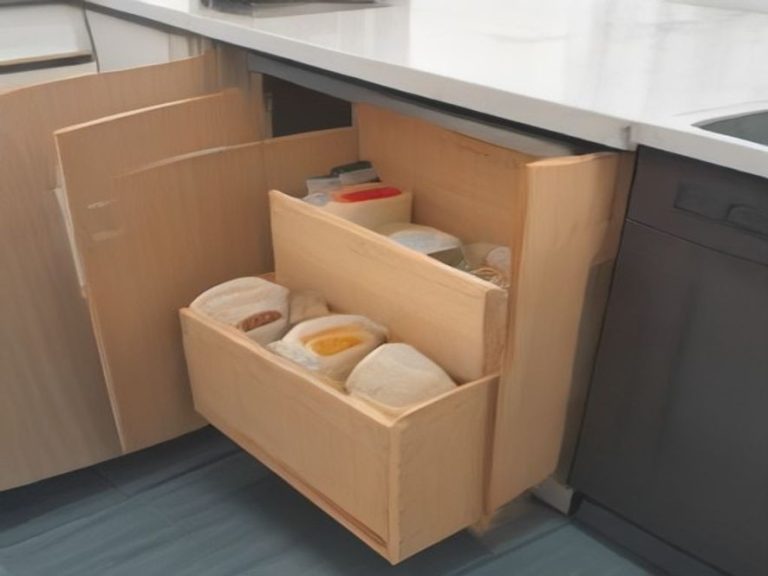
The best way to do this without spending money is to use DIY dividers. You can repurpose small cardboard boxes you have around the house, like old jewelry boxes or smartphone boxes, to create compartments for smaller items. You can also create a full grid by cutting slots in sturdy cardboard pieces and sliding them together.
The best DIY hack for drawer dividers is using a cardboard box or strips of cardboard to create a grid. It’s free, custom-fit, and easy to adjust!
If you prefer a more permanent solution, invest in a few adjustable drawer dividers. They are effective because you can customize the width to fit your drawer perfectly, leaving no wasted gaps.
Step 4: Stop Stacking—Start Storing Vertically
This tip is a game-changer for organizing deep kitchen drawers. The issue with deep drawers is that we tend to stack items, meaning you have to remove three pans to get to the one on the bottom. Instead of stacking, store your items vertically.
This means using a simple divider to stand your baking sheets, cutting boards, and pot lids on their sides, like files in a filing cabinet. You can pull out one item without disturbing the rest, making it a more practical and efficient system.
Step 5: Tame the “Junk Drawer” With a System
The dreaded junk drawer is a reality in most homes. Instead of trying to eliminate it, give it a system. A junk drawer can serve a purpose, but it should be a functional catch-all, not a black hole for everything.
Use a few small bins or boxes inside the drawer to group your miscellaneous items: one for batteries, one for tape and scissors, one for pens that actually work, and one for everything else. This turns it from a source of frustration into a space that is actually useful.
How to Organize Different Types of Drawers
This simple comparison table shows you the best approach for different drawer depths.
| Drawer Type | Best Storage Method | Organizational Focus | Difficulty | Cost |
|---|---|---|---|---|
| Shallow | Use a cutlery tray or adjustable dividers to keep flatware and prep tools neatly separated for immediate visibility and access. | Everyday Essentials (Flatware, Spatulas, Peelers). | Easy | Low |
| Deep | Stop stacking! Use dividers to create vertical slots for large items like pots, pans, lids, and baking sheets. This makes every item instantly accessible. | Large or bulky items (Pots, Pans, Mixing Bowls). | Moderate | Low-Medium |
| Wide | Create distinct zones within the drawer using dividers or small bins. This is where you can separate prep tools from storage supplies in one large space. | Grouping multiple categories (Prep Tools, Baking, Storage Wraps). | Moderate | Low-Medium |
FAQ Section
Why do my kitchen drawers get messy so quickly?
It’s likely because items lack a designated home. Without clear zones, everything shifts, and clutter builds up quickly, especially during busy meal prep.
What is the best way to organize kitchen utensils?
Group them by function (e.g., cooking utensils near the stove, prep tools near the cutting board) and use broad compartments, not tight slots, for flexibility.
Can I organize kitchen drawers without buying organizers?
Yes. Use items you already have, like small cardboard boxes for dividers or an old yoga mat cut to size to line the drawer and prevent items from sliding.
What should I do with a really deep kitchen drawer?
Store larger items vertically, like using a simple divider to stand your baking sheets, cutting boards, and pot lids on their sides. This stops the frustrating stacking issue.
How often should I declutter my kitchen drawers?
A quick check every couple of months is a good habit. Toss any broken items and donate or relocate things you haven’t used recently.
Conclusion
Getting your kitchen drawers organized without buying a lot of expensive gadgets is entirely possible. It starts with a deep declutter, assigning a purpose to each drawer, and using simple, often free, DIY solutions to create zones. The most important thing is to build a system that works with your cooking habits, not against them. By thinking about workflow and using the vertical space in your deep drawers, you can have a kitchen that is not only more organized but also more enjoyable to cook in.
References & Further Reading for Home Cooks: