How to Fix a Cluttered Kitchen Cabinet: The Best Way to Organize Small Appliances
That moment when you open your cabinet and a blender base tumbles out, followed by a slow cooker lid, can make you question if cooking is even worth the effort.
Small appliances are supposed to make life easier, but they often become the biggest source of kitchen chaos. Coffee makers, blenders, air fryers, and stand mixers compete for counter space while cabinets turn into dark holes where gadgets go to be forgotten. The good news is that you can fix this problem with smart strategies that work for any kitchen, no matter how small.
TL;DR
This guide shows you how to organize small appliances by sorting them by usage frequency, storing heavy items in lower cabinets, and using tools like pull-out shelves, lazy Susans, and appliance garages. You will learn to measure your space, create functional zones, and keep cords and accessories under control. Most solutions cost under $50 and take an afternoon to set up. The goal is to stop the clutter and actually use the appliances you own.
Key Takeaways
- Sort appliances by how often you use them — daily items stay accessible, occasional items go in harder-to-reach spots
- Heavy appliances like stand mixers belong in lower cabinets for safety and easy access
- Pull-out shelves and lazy Susans make deep cabinets and corner spaces usable
- Appliance garages keep daily-use items handy but hidden behind doors
- Group appliances by function — breakfast station, baking zone, prep area — so everything has a home
The Real Causes Behind Small Appliance Clutter and How to Fix It
Why Small Appliances Take Over Your Kitchen
Small appliances accumulate faster than you expect. One year you have a toaster, the next you have an air fryer, a slow cooker, a blender, and a stand mixer. These gadgets save time in meal prep but waste time when you are constantly moving them around or digging through cabinets to find what you need .
The main problem is that most kitchens lack a dedicated storage system for these oddly shaped items. Without a plan, they end up on counters, stacked in cabinets, or shoved into corners where you forget they exist. The solution is to create a storage system that matches how you actually cook.
Kitchen organization experts agree that storing appliances based on frequency of use solves most of these problems. Your coffee maker and toaster might earn permanent counter space, while that waffle maker you use twice a year belongs tucked away .
Step-by-Step Fix Guide for Organizing Small Appliances in Your Kitchen
Step 1: Take Everything Out and Sort
Start by gathering every small appliance you own. Pull them from cabinets, drawers, and countertops. Place them on a cleared table or floor space where you can see everything at once .
Sort each appliance into three categories :
- Daily use: coffee maker, kettle, toaster, microwave
- Weekly use: blender, food processor, hand mixer, rice cooker
- Occasional use: waffle maker, slow cooker, ice cream maker, bread machine
Be honest about what you actually use. If you have not touched an appliance in over a year, consider donating it . Ask yourself: Would I buy this again today? If the answer is no, it is time to let it go .
Step 2: Designate Zones in Your Kitchen
Divide your kitchen into functional zones. Each zone handles one type of task, and appliances live where they are used .
Breakfast Zone: Place coffee-related appliances near the sink or refrigerator. Keep the toaster and kettle nearby. This reduces steps when filling water reservoirs or accessing milk .
Prep Zone: Position the food processor and blender near your main prep area. Store cutting boards and mixing bowls in base cabinets directly below .
Cooking Zone: Keep appliances like the air fryer or instant pot close to the stove. Heavy cookware and tools should also live near here .
Do not place heat-generating appliances under wall cabinets. Toasters and toaster ovens need clearance above to vent heat safely .
Step 3: Store Daily-Use Appliances in an Appliance Garage
An appliance garage is a cabinet section at counter level with a roll-up or bi-fold door. It keeps daily appliances accessible but hidden behind closed doors .
This works especially well for items you use every morning:
- Coffee maker
- Toaster
- Kettle
- Milk frother
The garage conceals visual clutter while keeping appliances plugged in and ready to use. You can retrofit existing cabinets by removing shelves and adding new door hardware .
If you do not have space for a built-in garage, try a countertop storage hutch or a freestanding kitchen sidebar cabinet .
Step 4: Put Heavy Appliances in Pull-Out Base Cabinets
Heavy appliances like stand mixers should always go in bottom cabinets to avoid the safety risk of lifting something heavy over your head . Pull-out shelves make these bulky items much easier to access.
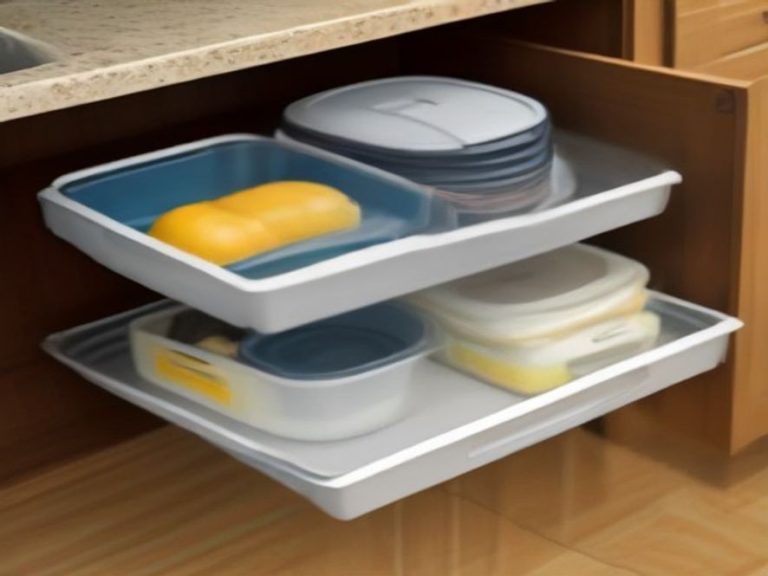
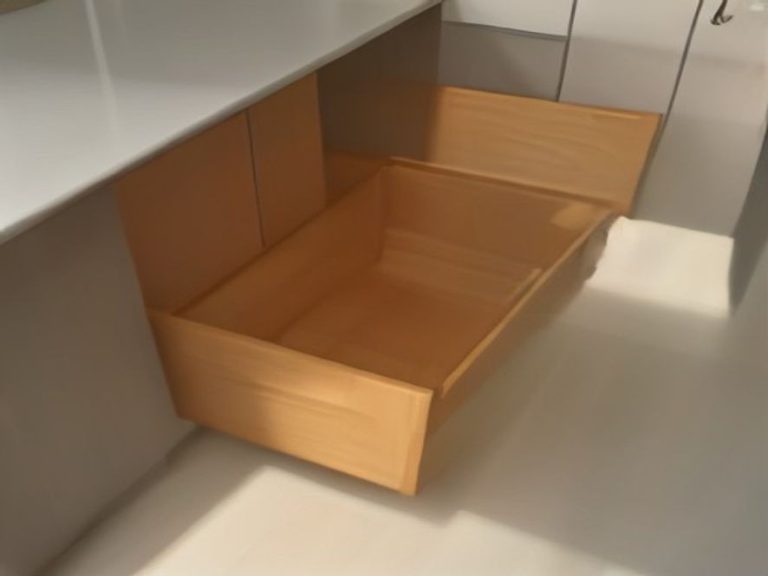
Install pull-out shelves or drawers in lower cabinets. These slide forward so you do not have to dig behind other items .
Heavy appliances that work well in pull-outs:
- Stand mixers
- Food processors
- Slow cookers
- Bread machines
- Pressure cookers
Measure your cabinet interior before purchasing pull-out shelves. Leave 1 to 2 inches of clearance on each side for the sliding mechanism . Choose shelves that can support at least 50 to 100 pounds .
If you rent and cannot install permanent pull-outs, try a sturdy freestanding cart or shelf in a nearby utility area .
Step 5: Make Corner Cabinets Work with Lazy Susans
Corner cabinets waste significant space because items in the back are unreachable. A lazy Susan rotates to bring everything to the front opening .
How to use a lazy Susan for appliances:
- Place lighter appliances like hand mixers on the top tier
- Put heavier items like slow cookers on the bottom
- Store very tall appliances elsewhere to avoid catching on the cabinet top
- Use pie-shaped containers to maximize the space and prevent items from falling off the edge
Measure your corner cabinet’s interior diameter before purchasing. Most lazy Susans range from 12 to 20 inches in diameter. Leave at least 2 inches of clearance between the edge and cabinet walls .
Step 6: Use Vertical Dividers and Shelf Risers
Shelf risers double your storage capacity in cabinets with tall vertical gaps. Place a riser on the existing shelf to create a second level. Store shorter appliances underneath and taller items on top .
Vertical dividers help you stand waffle makers and griddles upright instead of stacking them. This creates less chaos and saves space .
What works well on shelf risers:
- Hand mixers
- Immersion blenders
- Coffee grinders
- Mini food processors
Choose bamboo or metal risers that can hold more weight than plastic versions. The height should be 4 to 6 inches to fit most small appliances underneath .
Step 7: Manage Cords and Accessories
Messy cords make even organized cabinets look chaotic. Wrapping cords neatly and keeping accessories with their appliances saves time and frustration .
Cord management tips:
- Use velcro ties or cord organizers to keep each appliance’s cord with its device
- Wrap cords loosely to avoid stressing internal wiring
- Store cords in a way that prevents tangling
Accessory storage:
- Use quart-sized bags for small parts and gallon-sized bags for larger attachments
- Label each bag or container with the appliance name
- Store accessories directly next to or inside their parent appliances
For example, store food processor blades in the processor bowl. Wrap mixer attachments in a small cloth bag and place it inside the mixer bowl .
Step 8: Create a Pantry Appliance Zone
If you have pantry space, dedicate one or two shelves to small appliances. This creates a central appliance headquarters where everything has a designated spot .
Pantry zone tips:
- Place heavier appliances on lower shelves with sliding trays
- Use clear stackable bins with labels to group similar items
- Store appliances by type: baking appliances, cooking appliances, beverage appliances
- Keep electrical cords neatly wrapped and secured with clips
Organize pantry accessories and cords neatly using sturdy woven baskets to maintain a tidy appliance station .
Comparison Table: Small Appliance Storage Methods
| Method | Best For | Effectiveness | Difficulty | Cost |
|---|---|---|---|---|
| Appliance Garage | Daily-use items on counters | Very High | Medium | $50-$200 |
| Pull-Out Shelves | Heavy items in lower cabinets | Very High | Medium | $30-$80 per shelf |
| Lazy Susan | Awkward corner cabinets | High | Easy | $20-$50 |
| Shelf Risers | Vertical space in cabinets | Medium | Very Easy | $10-$25 |
| Vertical Dividers | Flat appliances like waffle makers | High | Easy | $15-$30 |
| Pantry Appliance Zone | Multiple appliances in one spot | High | Easy | Varies |
Smart Tips for Long-Term Success
Limit countertop appliances to three or fewer items. This creates visual calm and preserves workspace. Daily items like the coffee maker and toaster can stay; everything else moves to cabinets or pantries .
Use appliance mats or trays to define each appliance’s permanent spot. The mat catches crumbs and spills, and signals where the appliance should return after cleaning .
Group appliance accessories with the appliance itself. This prevents searching multiple locations when you want to use an appliance .
Check for damage before storing. Discard appliances with frayed cords or cracked housings. These can be fire hazards and take up valuable space.
Label bins and sections. This makes it easier for everyone in the household to find and return items, especially if you live with other people .
“Most kitchen problems come from small maintenance habits that are often ignored.”
Budget-Friendly Alternatives
You do not need to buy expensive organizers. Here are some low-cost solutions:
- Cardboard boxes cut to size can act as dividers in cabinets
- Shoe organizers hanging on pantry doors hold small appliances and attachments
- Baskets from dollar stores group similar items together
- Tension rods installed vertically can create dividers for flat appliances
FAQ
How do I organize small appliances in a small kitchen?
Sort by usage frequency, store heavy items low, and use vertical space with shelf risers or wall-mounted storage.
Where should I store my stand mixer?
Store it in a lower cabinet on a pull-out shelf to avoid lifting heavy weight over your head .
What is an appliance garage?
A counter-level cabinet with a roll-up or bi-fold door that hides daily-use appliances while keeping them accessible .
Should I keep small appliances on my counter?
Limit countertop appliances to three daily-use items like a coffee maker and toaster. Store everything else in cabinets or pantries .
How do I organize appliance cords?
Use velcro ties to wrap cords loosely, and store them with their appliances to prevent tangling .
What is the best way to store less-used appliances?
Store them in pantry zones, high shelves, or even utility rooms with affordable shelving .
Conclusion
Organizing your kitchen cabinet for small appliances does not have to be complicated. With simple sorting, strategic storage methods, and a little planning, you can transform chaos into calm.
The best way to organize starts with understanding what you actually use. Give each appliance a home based on its job in your kitchen. Heavy items go low, daily items stay accessible, and occasional items get tucked away.
Even small changes can make a big difference in how your kitchen functions. When you can grab the right appliance without moving three others, cooking becomes much more enjoyable.
Which kitchen problem do you want solved next? Share your thoughts in the comments.
Practical Kitchen Organization Resources and Guides: