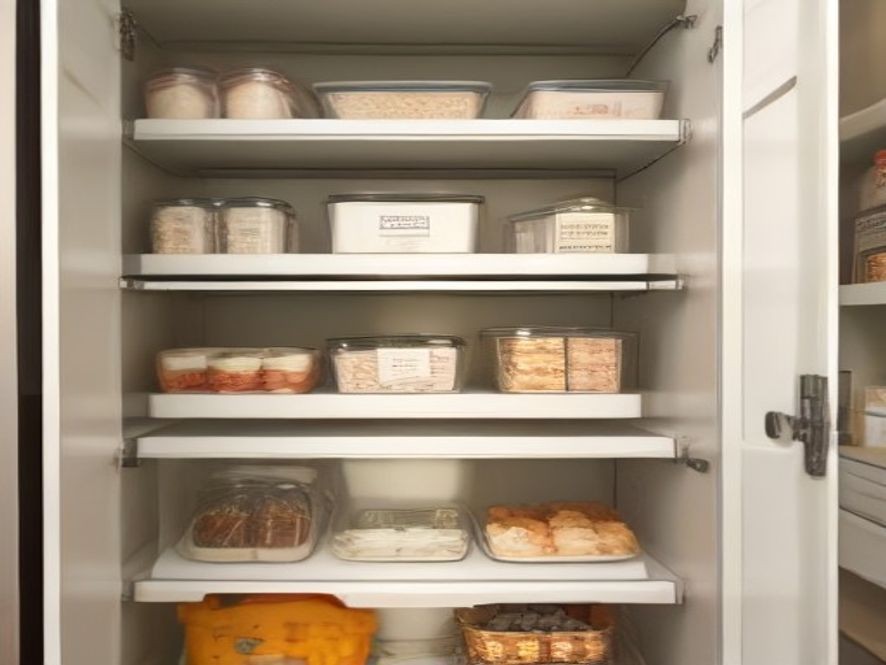
How to Organize Baking Supplies in a Pantry: The Best Guide to a Stress-Free Baking Space
That moment you’re in the middle of a recipe, your hands are covered in flour, and you realize you can’t find the baking soda—only to discover it’s expired and buried behind a bag of stale chips. It’s a frustrating moment that can ruin the fun of home cooking. But this is a common problem with an easy fix. Learning how to organize baking supplies in a pantry is the secret to a calmer, more enjoyable kitchen. This guide will show you exactly how to fix a chaotic pantry with simple, practical solutions.
TL;DR
A well-organized baking pantry saves time, prevents waste, and makes cooking less stressful. The best way to achieve this is by decluttering everything, grouping items into specific zones, and using clear, airtight containers. By labeling everything and maintaining your system, you’ll always know what you have on hand, which makes baking a breeze.
Key Takeaways
- Declutter First: Start with a clean slate by removing everything and checking expiration dates to get rid of what you don’t need.
- Create Baking Zones: Group all similar items together, such as flours, sugars, leaveners, and spices, to make them easy to find.
- Use Clear, Airtight Containers: Transfer your dry ingredients into clear containers to keep them fresh and visible.
- Label Everything: Labeling containers prevents confusion and helps everyone in the household put things back in the right place.
- Maximize Your Space: Use shelf risers, lazy Susans, and door racks to make the most of your pantry’s vertical and hidden space.
- Maintain the System: Regularly check expiration dates and rotate items to keep your pantry organized over time.
The Real Causes Behind Pantry Chaos and How to Fix Them
A disorganized pantry doesn’t just look messy; it actively works against you. It’s the reason you buy duplicate ingredients, waste food that’s expired, and feel stressed before you even start baking. The root of the problem is usually a lack of a functional system . Let’s break down the key problems and how to fix them.
Why Baking Supplies Get Lost, Forgotten, or Expired
The main culprits are a lack of visibility and poor grouping. When items are stored in opaque bags or scattered on different shelves, they’re out of sight and out of mind. This leads to buying a third bag of chocolate chips because you couldn’t see the other two hiding in the back. Expired baking powder is a common but sneaky problem. If you haven’t checked the date, it won’t do its job, and your cakes will come out flat . Regularly checking your ingredients is a simple habit that saves your bakes.
The Problem with Not Having a Baking Zone
One of the biggest mistakes is mixing baking supplies with general cooking ingredients. Baking is a specific activity that requires you to gather multiple precise ingredients at once . If your flour is next to the pasta and your vanilla extract is with the cooking oils, you’ll waste precious time hunting for them when you should be focusing on your recipe. Designating a specific “baking zone” in your pantry makes the process infinitely smoother.
A Step-by-Step Guide to Organizing Your Baking Pantry
Now, let’s get down to business. Here is a simple, step-by-step plan to transform your pantry from a source of stress to a hub of kitchen organization.
Step 1: The Big Purge
This is the most important step. It’s impossible to organize a full pantry. You need to start fresh.
- Empty Everything: Take every single item out of your pantry and lay it out on your counter or table .
- Check Expiration Dates: Go through each item. Be ruthless and toss anything that is expired or stale . Old leaveners or rancid nuts will ruin your baking.
- Donate What You Won’t Use: For unopened, non-perishable items you know you won’t use, consider donating them to a local food pantry .
Step 2: Create Your Baking Zones
With your shelves now empty and clean, it’s time to group your items. This is the heart of an effective organization system.
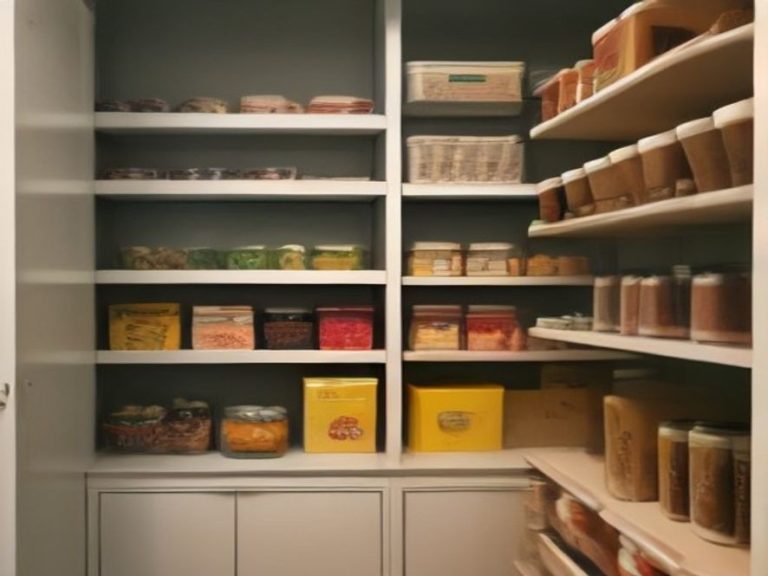
- Dry Ingredients: Group together all your flours, sugars, cocoa powder, baking soda, baking powder, and salts. These are the foundations of your baking .
- Mix-Ins and Add-Ins: Gather your chocolate chips, nuts, coconut flakes, dried fruit, and sprinkles. Keep them together so you can easily see your options .
- Flavorings: Store your spices, extracts (like vanilla and almond), and food colorings in one dedicated spot. Try to keep these at eye level so you remember you have them .
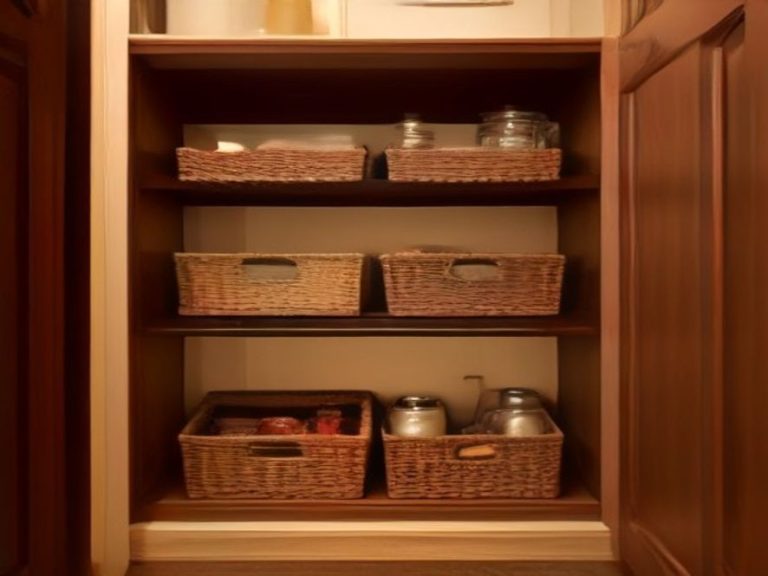
- Baking Tools: If you store things like cookie cutters, cupcake liners, or decorating tips in your pantry, put them in a clear bin to avoid a messy avalanche when you reach for something else .
Step 3: Invest in the Best Storage Solutions
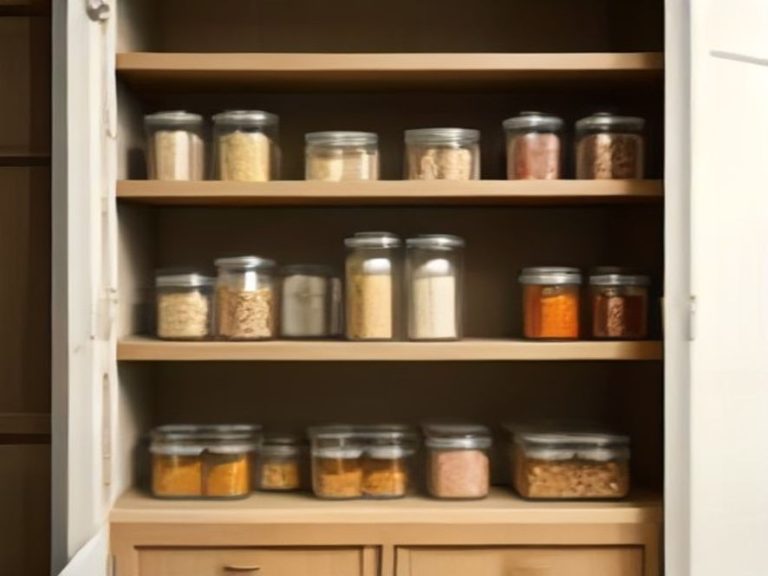
The container you use makes a world of difference. Ditch the flimsy, half-open bags and transfer your baking supplies into clear, airtight containers . This is one of the best ways to keep your ingredients fresh and visible.
- Clear, Airtight Containers: Choose glass or plastic containers with airtight lids. This will keep out moisture, prevent clumping (especially for brown sugar), and keep pests at bay . Plus, you can instantly see how much you have left.
- Tiered Sizes: Use large containers for staple items like flour and sugar, medium containers for smaller amounts of items like brown sugar, and small ones for cocoa powder or cornstarch .
- Label Everything: This step is non-negotiable. Plain flour and self-rising flour look identical in a clear container. Label each one clearly with its name and the date you filled it . You can use a label maker, masking tape, or even chalkboard labels.
“A well-labeled container is a baker’s best friend. It’s the simple act that transforms a pile of ingredients into a functional system.”
Step 4: Maximize Every Inch of Space
Now that your ingredients are in uniform containers, you can strategically place them to make the most of your pantry’s footprint.
- Use Shelf Risers: These are fantastic for creating a second level on a shelf, allowing you to see items in the back without playing “ingredient Jenga” .
- Embrace Lazy Susans: A rotating turntable is perfect for storing smaller items like extracts, food coloring, and spice jars. A simple spin brings everything to the front .
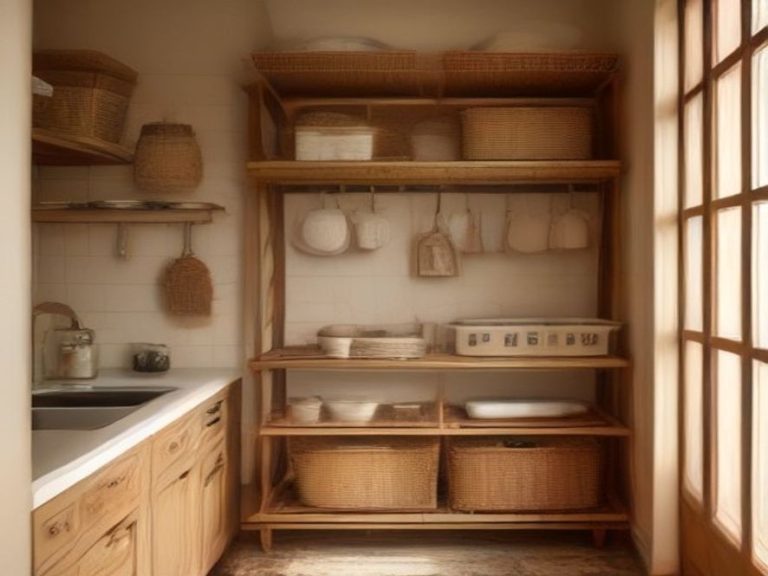
- Don’t Forget the Door: The back of your pantry door is valuable real estate. An over-the-door rack or hanging basket is an ideal spot for storing small tools, cupcake liners, or overflow items .
Step 5: Maintaining Your Organized Pantry
You’ve put in the work, so now you need to keep it that way. A little regular kitchen maintenance goes a long way.
- Tidy as You Go: After a baking session, take a moment to put everything back in its designated spot.
- Rotate Stock: When you buy new ingredients, place them at the back of the shelf and bring older ones to the front. This “first-in, first-out” method ensures you use up ingredients before they expire .
- Regular Inventory Check: Every few months, do a quick audit of your pantry. Check expiration dates, clean your containers, and restock any essentials you’re running low on .
Comparison of Pantry Storage Solutions
Here is a quick comparison of common storage solutions to help you pick the best ones for your space and needs.
| Item / Method | Purpose | Effectiveness | Difficulty Level | Cost |
|---|---|---|---|---|
| Clear, Airtight Containers | Keep dry ingredients fresh and visible. | High | Easy | Moderate |
| Shelf Risers | Maximize vertical space and improve visibility. | High | Easy | Low |
| Lazy Susans | Provide easy access to items in corners or deep shelves. | Medium | Easy | Low-Medium |
| Over-the-Door Racks | Utilize unused space on the pantry door for small items. | Medium | Easy | Low |
Baking Pantry Usage Chart
This chart shows how often the average home baker uses different categories of baking supplies.
Frequently Asked Questions
Why should I use clear, airtight containers for baking supplies?
They keep ingredients fresh for longer and prevent pantry pests while letting you instantly see what you have .
How do I know if my baking powder is still good?
Add a teaspoon of baking powder to hot water; if it fizzes vigorously, it’s still active . If not, it’s time to replace it.
What is the best way to store brown sugar to keep it soft?
Store it in an airtight container with a piece of bread or a terra cotta brown sugar saver to maintain its moisture.
How often should I organize my pantry?
A full reset is great to do once or twice a year, but maintain it by tidying up and checking for expired items every few weeks .
What’s the first step to organizing a messy pantry?
The absolute first step is to take everything out . You need to see what you have to create a plan.
What should I do with baking items I don’t use anymore?
If they are unopened and not expired, donate them. If they are opened or expired, it’s best to throw them away .
What is the best way to organize small baking tools?
Group them in a clear plastic bin or basket so they are contained and easy to find, preventing them from getting lost .
References
A Complete Guide to Mastering Kitchen Organization for Every Home Cook:
- Mix Whisk Bake – How to Organize Your Pantry for Easy Baking
- Pantry Raider – How To Organise Baking Supplies In The Pantry
- Storables – 7 Steps To Organize Your Kitchen Pantry
- Home By Heather – How To Organize Your Baking Pantry (Like A Pro!)
A well-organized pantry is more than just a pretty picture; it’s a functional tool that makes your time in the kitchen more enjoyable and efficient. By following these steps, you can create a system that works for you and saves you from the stress of last-minute ingredient hunts.
Which kitchen problem do you want solved next? Share your thoughts in the comments.