How to Maximize Pantry Storage Without Remodeling: Smart Solutions and Tips
You don’t need a renovation to double your pantry space — just a few smart changes and the right tools.
TL;DR
Maximizing pantry storage without remodeling is all about working smarter, not harder. Use long storage containers for deep shelves, install over-the-door organizers for extra space, add shelf risers to double vertical capacity, and create zones with baskets and clear containers. These budget-friendly solutions work for renters and homeowners alike.
Key Takeaways
- Long storage containers turn deep, hard-to-reach shelves into usable space
- Over-the-door organizers add storage without taking up shelf space
- Shelf risers and stackable bins maximize vertical capacity
- Lazy Susans make corner and deep shelves accessible
- Clear containers and labels reduce food waste and duplicate purchases
Why Pantry Space Feels So Limited
You open your pantry door and see shelves packed with boxes, bags, and cans. The front row looks fine, but the back? It’s a dark hole where items go to be forgotten. This isn’t because your pantry is too small — it’s because you’re not using the space efficiently.
Most pantries have three hidden problems:
- Deep shelves that hide items in the back
- Vertical gaps between items and the shelf above
- Unused door space that’s completely blank
The good news? These problems have simple solutions. You can double your usable storage without hiring a contractor or spending a fortune.
Smart Solutions for Deep Pantry Shelves
Long Storage Containers
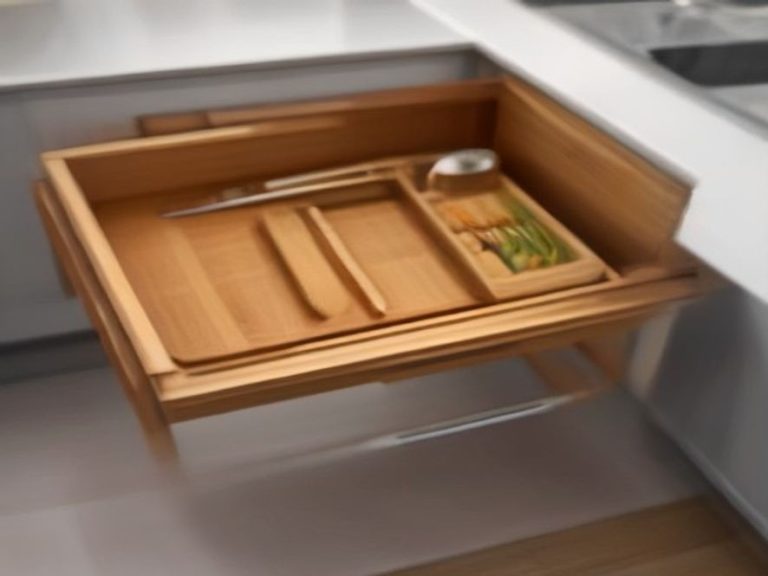
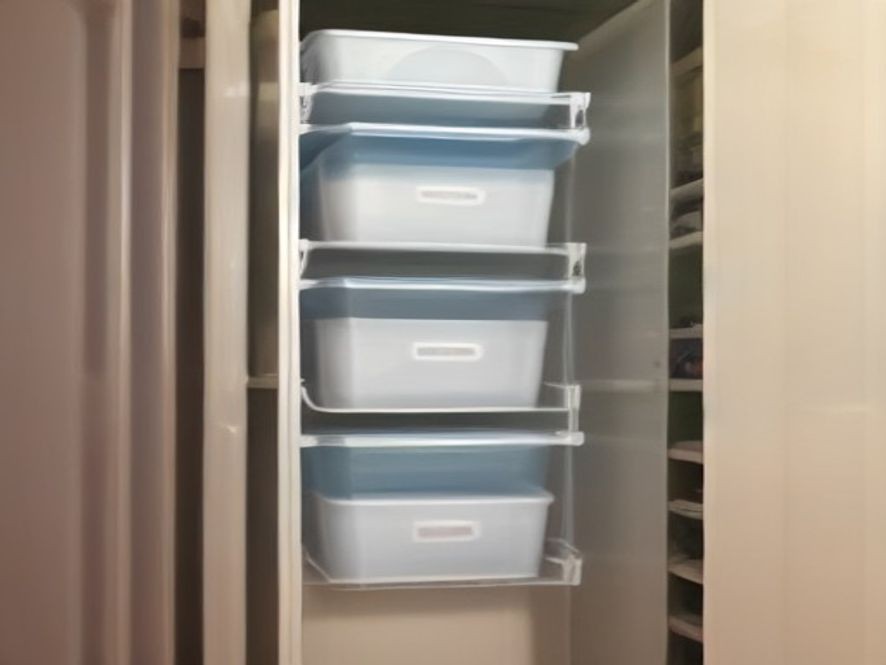
Deep shelves are the biggest culprit behind pantry chaos. Items slide to the back, get forgotten, and expire. The obvious solution is to make the back half more accessible . Long storage containers act as makeshift drawers — you slide them out, grab what you need, and slide them back .
Choose clear containers so you can see what’s inside without pulling them out . Place frequently used items toward the front and less-used items in the back . If standard containers don’t fit your shelf length, attach two containers end to end .
Best for: Pasta, canned goods, snacks, baking supplies
Cost: Under $5 per container
Installation: None — just place on shelves
Lazy Susans and Turntables
A quick spin brings items from the back to the front. Lazy Susans are game-changers for oils, vinegars, sauces, and condiments . They work especially well in corner cabinets where items tend to get lost .
Best for: Sauces, oils, spices, small jars
Cost: $10–30
Installation: Just place on the shelf
“A quick spin prevents items from getting lost in the back and expiring unnoticed.”
Pull-Out Shelves
If you’re willing to do a little DIY, retrofitting existing shelves with pull-out runners creates instant accessibility . This is a bigger project but delivers huge results. Full-extension slides provide smooth motion and weight support for heavy items .
Best for: Heavy items, small appliances, baking pans
Cost: $20–50 per shelf
Installation: Requires basic tools and some DIY skill
Maximizing Vertical Space
Shelf risers are one of the easiest ways to double your storage capacity . They create multiple levels so you can see every item without pulling things forward .
Store-Bought Shelf Risers
Tiered racks and shelf risers let you stack cans, spices, and jars at different heights . Everything becomes visible at a glance, and you never have to dig through a pile to find what you need . Since risers are inexpensive and lightweight, you can adjust the layout as your pantry changes — no drilling or permanent commitment required .
Best for: Canned goods, spices, small condiment bottles
Cost: $5–15 each
Installation: Just place on the shelf
DIY Cardboard Risers
On a tight budget? Grab sturdy cardboard boxes, some contact paper, and a pair of scissors to make custom risers in about ten minutes . The contact paper gives them a clean, uniform finish that blends into your pantry . And because you can cut them to any size, they fit perfectly on narrow or deep shelves .
Best for: Deep shelves where items get lost
Cost: Free (if you have materials at home)
Installation: Cut and place
Stackable Bins
Stackable bins let you build upward without worrying about items toppling over. Use them for grouped storage, like all snacks in one bin and baking supplies in another .
Using the Back of the Door
Most people focus only on shelves and forget about the back of the pantry door. Pantry door storage adds extra space without taking up a single inch of shelf room .
Over-the-Door Racks
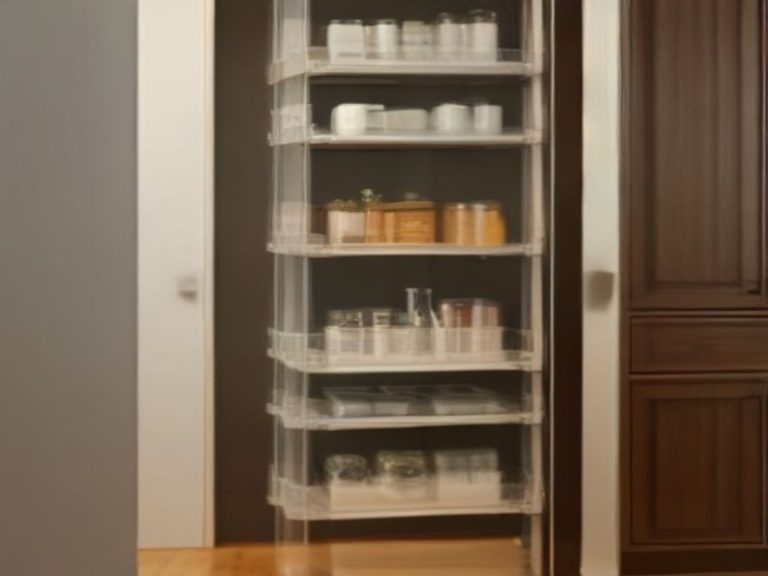
Over-the-door racks have multiple shelves that hang over the top of the door . They’re perfect for storing spices, snacks, and small items . Best of all, they require no assembly or tools — just stretch them out and hang .
Choose a rack with adjustable shelves so you can customize the spacing for different items . Also check that your door thickness is less than 5cm (about 2 inches) before purchasing .
Best for: Spices, snacks, condiments, foil and wrap
Cost: $15–40
Installation: No tools needed — just hang over the door
Door-Mounted Organizers
Shallow racks or bins attached directly to the door surface create even more options . Magnetic spice strips are another great choice for metal doors or surfaces .
Best for: Lightweight items, spices, seasoning packets
Installation: Usually requires screws or adhesive strips
Creating Zones for Easy Access
A pantry without zones quickly becomes cluttered because everything competes for the same space . Zones make it easy to find items without searching every shelf .
How to Zone Your Pantry
Start by grouping items by how you actually use them, not how they look . Common zones include:
- Snacks — granola bars, chips, crackers
- Baking supplies — flour, sugar, chocolate chips
- Breakfast foods — cereal, oatmeal, pancake mix
- Canned goods — soups, vegetables, beans
- Pasta and grains — rice, pasta, quinoa
- Spices and condiments — oils, vinegar, sauces
Place frequently used items on middle shelves for easy access and less-used items higher or lower .
Using Baskets and Bins
Baskets contain loose items and keep them from falling over . They make it easy to pull everything out at once instead of digging around . Label each basket with a chalkboard sticker so the category is clear — and so it’s easy for everyone to put things back .
Best for: Snack bags, granola bars, seasoning packets, lunch items
Cost: $5–15 each
Additional Space-Saving Ideas
Use Clear Containers for Dry Goods
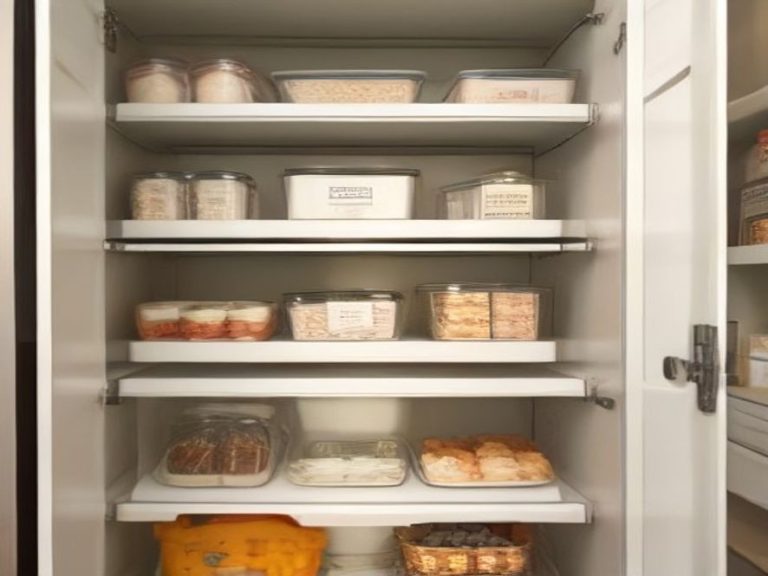
Clear containers keep dry goods fresh, improve visibility, and create a uniform look . They also help prevent pest issues and reduce bulky packaging . Decant your most-used items like flour, sugar, rice, and cereal .
Be selective — you don’t need to transfer everything . Focus on items you use often or that come in awkward packaging .
Best for: Flour, sugar, rice, pasta, cereal
Cost: $2–10 each
Hang a Tension Rod for Clips and Bags
A tension rod turns an awkward gap near the top of your pantry into handy storage . Hang bag clips, reusable produce bags, or measuring spoons from it . It’s a five-minute fix that costs next to nothing and clears up shelf clutter .
Best for: Bag clips, lightweight bags, measuring spoons
Cost: Under $5
Installation: No tools — just spring tension
Create a Backstock Zone
Keep an upper shelf or a labeled bin for overflow items . This prevents everyday shelves from getting overloaded while still letting you buy in bulk . You’ll avoid running out of staples and reduce extra trips to the store.
Comparison of Storage Solutions
| Item/Method | Best For | Effectiveness | Difficulty Level | Cost |
|---|---|---|---|---|
| Long storage containers | Deep shelves | High | Very Easy | Under $5 each |
| Shelf risers | Vertical space | High | Very Easy | $5–15 |
| Over-the-door racks | Door space | High | Very Easy | $15–40 |
| Lazy Susans | Corner/deep shelves | High | Very Easy | $10–30 |
| Clear containers | Dry goods | High | Easy | $2–10 |
| Baskets and bins | Loose items | Medium | Very Easy | $5–15 |
| Tension rods | Small items, clips | Medium | Very Easy | Under $5 |
| Pull-out shelves | Heavy items | Very High | Moderate | $20–50 |
FAQ: Pantry Storage Without Remodeling
1. Can I organize a small pantry without buying lots of containers?
Yes. Start by decluttering and creating zones with what you already have. Buy organizers only after you’ve organized everything logically and identified where a container would solve a problem .
2. What’s the cheapest way to maximize pantry storage?
DIY cardboard shelf risers, tension rods, and free zones are the most budget-friendly options. Decluttering first also saves money by showing you what you actually have and preventing duplicate purchases .
3. Can renters use these storage solutions?
Absolutely. Most solutions require no drilling or permanent changes. Over-the-door racks, adhesive hooks, and freestanding bins and risers work perfectly in rental kitchens .
4. What’s the best way to organize deep pantry shelves?
Use long storage containers that pull out like drawers, or install lazy Susans to bring items from the back to the front. Keep frequently used items toward the front .
5. How do I keep my pantry organized long-term?
Label everything, do a quick 10-minute refresh once a month, and involve everyone in the household in maintaining the zones .
Start Small and Build
Maximizing pantry storage without remodeling is one of the easiest kitchen upgrades you can do. Start with one shelf or one door, and build from there. Once you see how much space you actually have, you’ll wonder why you didn’t do this sooner.
Small changes like long storage containers, shelf risers, and door organizers can transform your pantry without spending a lot of money or time.
Which pantry storage challenge do you want solved next? Share your thoughts in the comments.
How to Maximize Pantry Storage Without Remodeling: Budget-Friendly Organization Ideas for Any Kitchen