How to Organize a Pantry With Deep Shelves: Smart Solutions for Every Inch
You reach into the back of your pantry, and your hand disappears into a dark abyss. You find a can of soup from three years ago, a bag of chips you forgot about, and a mystery box you can’t identify. Deep pantry shelves are a blessing and a curse—you have tons of storage space, but it becomes a black hole where items vanish. The good news is that with a few smart strategies, you can make every inch of those deep shelves work for you. This guide will show you how to fix a deep pantry shelf so nothing ever gets lost again.
TL;DR
Organizing deep pantry shelves is all about bringing the back of the shelf forward and making every item visible. The most effective strategy is using long storage containers as pull-out drawers, so you can slide out the entire container and see everything without digging . Add tiered risers to canned goods so labels face you, use lazy Susans for oils and sauces, and create clear zones for categories like snacks, baking, and canned goods . Labeling shelf edges helps everyone in the household maintain the system . And don’t forget a monthly reset to keep things from drifting back into chaos.
Key Takeaways
- Use Long Containers as Drawers: Turn deep shelves into accessible pull-out drawers by using long, clear containers that you can slide out .
- Create Zones: Assign each shelf a category—snacks, canned goods, baking, etc.—and group items accordingly .
- Add Tiered Risers: Use stepped risers to create stadium seating for cans and jars so you can see everything .
- Use Lazy Susans: Put oils, vinegars, and condiments on turntables near the front for easy spinning access .
- Label Shelf Edges: Label the front edge of your shelf so everyone knows where to return items .
- Do a Monthly Reset: A quick monthly check ensures your system doesn’t drift back into chaos .
The Real Causes Behind Deep Shelf Chaos
Deep shelves are tricky because they hide items in the back. Understanding why this happens is the first step to fixing it for good.
The “Back of the Shelf” Black Hole
When a shelf is more than 20 inches deep, it’s easy to shove items to the back and forget about them. You buy duplicates because you can’t see what you already have, and food expires in the dark corners . This is the “buried treasure” effect, and it’s the main reason deep shelves become chaotic.
The “Shove and Forget” Habit
When you’re in a hurry, it’s natural to shove items into any open space. On deep shelves, this means items get pushed back and forgotten. Without a system, deep shelves become a graveyard of abandoned boxes and expired cans .
“If left unstructured, you are going to create a graveyard of abandoned cereal boxes, expired cans, and snacks that are gone until you come across them again a year later.”
A Step-by-Step Guide to Organizing Deep Pantry Shelves
Here is a practical plan to transform your deep shelves from a black hole into a functional space.
Step 1: The Great Purge
You can’t organize clutter. Start with a complete clean-out.
- Empty Everything: Take all items out of your pantry and lay them on your counter. This is the first step to seeing what you actually have .
- Check Expiration Dates: Toss anything expired, stale, or that you haven’t used in months. Be ruthless.
- Group by Category: Sort items into categories like snacks, baking, canned goods, grains, and breakfast .
- Wipe Down Shelves: Clean thoroughly before putting anything back.
Step 2: Use Long Containers as Pull-Out Drawers
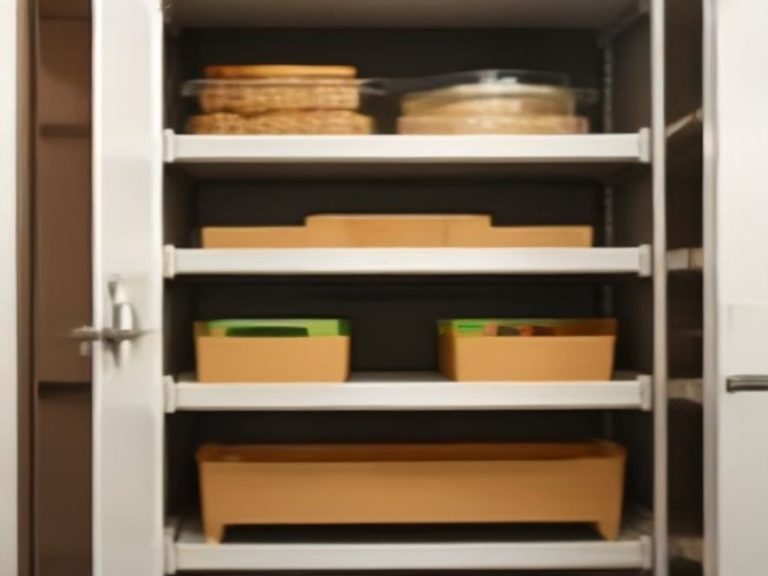
This is the single most impactful change you can make for deep shelves. Long storage containers act like makeshift drawers, allowing you to easily reach items in the back .
- How It Works: Choose clear, long containers that fit the depth of your shelf. Place similar items inside—pastas with pastas, cereals with cereals .
- Why It Helps: You can slide the container out like a drawer, see everything inside, and grab what you need without digging .
- Clear is Key: Clear containers increase visibility of items tenfold, so you can spot your forgotten pasta supply at a glance .
- Label Your Containers: Labeling helps you know what’s inside each bin, especially if you have multiple containers .
Step 3: Create Zones and Categories
Professional organizer Elena Navarro recommends grouping items by category and assigning each shelf an overarching theme .
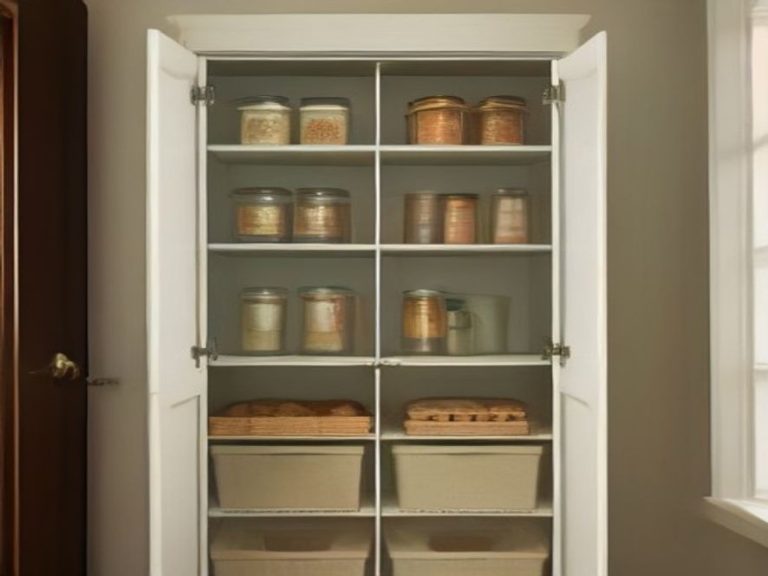
- Designate One Theme Per Shelf: One shelf shouldn’t have ten different types of food on it. It confuses the system and makes it harder to find things .
- Examples of Categories: Snacks, baking, canned goods, grains, breakfast items, and backstock .
- Use Bins or Baskets: Place like items in clear bins or labeled baskets. This keeps items contained and makes categories easy to spot . You can use inexpensive Dollar Tree bins or stackable crates for a budget-friendly solution .
Step 4: Add Tiered Risers for Cans and Jars
A tiered riser is a game-changer for canned goods. It creates “stadium seating” so every label is visible at a glance .
- What to Use: You can buy tiered pantry shelf risers or make your own from scrap wood .
- Where to Place: Put tiered risers on deep shelves for cans, jars, and sauces to ensure nothing gets hidden .
| Solution | Purpose | Key Benefit |
|---|---|---|
| Long Storage Containers | Create pull-out drawers on deep shelves | You can slide out the entire container and see everything |
| Tiered Can Risers | Create stadium seating for cans and jars | Every label is visible at a glance |
| Lazy Susans | Store oils, vinegars, and condiments | A quick spin brings everything to the front |
| Clear Bins or Baskets | Group items by category | Pull out the whole bin to access items in the back |
Step 5: Put Lazy Susans Up Front
Lazy Susans are perfect for oils, vinegars, and condiments. Keep them near the front of deep shelves so you’re not reaching into the shadows .
- Why It Works: A turntable lets you spin the items to easily access every bottle .
- Rectangular is Better: If possible, use a rectangular lazy Susan to save space, as circular ones can create dead space on square shelves .
Step 6: Label the Front Edge of Your Shelf
Labels aren’t just for containers—they’re for the shelf itself. Professional organizer Elena Navarro recommends labeling the front edge of the shelf .
- Why It Helps: This trains everyone in the household to return items to the right spot and keeps the system from falling apart after one week .
- What to Label: Use simple labels like “Snacks,” “Canned Goods,” or “Baking Supplies.”
Step 7: Maintain with a Monthly Reset
Even the best system will drift over time. A monthly reset keeps things in check .
- How to Do It: Spend 5-10 minutes each month checking expiration dates, consolidating duplicates, and straightening shelves .
- The 5-Minute Rule: After your grocery haul, spend five minutes rotating stock so new items go behind older ones .
Quick Reference: Deep Shelf Fixes
| Problem | Solution |
|---|---|
| Items hidden in the back | Use long storage containers as pull-out drawers |
| Can’t see what you have | Use clear containers and tiered risers |
| Oils and sauces are hard to reach | Place them on a lazy Susan near the front |
| Family doesn’t know where things go | Label the front edge of the shelf |
| Pantry drifts into chaos | Schedule a monthly 5-10 minute reset |
Frequently Asked Questions
What are the best containers for deep pantry shelves?
Long, clear storage containers are ideal because they act like pull-out drawers, allowing you to slide them out and see everything inside .
How do I keep cans from getting lost on deep shelves?
Use a tiered can riser. It creates “stadium seating” so every can label is visible at a glance .
What’s the best use for a lazy Susan on deep shelves?
Place oils, vinegars, and condiments on a lazy Susan near the front so you can spin it to easily access everything .
How do I stop items from drifting to the back?
Use bins or containers to create a system. When items have a designated home, they’re less likely to get shoved to the back .
How often should I reset my deep pantry shelves?
Do a quick 5-10 minute reset each month to check expiration dates, consolidate duplicates, and straighten shelves .
References
Smart Solutions for Deep Pantry Shelves:
- Tasting Table – The Absolute Best Storage Hack For Deep Pantry Shelves
- Tasting Table – Tame Your Deep Pantry Mess With Just 2 Simple Items
- Food Republic – Deep Pantry Shelves Organization Tips
- Mother Earth News – How to Organize a Deep Pantry
Deep pantry shelves don’t have to be a source of frustration. By using long containers as pull-out drawers, adding tiered risers for visibility, and creating clear zones, you can transform even the deepest shelves into a functional, organized space. Remember, the key is making the back of the shelf as accessible as the front. A little planning and the right tools will save you time, money, and the headache of finding expired food in a dark corner.
Which kitchen problem do you want solved next? Share your thoughts in the comments.