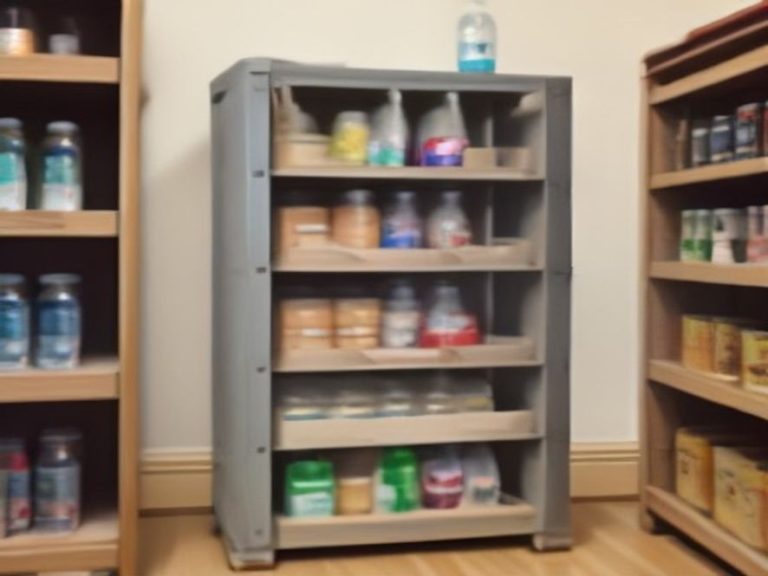
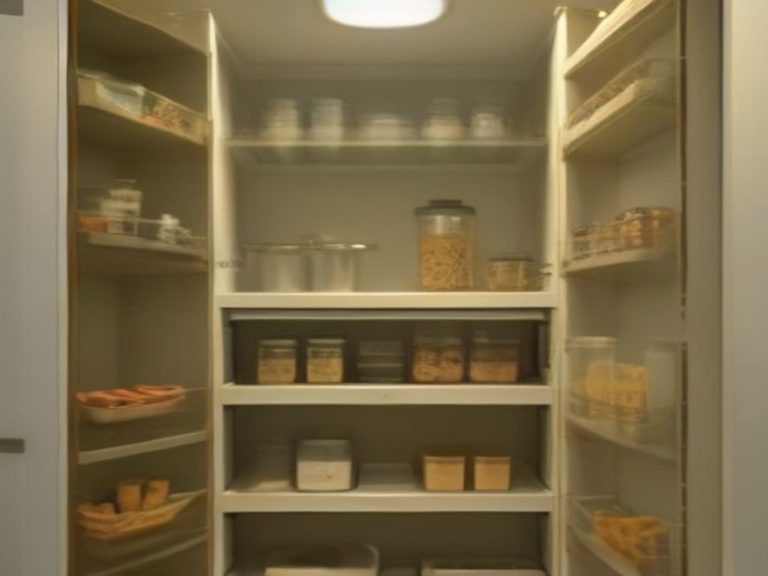
How to Organize Pantry Shelves by Food Type: A Simple Guide
When you open your pantry, can you find what you need without rummaging through five different shelves? If not, organizing by food type is the fix.
TL;DR
Organizing pantry shelves by food type means grouping similar items together — all canned goods in one spot, baking supplies in another, snacks in their own zone. This creates a “grocery store” layout in your own kitchen, making ingredients easy to find and preventing duplicate purchases. Start by emptying everything out, grouping items into categories based on how you use them, and placing the categories you reach for most at eye level.
Key Takeaways
- Organize by category, not by size — group pasta with pasta, canned goods with canned goods
- Place daily-use items at eye level for quick access while cooking
- Store heavy items on lower shelves to avoid accidents and make lifting easier
- Use clear containers for dry goods to see when you’re running low
- Build zones around how you cook — breakfast together, baking together, dinner staples together
Why Organizing by Food Type Works
When you group similar items together, you stop wasting time searching. You know exactly where to look for pasta, where to find a can of beans, and where the baking supplies live . Think of your pantry like a grocery store — everything has its own aisle, and anyone in your household can find what they need without asking you .
Organizing by type also helps you see what you actually have. When all the canned tomatoes are in one spot, you’ll never buy a fourth can when you already have three . And when it’s time to cook, you can grab everything for a meal from one zone instead of hunting across the whole pantry .
The Core Pantry Zones
Grains, Pasta, and Rice
This zone holds all your starches: pasta, rice, quinoa, couscous, and any boxed grain mixes. Store them together so when you’re planning dinner, you can see all your options at once . Use clear containers for bulk items like rice and pasta so you can see how much is left .
Placement: Keep this zone near the dinner ingredients zone at eye level or just below.
Canned Goods and Jarred Items
Group all canned vegetables, beans, soups, pasta sauce, and jarred items together . This is one of the most useful zones because canned goods are meal-building staples.
How to organize them inside the zone:
- Keep similar types together — all beans, all tomatoes, all soups
- Place newer cans behind older ones (FIFO method)
- Face labels outward so you can read them without pulling cans out
Placement: Heavy items like canned goods belong on lower shelves for safety .
Baking Supplies
Flour, sugar, baking powder, baking soda, cocoa powder, chocolate chips, and extracts all live together here . This makes baking prep much faster because you’re not running around looking for ingredients mid-recipe .
How to store:
- Transfer flour and sugar into airtight containers to keep them fresh and pest-free
- Label containers clearly so you know which flour is which
Placement: If you bake weekly, keep this at eye level. If you bake occasionally, a higher shelf works .
Breakfast Zone
Cereal, oatmeal, granola, pancake mix, syrup, coffee, and tea all in one spot makes mornings easier . When you’re half-awake and rushing, you don’t want to hunt for the coffee or the cereal.
Placement: Eye level or within easy reach. If kids make their own breakfast, keep cereal on a low shelf they can reach .
Snacks and Quick Bites
Dedicate a zone for chips, crackers, granola bars, nuts, dried fruit, and other grab-and-go items . Using a basket or bin keeps everything contained and easy to pull out .
Placement: Keep this at kid height if children need to access it, or at eye level for adults who snack often .
Spices, Condiments, and Oils
Group all your seasonings, oils, vinegars, soy sauce, and cooking sauces together . These are the items you reach for constantly while cooking, so they deserve prime real estate.
How to organize:
- Use a turntable to spin and access bottles without knocking things over
- Place everyday cooking oils and spices at eye level near the stove if possible
- Keep less-used specialty spices higher or further back
Placement: Eye level or right where you prep meals for quick access .
Step-by-Step: How to Organize by Food Type
Step 1: Empty Everything Out
Take everything out of your pantry and spread it on your counter or table. This is the only way to see what you actually have .
Step 2: Check Expiration Dates
As you sort through items, check expiration dates. Toss anything expired, stale, or that you know you won’t use . Donate unopened items you won’t eat.
Step 3: Group Into Categories
Put similar items together on your counter. Start with the core zones — grains, canned goods, baking, breakfast, snacks, spices and condiments . You can adjust categories based on how your family cooks.
Step 4: Choose Containers and Organizers
For dry goods like flour, pasta, rice, and cereal, transfer into clear, airtight containers . Square or rectangular containers use shelf space more efficiently than round ones .
Step 5: Place Categories Back on Shelves
Before putting anything back, decide where each zone belongs . Place daily-use items at eye level, heavy items on lower shelves, and less-used items higher up .
Step 6: Label Clearly
Label shelves or containers so everyone knows where things belong . Simple chalk labels work great and can be updated when categories change .
Comparison: Organizing by Food Type vs. Other Methods
| Method | Best For | Pros | Cons |
|---|---|---|---|
| Food type | Most households | Intuitive, easy to maintain, works for all ages | Requires some initial planning |
| Cooking workflow | People who cook specific meals often | Speeds up meal prep for regular recipes | Can be confusing for others in household |
| By size | Small pantries | Looks uniform | Harder to find specific items |
| Alphabetical | Spices or small collections | Easy to locate exact items | Time-consuming to maintain |
FAQ: Organizing a Pantry by Food Type
1. How many categories should I use?
6–8 categories works for most pantries . The categories that matter most are grains, canned goods, baking, breakfast, snacks, and condiments. Add more if your pantry is large, or simplify if it’s small .
2. Where should I store the categories I use most?
Eye level (between your waist and shoulders) for daily-use items like spices, oils, and breakfast foods . Keep less-used items higher or lower .
3. How do I decide between categories?
Put everything into piles on your counter first. Use categories that match what you eat and cook most often . If you bake a lot, give baking a big zone. If you rarely bake, group those items higher up and give more room to dinner staples.
4. Should I categorize by food type or how I cook?
Organizing by food type is simpler and works for most households . Some people prefer cooking workflow organizing (keeping all ingredients for a meal together), but this can get confusing for others in the house . Food type is more intuitive for everyone.
5. What about spices?
Keep spices and frequently used condiments in a separate zone near the stove or at eye level . A lazy Susan works great for this zone .
Start Organizing by Food Type Today
Organizing your pantry shelves by food type makes cooking easier, reduces food waste, and stops duplicate purchases . Start by emptying everything out and grouping into categories that match how your family eats. Place daily-use items at eye level, keep heavy items low, and add labels so everyone can find what they need.
Once you experience the ease of a pantry where everything has a home, you’ll wonder why you waited so long.
Which food category zone will you start with first? Share your thoughts in the comments.
How to Organize Pantry Shelves by Food Type: Simple Category Zones for Everyday Cooking