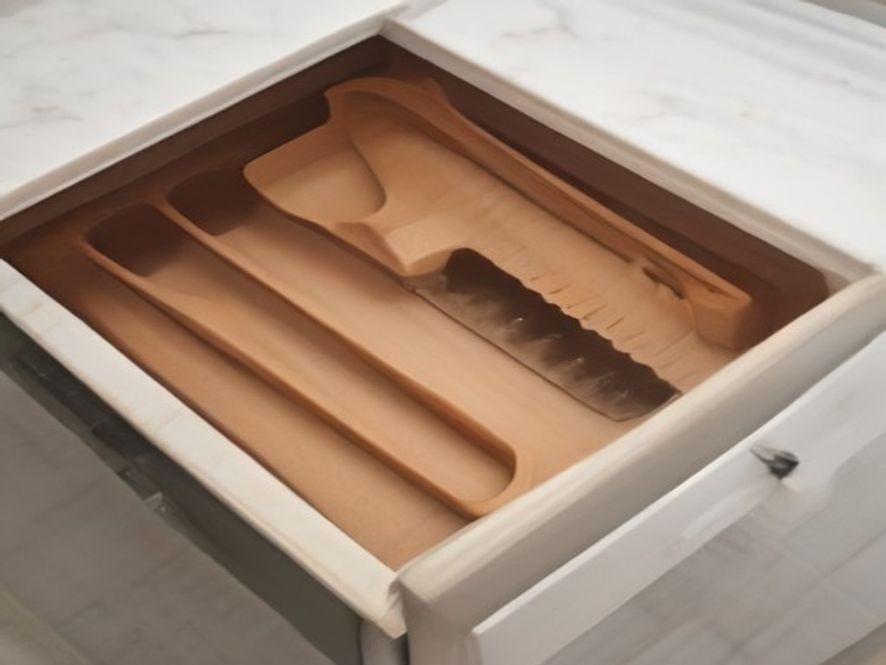
How to Organize a Kitchen Drawer for Baking Tools: Best Guide & Smart Storage Solutions
That frantic search for the rolling pin while your dough sits out too long can turn a fun baking session into a stressful race against the clock.
We’ve all been there. You’re in the zone, ready to bake a batch of cookies, and you’re elbow-deep in a “junk drawer” that has somehow become the final resting place for everything from takeout menus to old batteries. You need your measuring spoons and spatula, but you find a garlic press and a broken whisk instead. A messy cooking space can quickly take the joy out of home baking. This guide provides practical, step-by-step tips and solutions to help you fix your chaotic baking drawer, making your kitchen a happier, more efficient place to create.
TL;DR
Organizing your baking tools is about more than just making things look tidy; it’s about creating a smooth, efficient workflow. By dedicating a specific drawer to your baking essentials, you can save time, reduce frustration, and actually enjoy the process more. This guide walks you through emptying, categorizing, and using the best organizers to make your baking space work for you.
Key Takeaways
- Dedicate a Drawer: Give your baking tools a home separate from general cooking utensils to ensure they’re always easy to find.
- Categorize by Function: Group similar items together, like measuring tools, mixing tools, and decorating supplies.
- Use Drawer Dividers: These are essential for keeping everything in its place and preventing a jumbled mess.
- Prioritize Accessibility: Store your most-used items, like a rolling pin or a whisk, at the front of the drawer.
- Maintain Regularly: A quick clean-out every few months will help you get rid of damaged or unused tools and keep the drawer organized.
The Real Causes Behind a Chaotic Baking Drawer
The biggest culprit behind a disorganized drawer isn’t just laziness; it’s a lack of a designated system. When you’re in a hurry, it’s easier to toss a tool back into any open drawer rather than finding its “home.” This leads to a frustrating mix of items where kitchen organization goes out the window. Another cause is simply having too much stuff. We often hold onto gadgets for that one recipe we made years ago, or we have multiple sets of the same tool cluttering up the space. To fix this, you need to start from scratch and be honest about what you actually use.
Step-by-Step Guide: How to Organize Your Baking Drawer
Ready to transform your drawer from a disaster zone to a baker’s dream? Here is a step-by-step guide to get you there.
Step 1: Empty and Audit Everything
This is the most critical step. Pull out every single item from the drawer you plan to use. And while you are at it, check the other drawers in your kitchen for any misplaced baking tools that need to be reunited with their friends. Once everything is out, you can truly assess what you have.
- The “Keep or Toss” Game: This is your moment to be ruthless. Hold up each item and ask yourself:
- Have I used this in the last year?
- Do I even know what this is for?
- Is it damaged or broken?
- Be Honest: That special cookie cutter you bought on a whim five years ago can probably go. The same goes for the third set of measuring spoons you never use. Decluttering is the first and most powerful step toward a tidy drawer.
Step 2: Categorize Your Baking Tools
Before putting anything back, group your tools into logical categories. This helps you see how much space each type needs and makes it easier to assign a “home” for each group. Common categories for a baking drawer include:
- Measuring Tools: Measuring cups (dry and liquid), measuring spoons.
- Mixing Tools: Whisks, silicone spatulas, wooden spoons.
- Rolling & Shaping: Rolling pins, pastry cutters, bench scrapers, cookie cutters.
- Decorating: Piping bags and tips, pastry brushes, icing spatulas.
- Specialty Tools: Cake testers, apple corers, zesters (if used often for baking).
Step 3: Pick the Perfect Drawer
Not all drawers are created equal. The best drawer for your baking tools should be located close to your main prep area and oven.
- Accessibility: Think about how you move around your kitchen. To make the baking process smoother, the drawer you choose should be as close as possible to where you work, saving you from running circles around your kitchen.
- Depth Matters: A deep drawer is fantastic for bulky items like a rolling pin or a stand mixer attachment, while a shallow one is better suited for flat measuring spoons and cookie cutters.
Step 4: Choose Your Organizers
Now for the fun part: picking the solutions that will keep everything in place. Your choice will depend on the size and depth of your drawer.
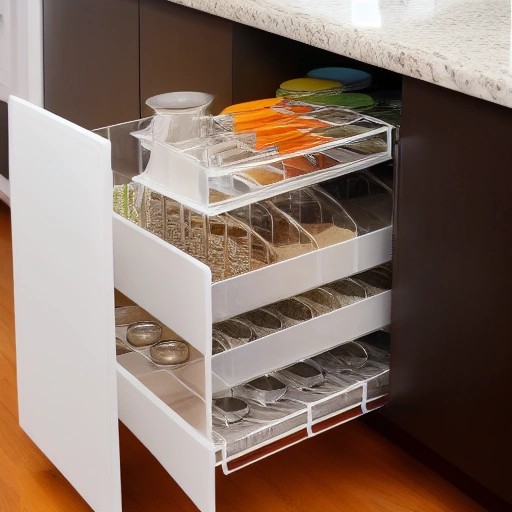
- Drawer Dividers: These are the MVP of drawer organization. Adjustable or expandable dividers let you create customized lanes for your tools. They are perfect for keeping categories separate and preventing items from shifting around.
- Low-Profile Trays: For a shallow drawer, a simple divided tray with compartments is ideal for measuring cups and spoons. Look for ones with clear lanes so you can see each size at a glance.
- Peg Systems: For deep drawers, a peg system is incredibly versatile. You can arrange the pegs to hold anything from plates to large bowls in place, keeping them from sliding around.
- Small Bins & Containers: Clear containers are perfect for holding smaller items like cookie cutters, piping tips, or cupcake liners. This groups them together, and you can easily see what’s inside.
Step 5: Organize by Frequency of Use
You’ve got your categories and your organizers, so now it’s time to put them in the drawer. The golden rule here is to place the tools you use most often at the very front. This is a key principle of a good kitchen layout planner. Your everyday spatula and measuring cups should be right at your fingertips, while specialty items you use once a year can live in the back. This simple step will save you from digging through everything just to find your favorite whisk.
Step 6: Label and Maintain
Once everything is in its place, take it a step further to ensure it stays that way. You can add small labels to your containers or dividers. This is especially helpful if multiple people use the kitchen, as it clearly tells everyone exactly where things belong.
Maintaining your new system is just as important as creating it. A quick wipe-down of the drawer every few weeks and a seasonal audit to remove clutter will keep it looking great and working perfectly for the long haul.
Comparison Table: Best Organizers for Your Baking Drawer
Here’s a quick look at your options to help you decide which organizer is the best way to tackle your drawer.
| Organizer Type | Best Used For | Effectiveness | Difficulty Level | Cost |
|---|---|---|---|---|
| Adjustable Dividers | Separating large groups (e.g., mixing tools vs. rolling tools) | Excellent. Keeps categories separate and prevents shifting. | Easy to install. | Low to Medium |
| Low-Profile Trays | Measuring spoons and cups, small cookie cutters | Very effective. Keeps small items visible and in their own compartments. | Very easy. | Low |
| Peg Systems | Deep drawers for organizing pans, lids, and bulky items | Highly effective for deep spaces. Customizable to fit your items. | Medium. Requires planning. | Medium to High |
| Small Clear Bins | Storing small, loose items like piping tips, sprinkles, or cupcake liners | Excellent. Groups small items and makes them easy to find. | Very easy. | Low |
Chart: The Time-Saving Impact of an Organized Baking Drawer
The chart below illustrates the time savings you can expect by having a properly organized baking drawer. Imagine the minutes you’ll save not having to search for the right tool, making your entire baking experience smoother.
Time Saved with an Organized Baking Drawer
FAQ
Why should I dedicate a specific drawer just for baking tools?
Grouping all your baking tools in one place makes them easy to find, saves time, and follows the principle of “mise en place,” or everything in its place.
What are the essential tools for a well-stocked baking drawer?
The essentials include measuring cups and spoons, a whisk, a rolling pin, mixing bowls, spatulas, and baking sheets or pans.
What’s the best way to organize a deep baking drawer?
Deep drawers benefit most from peg systems to hold items vertically, or sturdy dividers to keep bulky items from shifting and to maximize your kitchen’s vertical space.
How do I keep my measuring spoons organized and easy to find?
A low-profile divided tray is a great solution. It keeps each spoon visible and dry. Alternatively, a cabinet-door rack works well for those who bake frequently and want quick access.
How often should I clean out my organized baking drawer?
It’s a good habit to do a quick clean-out every few months to remove any crumbs, wipe down the drawer, and get rid of tools you no longer use.
What’s the first step to organizing a cluttered drawer?
The very first and most important step is to empty the entire drawer. You can’t organize what you can’t see, and this forces you to evaluate every single item you own.
Can I put knives in my baking drawer?
If you choose to, it’s safest to use an in-drawer knife block or a magnetic strip to keep the blades protected and prevent accidents.
Did this guide help you tackle your baking drawer? What other kitchen challenges are you facing? Let us know in the comments below!
Smart Kitchen Organization: Tips and Solutions for a Functional Home: