How to Choose the Right Measuring Tools for Cooking: Your Complete Kitchen Accuracy Guide
That sinking feeling when your cake comes out dry and dense—and you realize you probably used the wrong measuring cup for the flour—can turn a fun baking session into a frustrating kitchen failure.
Every home cook faces this dilemma. You grab whatever cup is closest, scoop your ingredients, and hope for the best. But the choice of measuring tools affects everything from your recipe’s success to your kitchen budget and cooking confidence.
TL;DR
The right measuring tools depend on what you’re measuring. Dry ingredients need flat-topped dry measuring cups with the spoon-and-level method. Liquids need clear cups with spouts and measurement lines, read at eye level. A digital kitchen scale is the gold standard for accuracy—especially for baking. Start with a basic set of dry cups, liquid cups, and measuring spoons, then add a scale for precision cooking.
Key Takeaways
- Dry measuring cups are for flour, sugar, and other dry ingredients—they have flat tops for leveling
- Liquid measuring cups feature spouts and measurement lines below the rim for slosh-free pouring
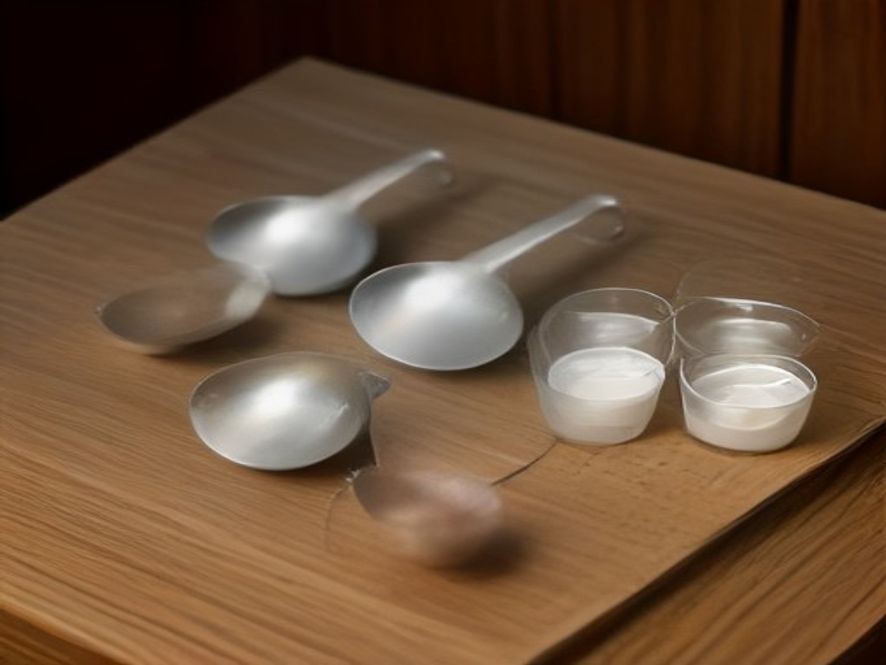
- Measuring spoons handle both dry and liquid small amounts—get two sets to avoid washing mid-recipe
- A digital kitchen scale provides the most accurate measurements, especially for baking
- Material matters—stainless steel resists staining and lasts longest; glass is best for liquids
The Real Causes Behind Recipe Failures and How Measuring Tools Can Fix Them
Why Using the Wrong Cup Ruins Your Recipes
Many home cooks don’t realize that dry and liquid measuring cups are not interchangeable. Using a liquid measuring cup for dry ingredients prevents you from leveling off the excess, leading to too much flour and dry, dense baked goods. Using a dry measuring cup for liquids makes accurate reading impossible—you’d have to fill it to the brim and risk spilling.
“Most kitchen problems come from small maintenance habits that are often ignored.”
Why Measuring Technique Matters as Much as the Tool
Even with the right cup, technique matters. Scooping flour directly from the bag packs it down, adding up to 20% more flour than the recipe expects. Spooning flour into the cup and leveling it off ensures accuracy. And for liquids, reading at eye level—not from above—is essential to see the bottom of the meniscus (the curve of the liquid).
Step-by-Step Guide: Choosing and Using the Right Measuring Tools
Step 1: Identify What You’re Measuring
| Tool | Best For | Why It Works |
|---|---|---|
| Dry measuring cups | Flour, sugar, cocoa, oats, nuts, chocolate chips, nut butters, sour cream | Flat rims let you level off excess for precise volume |
| Liquid measuring cups | Water, milk, oil, broth, honey, corn syrup | Spout and markings below rim prevent spills; clear sides show meniscus |
| Measuring spoons | Salt, spices, baking powder, vanilla, lemon juice, vinegar | Standardized small volumes for both wet and dry ingredients |
| Digital kitchen scale | All ingredients—especially flour, sugar, butter, chocolate | Most accurate method; eliminates compaction errors |
| Kitchen ruler/tape measure | Measuring pan sizes, cutting dimensions | Ensures correct bakeware and consistent cuts |
Step 2: Master the Correct Technique for Each Tool
For Dry Ingredients:
- Fluff the ingredient in its container with a fork or spoon to break up compaction
- Spoon the ingredient into the dry measuring cup until it mounds above the rim
- Level it off with the straight edge of a knife or spatula—never tap or shake the cup
Exception: Brown sugar should be packed firmly into the cup so it holds its shape when turned out.
For Liquid Ingredients:
- Place the liquid measuring cup on a flat, level surface
- Squat down so the measurement line is at your eye level
- Read the measurement at the bottom of the meniscus (the lowest point of the liquid’s curve)
For sticky liquids like honey, molasses, or corn syrup, lightly spray the cup with cooking oil first—the sticky ingredient slides right out.
For Measuring Spoons:
- Fill the spoon until it’s slightly heaping, then level off with a straight edge
- For narrow spice jars, look for oval or rectangular spoon shapes that fit inside
Step 3: Consider Adding a Digital Kitchen Scale
“When you’re baking, weighing your ingredients is the most accurate method possible”. The National Institute of Standards and Technology recommends measuring by mass (weight) rather than volume as a “best practice to improve recipe accuracy”. Once you own a scale, you’ll find it useful for portioning meat, counting servings, and even weighing mail or packages.
Comparison Table: Measuring Tool Materials
| Material | Best For | Pros | Cons | Cost |
|---|---|---|---|---|
| Stainless Steel | Dry cups and spoons | Durable, resists staining, dishwasher-safe, markings don’t fade | More expensive than plastic | $$$ |
| Glass | Liquid measuring cups | Sturdy, microwave-safe, clear measurements, stain-proof | Breakable, heavier than plastic | $$ |
| Plastic | Liquid cups, basic sets | Lightweight, affordable, colorful | Can warp, stain, or fade; lower quality may crack | $ |
| Silicone | Liquid cups, flexible measuring tools | Microwave-safe, squeezable for sticky ingredients, easy to clean | May absorb odors, less rigid than glass or metal | $$ |
Chart: Measuring Tool Accuracy and Use Case Comparison
Expert Tips for Building Your Measuring Tool Collection
Start with the Essentials
If you’re just getting started, these are the tools you need:
- A set of dry measuring cups (1/4, 1/3, 1/2, and 1 cup sizes)—stainless steel is the most durable choice
- A liquid measuring cup (2-cup size is most versatile)—glass or clear plastic with easy-to-read markings
- A set of measuring spoons (1/4, 1/2, 1 teaspoon, and 1 tablespoon)—look for narrow ones that fit spice jars
- A digital kitchen scale (if you bake regularly)—accuracy makes a noticeable difference
Upgrade Considerations
- Stainless steel spoons with engraved markings won’t fade over time like plastic
- Angled liquid measuring cups from OXO let you read measurements from above—no bending required
- Magnetic measuring spoons snap together for tidy storage and stay organized
What to Avoid
- Novelty or decorative measuring tools—they’re rarely accurate, and their unusual shapes make proper measuring difficult
- “Deluxe” sets with oversized pieces—you likely won’t use 1/8 cup or 1/16 teaspoon measures
- Plastic tools with painted markings—they wear off over time, making measurements guesswork
Frequently Asked Questions
Can I use a liquid measuring cup for dry ingredients?
No—the lack of a flat rim prevents leveling, leading to inaccurate measurements.
What’s the most accurate way to measure flour?
Weighing it on a digital kitchen scale is best; spooning and leveling is second best.
How do I read a liquid measuring cup correctly?
Place it on a flat surface and read the meniscus at eye level, not from above.
Do I really need both dry and liquid measuring cups?
Yes—each is designed for specific ingredients and using the wrong type affects accuracy.
How do I measure sticky ingredients like honey?
Lightly spray the measuring cup with oil first—the honey will slide right out.
Are plastic measuring cups bad?
Quality BPA-free plastic works fine, but it can stain or warp over time; stainless steel and glass last longer.
What size measuring set is best for a beginner?
A 4-piece dry cup set, 2-cup liquid measure, and 4-piece spoon set handle most recipes.
References
Kitchen Measuring Guide: Expert Recommendations and Official Measurement Standards:
- America’s Test Kitchen: The Right Measuring Tools
- NIST: Metric Kitchen Culinary Measurement Tips
- Martha Stewart: The Right Way to Use Measuring Cups
- Southern Living: Dry vs. Liquid Measuring Cups Explained
Which measuring tool mystery do you want solved next? Share your kitchen questions in the comments below.