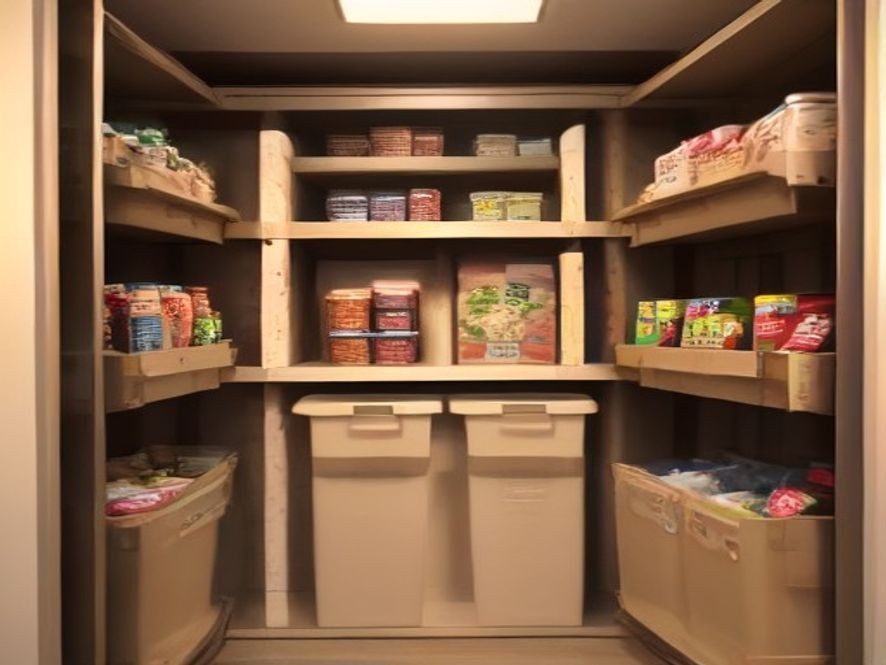
How to Organize a Shared Family Pantry: Practical Solutions That Actually Work
That pantry that’s supposed to feed everyone in your house but somehow becomes a free-for-all zone of spilled cereal, lost snacks, and expired mystery items? It doesn’t have to be that way.
TL;DR
Organizing a shared family pantry is about creating a system that works for everyone, not just the primary cook. Start by emptying everything out and sorting into zones based on how your family actually uses food. Place kids’ snacks on low shelves for independence, put daily items at eye level, and group dinner ingredients together for easy meal prep. Use clear bins for loose items, label shelves and containers simply, and give each family member ownership of their zone. The best systems make the right thing the easiest thing to do — so even tired parents and hungry kids can keep things tidy.
Key Takeaways
- Zone-based organization treats your pantry like a grocery store — separate areas for breakfast, snacks, dinner ingredients, and baking
- Put kids’ items on low shelves so they can reach snacks without climbing or asking for help
- Labels do the training for you — a clearly marked shelf tells everyone where things go without explanation
- Clear bins contain chaos — use them for loose items like snack packets and seasoning sachets
- Heavy items go on lower shelves for safety — no one should reach overhead for canned beans
- Keep a donation basket for pantry cast-offs — canned goods you won’t use or meals nobody liked
Why Shared Pantries Get So Chaotic
A shared family pantry is different from a personal pantry. Multiple people with different habits, preferences, and ages are reaching into the same space. Kids grab snacks, partners put groceries away without knowing the system, and everyone has their own idea of where things “should” go.
Professional organizer Maria Baer explains that the best approach is to treat your pantry like a grocery store — create labeled zones that make sense for your household . This approach works because grocery stores are designed for thousands of different people to find what they need quickly. Your family can do the same thing in your own pantry.
The other challenge is that a system only works if everyone in the household uses it . If you’re the only one who knows the system, you’ll be the only one maintaining it. The goal is to make the right thing the easiest thing to do.
Step-by-Step Guide to an Organized Family Pantry
Step 1: Empty Everything Out
This step is non-negotiable. Take everything out of your pantry and spread it on the counter or dining table . Check expiration dates — most families find they free up 40–50% of their space just from this step alone.
Create piles for:
- Keep — still good and you’ll actually use it
- Donate — unopened items you won’t eat
- Toss — expired or stale items
- Combine — half-empty bags of the same thing (rice, flour, pasta)
This step also helps you see what you actually have before buying any organizers. Never buy bins before you declutter first .
Step 2: Sort Into Zones
Group items the way you actually use them, not the way they look. Common zones for family pantries include :
| Zone | What Goes Here | Best Placement |
|---|---|---|
| Breakfast | Cereal, oats, coffee, tea | Eye level — you need it first thing |
| Snacks | Granola bars, crackers, fruit pouches | Lower shelves — kids should reach these |
| Dinner/Pasta | Pasta, rice, canned tomatoes, sauces | Middle shelf — easy meal assembly |
| Baking | Flour, sugar, baking powder, chocolate chips | Higher shelf — less frequent use |
| Canned Goods | Soups, beans, vegetables | Lower shelves — heavy items |
| Spices & Oils | Seasoning, olive oil, vinegar | Near the stove if possible |
Step 3: Place Items Based on Who Uses Them
This is where shared-family thinking really matters :
- Kids’ items go low — if children can’t reach their snacks, they’ll either ask you constantly or try to climb the shelves. Neither is good
- Daily-use items at eye level — coffee, cereal, cooking oils should be where you naturally look
- Heavy items on lower shelves — large bags of flour or canned goods on high shelves are a safety hazard
- Adults handle the “show-off” zone — one shelf with matching jars and pretty packaging for items you smile at when opening the door
Step 4: Choose the Right Bins and Containers
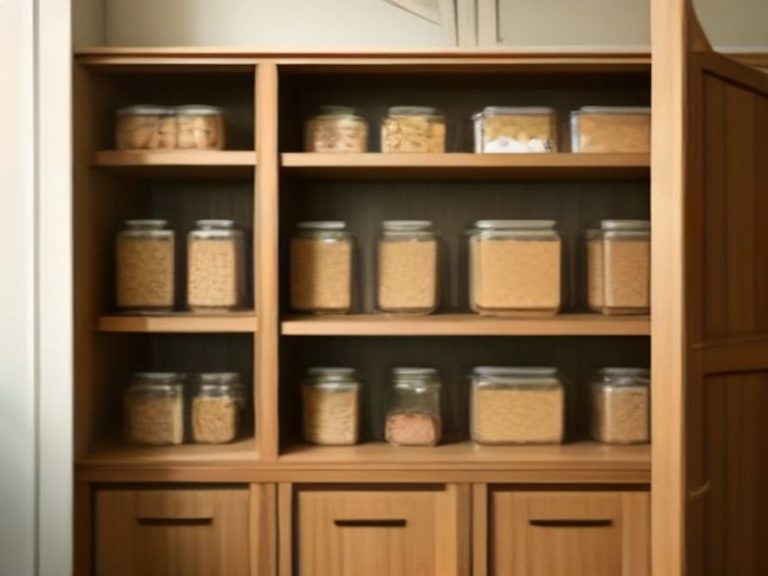
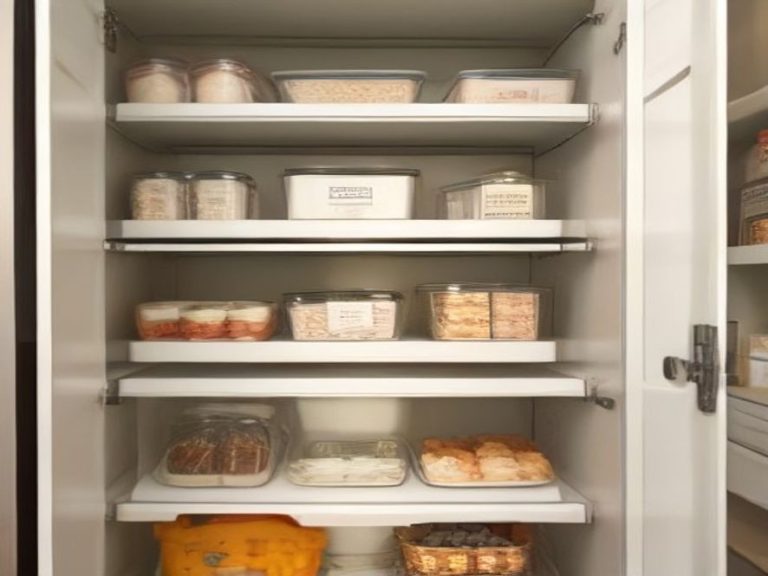
Clear bins are the MVP of family pantry organization . They contain loose items and prevent chaos, but they also let you see what’s inside. Use them for:
- Snack packets (granola bars, fruit pouches)
- Seasoning sachets and gravy mixes
- Baking supplies (sprinkles, chocolate chips)
- Tea bags and coffee pods
You don’t need to decant everything into fancy jars. Just pick the loudest packaging — cereal, oats, flour — and transfer those to a few uniform containers . Cutting out cooking instructions and tucking them inside works well too.
Step 5: Label Everything (But Keep It Simple)
Labels do the training for you . A clearly marked shelf doesn’t require you to explain where the crackers go — the label says it. But keep labels broad:
- “Snacks” is easier to maintain than “Granola Bars”
- “Baking” works better than “Chocolate Chips”
- “Breakfast” covers cereal, oats, and coffee
Chalkboard labels are especially useful for shared pantries because you can wipe them clean and relabel as priorities change . A 120-pack costs under $15 and is dishwasher safe.
Step 6: Give Everyone Ownership
A shared pantry works best when everyone has a role :
- Kids maintain their zone — a 3-year-old can close a bin and push it back on the shelf
- Give your partner ownership of a zone — one person manages dinner staples, the other handles snacks and breakfast
- Labeling makes maintenance instinctive — no one needs to ask where things go
Step 7: Keep a Donation Basket
This is a simple but powerful habit. Keep one bin in your pantry for items you won’t use — cans you bought on a whim, boxed meals nobody liked, or ingredients you overstocked . Every few weeks, it goes to a neighbor or donation box. This prevents clutter from building up again.
Comparison: Organizing by Zone vs. by Size
| Method | Pros | Cons | Best For |
|---|---|---|---|
| Zones | Matches how you cook, intuitive for everyone | Requires initial planning | Families with different eating habits |
| Size-based | Looks uniform | Harder to find specific items | Single-person kitchens |
| Alphabetical | Easy to find exact items | Time-consuming to maintain | Spices and small items only |
Tips for Specific Pantry Types
Reach-In Pantry (Most Common)
- Use the door back for a mounted organizer — spices, wraps, small packets
- Prioritize the middle two shelves for daily zones
- Use shelf risers to double visible surface area
Walk-In Pantry
- Assign each wall or section a zone purpose
- Use deeper shelves for backup stock and bulk items
- Consider a small step stool for upper shelves
No Pantry at All
- Designate one cabinet as your “primary pantry”
- Use one low cabinet or drawer as the kid zone
- Add a slim freestanding unit in a hallway if needed
FAQ: Shared Family Pantry
1. How do I get kids to actually use the pantry system?
Place their snacks on low shelves they can reach and keep bins simple enough for them to close . If they can grab their own snacks, they’ll feel ownership. Involve them in the organizing process too.
2. What if my partner doesn’t follow the system?
Make the system intuitive. If pasta goes where it naturally belongs (near sauces, at a convenient height), people will put it there without thinking . Labels also help — no one can claim they didn’t know.
3. How do I stop duplicate purchases?
Use the “First In, First Out” (FIFO) method — put new items behind older ones . Also consider a shared notes app or whiteboard where family members can mark what’s running low .
4. How much should I label?
Label zones (like “Snacks”) and containers (like “Granola Bars”). Broad category labels are more sustainable than hyper-specific ones that change frequently .
5. Do I need to use clear bins?
Clear bins help everyone see what’s inside, but they also show mess if you don’t keep them neat . They work best for loose items like snack packets and seasoning sachets.
Start Your Shared Pantry Today
Organizing a shared family pantry is about creating a system that works for everyone, not just the primary cook. Start by decluttering, create zones that make sense for how your family eats, place items where they’re accessible for the people who use them, and label everything simply.
The best system isn’t the most beautiful — it’s the one that’s easy enough for everyone to maintain, even when they’re tired and in a hurry.
Which pantry challenge does your family face most? Share your thoughts in the comments.
How to Organize a Shared Family Pantry: Practical Zone-Based Solutions for Real Kitchens