How to Organize a Pantry With Adjustable Shelves: Easy Step-by-Step Guide
If your pantry shelves are fixed at awkward heights, you’re wasting valuable storage space — but adjustable shelves can fix that.
TL;DR
Adjustable shelves give you the flexibility to change shelf heights as your storage needs change. Start by emptying your pantry, measuring everything, and adjusting shelves to fit your tallest and shortest items. Use pull-out drawers, clear containers, and risers to make the most of each shelf. This approach works for homeowners and renters alike, and it’s one of the easiest ways to double your usable storage space.
Key Takeaways
- Adjustable shelving lets you customize shelf heights for tall cereal boxes, short spice jars, and everything in between
- Start by measuring your items and arranging shelves to minimize wasted vertical gaps
- Pull-out drawers and baskets transform deep shelves from dead zones into accessible storage
- Clear containers and labels help maintain organization and reduce food waste
- Door-mounted organizers add extra storage without taking shelf space
Why Adjustable Shelves Are a Game-Changer
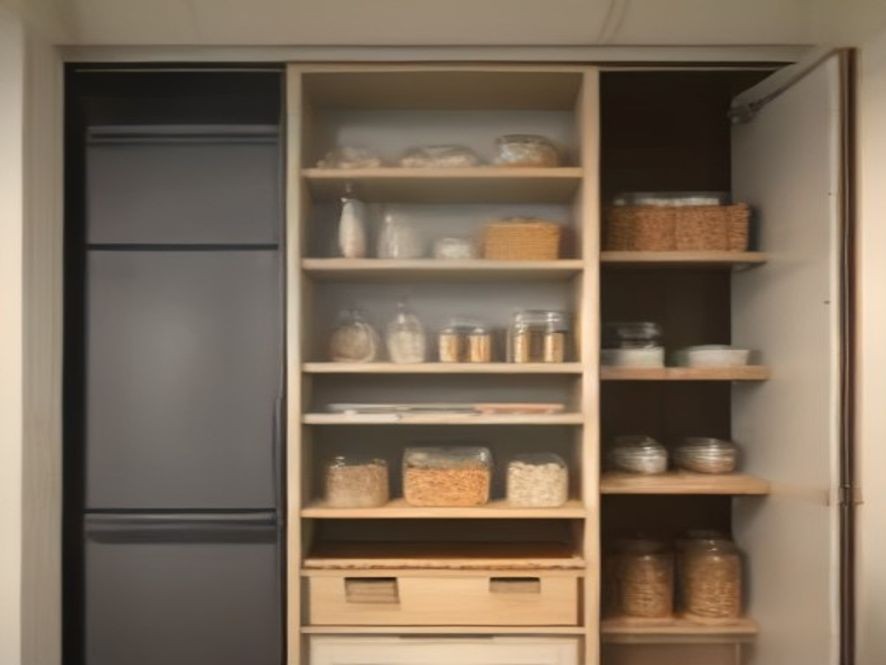
A pantry with fixed shelves is like a closet with only one rod height — it never quite fits what you need to store. Tall cereal boxes get squished or laid sideways, while short spice jars leave huge gaps of wasted space above them. Adjustable shelving lets you tailor the layout to your items, not the other way around .
The beauty is that your pantry needs change over time. One month you might stock up on giant bulk-sized items, the next month you’re storing homemade jams in short jars. With adjustable shelves, you can reconfigure the layout without any major renovation work .
Step-by-Step Guide to Organizing With Adjustable Shelves
Step 1: Empty Everything Out
Start with a clean slate. Take absolutely everything out of your pantry and place it on your counter or dining table. Check expiration dates — you’ll likely find items that expired months or even years ago. Toss anything stale, and donate unopened items you won’t use .
Step 2: Measure Your Space and Your Items
Before you start adjusting shelves, take measurements:
- The width, depth, and height of your pantry interior
- The height of your tallest items (bulk cereal boxes, oil bottles, tall jars)
- The height of your shortest items (spice jars, cans)
- The spacing between current shelf holes or tracks
Also measure your shelves themselves — 12–16 inches deep is ideal for most pantries, fitting most cans and boxes without items getting lost in the back. Deeper shelves may need pull-out trays to keep everything accessible .
Step 3: Adjust Shelf Heights
Now comes the fun part. Move your shelves to create the right gaps for what you store:
- Short gaps (6–8 inches): Spices, small jars, tea boxes
- Medium gaps (10–12 inches): Cereal boxes, pasta, canned goods
- Taller gaps (14–18 inches): Bulk containers, small appliances, tall bottles
Adjustable shelving systems with track-and-bracket setups give you the most flexibility . If your shelves have fixed clips, mark new positions and move them carefully.
Step 4: Group Items Into Zones
Think of your pantry like a grocery store — organize items by category so you always know where to look. Create dedicated zones for:
- Baking supplies (flour, sugar, chocolate chips)
- Canned goods (soups, vegetables, beans)
- Snacks (granola bars, chips, crackers)
- Breakfast items (cereal, oatmeal, coffee)
- Pasta and grains (rice, pasta, quinoa)
- Spices and condiments (oils, vinegar, sauces)
Place frequently used items at eye level and heavier items on lower shelves for safety.
Step 5: Add Pull-Out Drawers and Baskets
Deep shelves hide items in the back — pull-out drawers and baskets bring everything forward with one motion. They’re especially useful for lower shelves where bending and reaching would otherwise be awkward .
Retrofit kits for pull-out shelves cost around $30 to $80 per shelf and are worth the investment .
Step 6: Use Shelf Risers and Organizers
Adjustable shelves already give you vertical flexibility, but shelf risers add another layer of organization. These tiered stands create stadium-style seating for canned goods and spices, making every item visible at a glance .
For a budget-friendly DIY option, you can build your own adjustable riser set from ½-inch plywood for under $50 — it slides to fit different pantry widths .
Step 7: Use Clear Containers and Labels
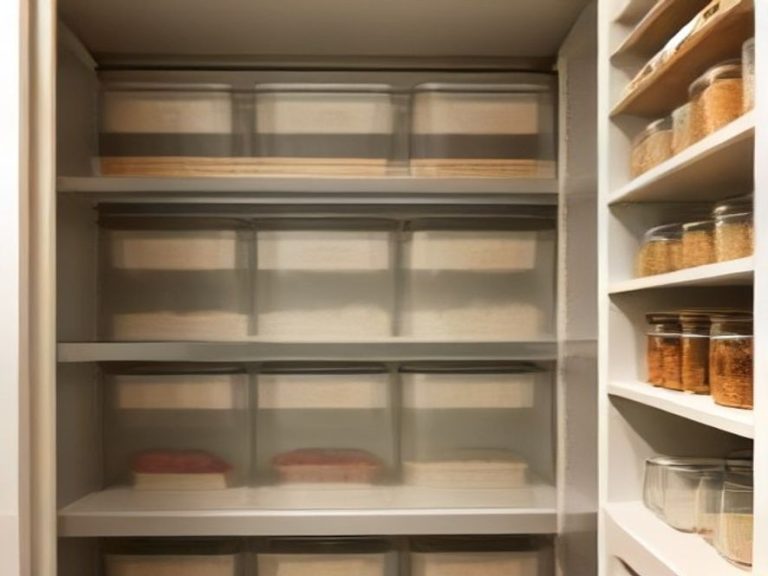
Transfer dry goods like flour, sugar, rice, and pasta into clear airtight containers. This serves several purposes:
- You can see at a glance what needs restocking
- Airtight seals keep food fresher longer
- Uniform containers stack neatly and maximize space
Label everything clearly with a label maker or chalkboard tags. Labels help everyone in the household maintain the system .
Step 8: Add Door Storage
The back of your pantry door is prime real estate most people ignore. Over-the-door racks with shelves or pockets can hold spices, foil, plastic wrap, and small jars without taking up a single inch of shelf space .
Comparison of Storage Solutions
| Item/Method | Best For | Effectiveness | Difficulty Level | Cost |
|---|---|---|---|---|
| Adjustable shelving | All pantry items | Very High | Easy | Varies |
| Pull-out drawers | Deep shelves, heavy items | High | Moderate | $30–80 |
| Shelf risers | Cans, spices, small items | High | Very Easy | $5–15 |
| Clear containers | Dry goods | High | Very Easy | $2–10 |
| Over-the-door racks | Spices, small jars | Medium | Very Easy | Under $30 |
| Lazy Susans | Corners, condiments | Medium | Very Easy | $10–20 |
FAQ: Adjustable Pantry Shelves
1. How do I adjust my pantry shelves?
Most adjustable shelves use clips or brackets that fit into track holes. Lift the shelf slightly, remove the clips, reposition them at your desired height, and replace the shelf.
2. What shelf depth is ideal for a pantry?
12–16 inches is recommended — this fits most cans and boxes without making items disappear in the back. Deeper shelves work best with pull-out trays .
3. Can I install adjustable shelving myself?
Yes, many adjustable shelving systems are DIY-friendly if you can measure and level accurately. For heavy loads or custom cabinetry, consider hiring a pro .
4. How do I prevent items from getting lost on deep shelves?
Pull-out drawers or lazy Susans make back corners accessible. Shelf risers also help you see everything at a glance .
5. What’s the cheapest pantry upgrade?
Over-the-door racks or under-shelf baskets — both are under $30 in most stores .
6. How often should I reorganize my pantry?
Seasonally or whenever your needs change — new dietary habits, new family members, or bulk shopping trips .
Start Small, Think Big
Adjustable shelves are the foundation of a well-organized pantry, but they work best when paired with the right accessories. Start by adjusting your shelf heights to fit your current items, then add pull-out drawers, clear containers, and shelf risers as your budget allows.
The beauty of this system is that it grows with you. When your storage needs change, simply move the shelves and rearrange the zones. No major renovation required.
Small changes like these can transform a frustrating pantry into one of the most functional spots in your kitchen.
Which pantry challenge do you want solved next? Share your thoughts in the comments.
How to Organize a Pantry With Adjustable Shelves: Smart Storage Solutions for Flexible Kitchen Organization