The Best Pantry Zones for a Functional Everyday Kitchen
Imagine walking into your pantry and knowing exactly where everything is — no more hunting, digging, or buying duplicates of what you already own.
TL;DR
Pantry zones are specific areas designated for categories of items, just like grocery store aisles . By grouping similar items together based on purpose or type, you save time finding ingredients, reduce food waste, streamline meal prep, and make grocery planning easier . Zones should reflect your family’s unique cooking and shopping habits — what works for one household may not work for another .
Key Takeaways
- Zoning organizes your pantry like a grocery store — by category, not by size or shape
- Place daily-use items at eye level (36–60 inches from the floor) for quick access
- Store heavy items on lower shelves and rarely used items up high
- Adjust zones as your family’s eating habits change over time
- Labels help everyone in the household maintain the system
Why Pantry Zones Work Better Than Other Methods
The traditional way to organize a pantry is by grouping items by size — all the tall bottles together, all the small cans in a row. But this approach makes it hard to find what you need because you have to remember where you stored each type of item . Professional organizers and designers recommend organizing by zones instead .
Think of it like a grocery store. When you need pasta, you head to the pasta aisle, not the “tall boxes” section. The same logic applies to your pantry at home .
This approach works well for any kitchen because it matches how you actually cook and eat, not just how items look on the shelf.
The Most Useful Pantry Zones
Daily-Use Zone (Eye Level)
Your daily-use items should live at eye level — typically between 36 and 60 inches from the floor . This zone holds the ingredients you reach for most often: coffee, everyday spices, cooking oils, and go-to snacks .
When the coffee and frequently used seasonings are right where your eyes naturally look, mornings become smoother and cooking flows better.
Breakfast Zone
Cereal, oats, pancake mix, and coffee should be grouped together near the front of a middle shelf for quick school-day access . This simplifies chaotic mornings and makes it easier for kids to help themselves.
Snack Zone
Use bins or baskets on lower shelves for chips, granola bars, fruit snacks, and nuts . Placing these within reach of children encourages independence and prevents them from climbing or making bigger messes to get what they want .
Baking Zone
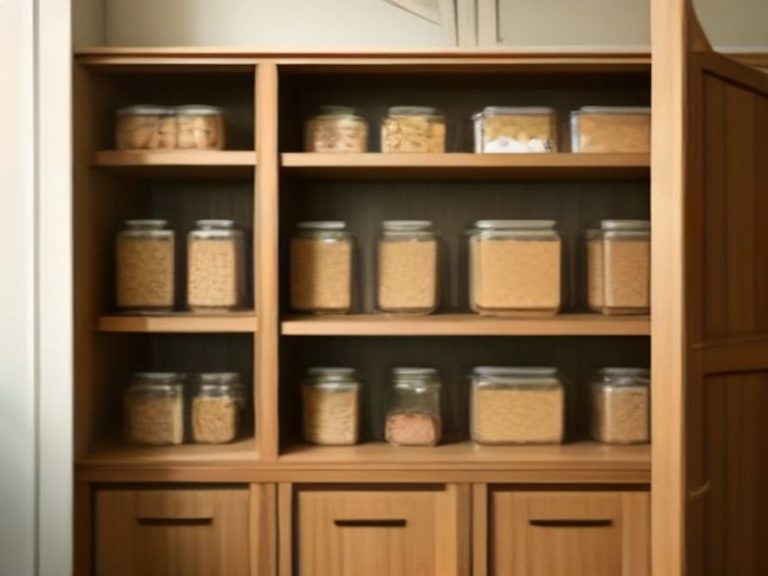
Flour, sugar, baking soda, chocolate chips, and sprinkles belong together . Store these in clear, airtight containers so you can check stock at a glance — especially helpful when you’re mid-recipe with floury hands .
Dinner Ingredients / Cooking Zone
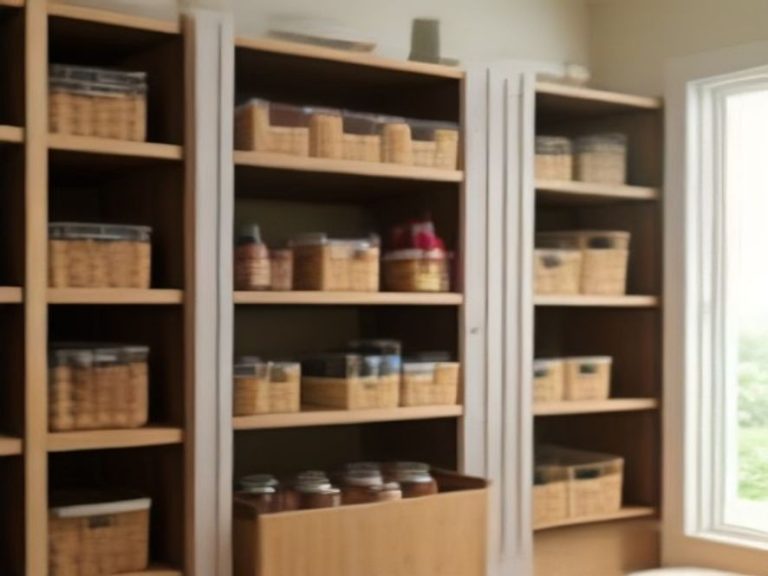
Pasta, rice, canned beans, and pasta sauce are perfect for a dedicated dinner zone on a middle shelf . Place these items in clear bins or baskets so you can slide them out when meal prep begins. Visibility prevents discovering duplicates of items you already own .
Spices and Seasonings
Create a smaller zone with good visibility — a turntable, a pull-out drawer, or a dedicated rack . This prevents the frustrating experience of searching for a spice mid-recipe while the pan is hot.
Canned Goods and Jars
Soups, tomatoes, peanut butter, pickles, and jars work well with tiered risers or lazy Susans . These tools maximize visibility so items in the back don’t get forgotten.
Backstock and Bulk Zone
Duplicates, overflow items, and large bags of rice or flour belong on higher shelves or in lower bins . Reserve prime eye-level space for what you use daily or weekly .
Produce Zone
Wire or mesh baskets allow air circulation, keeping onions, potatoes, and garlic fresh longer . Place these baskets in a cooler, darker spot if possible.
Appliance Zone
If your pantry is large enough, designate a spot for small appliances like the Instant Pot, air fryer, or blender . Adding outlets inside the pantry lets you use appliances without cluttering your main kitchen counters .
How to Set Up Your Pantry Zones
Step 1: Empty Everything Out
Take everything out of your pantry and group items by category on your kitchen counter or dining table . This step always feels chaotic, but it’s essential for seeing what you actually own . Check expiration dates and toss anything that’s old .
Step 2: Group Items by Category
Sort items into groups based on how you use them — baking supplies, snacks, dinner ingredients, breakfast items, spices . Keep categories broad enough to be practical but specific enough to make sense .
Step 3: Measure Your Space
Measure shelf heights, depths, and widths before buying any organizers . This step saves money and prevents the frustration of buying containers that don’t fit .
Step 4: Assign Zones Based on Frequency
Place daily-use items between knee and eye level. Store heavy items on lower shelves. Put backstock and rarely used items up high or in less accessible spots .
Step 5: Choose Organizers
Pick storage solutions that match your zones — clear containers for dry goods, tiered risers for cans, lazy Susans for bottles, bins for snacks . Wait to buy containers until after you know exactly what you’re storing.
Step 6: Label Everything
Labels help everyone in the household maintain the system . Even simple masking tape and a marker work perfectly .
Comparison of Zone Organizers
| Organizer | Best For | Effectiveness | Difficulty Level | Cost |
|---|---|---|---|---|
| Clear airtight containers | Dry goods (flour, sugar, pasta) | High | Very Easy | $2-10 each |
| Tiered shelf risers | Canned goods, jars | High | Very Easy | $5-15 |
| Lazy Susans | Oils, sauces, condiments | High | Very Easy | $10-20 |
| Bins and baskets | Snacks, packets | Medium | Very Easy | $5-15 |
| Over-the-door racks | Spices, small items | Medium | Very Easy | Under $20 |
| Pull-out drawers | Heavy items | Very High | Moderate | $30-80 |
FAQ: Pantry Zones
1. What’s the first step to zone a pantry?
Empty everything out and group items by category on your kitchen counter . Check expiration dates and toss anything that’s expired .
2. How high should daily-use items be placed?
Place daily-use items between knee and eye level (36–60 inches from the floor), according to the National Kitchen and Bath Association . Backstock and heavy bulk items should go lower or higher .
3. Can kids help maintain pantry zones?
Yes. Place snacks and kid-friendly items in reachable lower shelves in bins they can easily pull out themselves . Labels with pictures can help younger children.
4. Are zones useful for small pantries?
Absolutely. Zones are one of the most useful organizing strategies for any pantry, regardless of size . Even a small reach-in pantry benefits from categories like daily-use, snacks, baking, and dinner ingredients.
5. What should I do if I need to adjust the zones?
Adjust as your needs change. Eating habits, family size, and dietary preferences shift over time — and your pantry zones should shift too .
Your Pantry, Your Zones
The best pantry zones reflect how you actually cook and eat, not some generic template . Start by emptying your pantry, grouping items by category, and placing daily-use items at eye level. Add organizers and labels to maintain the system. And don’t be afraid to adjust your zones as your needs change.
Which zone is your pantry missing? Share your thoughts in the comments.
The Best Pantry Zones for a Functional Everyday Kitchen: Smart Storage Ideas for Easy Meal Prep