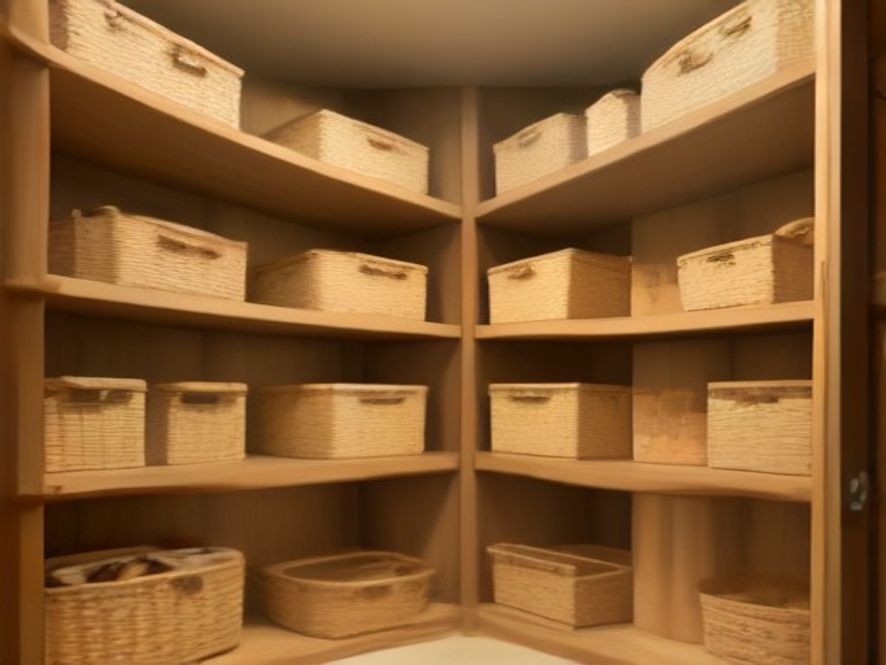
How to Create Pantry Zones That Actually Stay Organized
You reach for the oregano, and a avalanche of spice jars tumbles down, mixing with a bag of forgotten chia seeds and a half-empty box of pasta.
You organized your pantry just a few weeks ago, but somehow it’s already a chaotic mess again. The problem isn’t that you didn’t try—it’s that you created zones that don’t match how you actually live and cook. This guide will show you how to build pantry zones that work with your habits, not against them, so your organization actually lasts.
TL;DR
Most pantry organization fails because zones aren’t tailored to real cooking patterns. By mapping your kitchen workflow, using clear containers, and labeling everything, you can create a system that’s easy to maintain. The key is designing zones around frequency of use and meal routines, not just food categories.
Key Takeaways
- Zone by Routine: Group foods based on when and how you use them—breakfast, lunch, dinner, and snacks.
- Work with Your Flow: Place the most-used items at eye level and in the most accessible spots.
- Invest in Clear Containers: Transparency lets you see stock levels at a glance, preventing overbuying.
- Label Everything: Labels help everyone in the household maintain the system.
- Keep Zones Flexible: Leave a “transition zone” for items that don’t fit neatly into one category.
How to Build Pantry Zones That Stand the Test of Time
Zone #1: The Breakfast Station
Think about your typical morning. You’re half-awake, rushing to get out the door. This is not the time to be searching through a cluttered pantry for granola or coffee filters. Create a dedicated breakfast zone that has everything you need for your morning routine.
What to include: Cereals, oatmeal packets, breakfast bars, coffee, tea, sweeteners, and any daily supplements. Store your most-used breakfast items at eye level so you can grab them without bending or stretching.
Pro tip: If you’re a smoothie person, keep your blender or a small bullet-style appliance right next to this zone for easy access.
Zone #2: The Baking Headquarters
Nothing is more frustrating than realizing you’re out of baking powder halfway through mixing a cake batter. A dedicated baking zone keeps all your dry ingredients, extracts, and mix-ins together so you can quickly see what you have and what you need.
What to include: Flour, sugar, brown sugar, cocoa powder, chocolate chips, baking soda, baking powder, vanilla extract, and other flavorings. Using square, airtight containers for these staples maximizes shelf space and keeps ingredients fresh.
Placement tip: If you bake often, this zone should be easy to reach. If you only bake occasionally, it can go on a slightly higher shelf.
Zone #3: The Snack Hub
Snacks are the impulse-buy of the pantry—they’re easy to grab, easy to overconsume, and even easier to lose track of. Create a snack zone that makes healthy choices visible and less healthy options less accessible.
What to include: Granola bars, fruit snacks, crackers, nuts, trail mix, popcorn, and chips. Store healthier snacks at eye level and treat-type snacks on a higher shelf to encourage mindful eating.
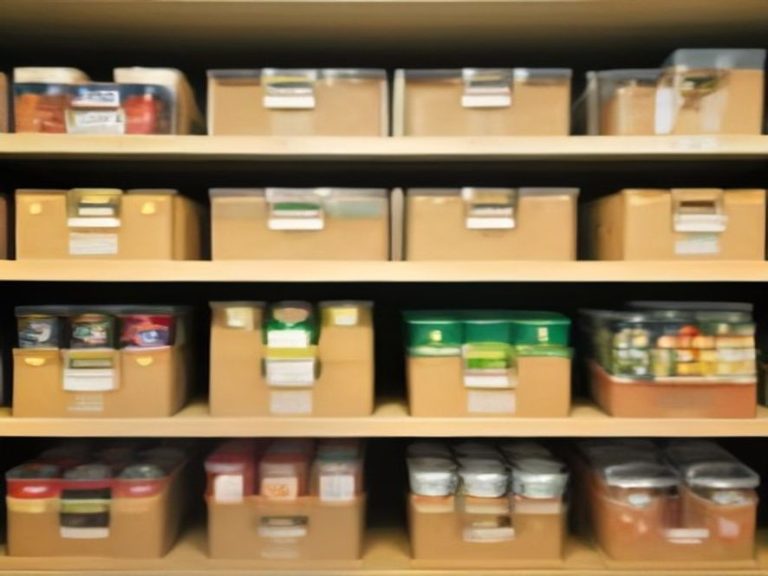
Container hack: Use clear, stackable bins so you can easily see what’s running low. This also prevents that frustrating scenario where you buy more pretzels because you couldn’t see the bag behind the chips.
Zone #4: The Dinner Prep Station
This is where your cooking oils, vinegars, canned tomatoes, pasta, rice, and other dinner staples live. This zone should be closest to your cooking area to minimize kitchen traffic during meal prep.
What to include: Oils, vinegars, soy sauce, hot sauce, canned vegetables, beans, pasta, rice, quinoa, and cooking spices. Grouping these dinner-focused items together makes meal prep faster and less stressful.
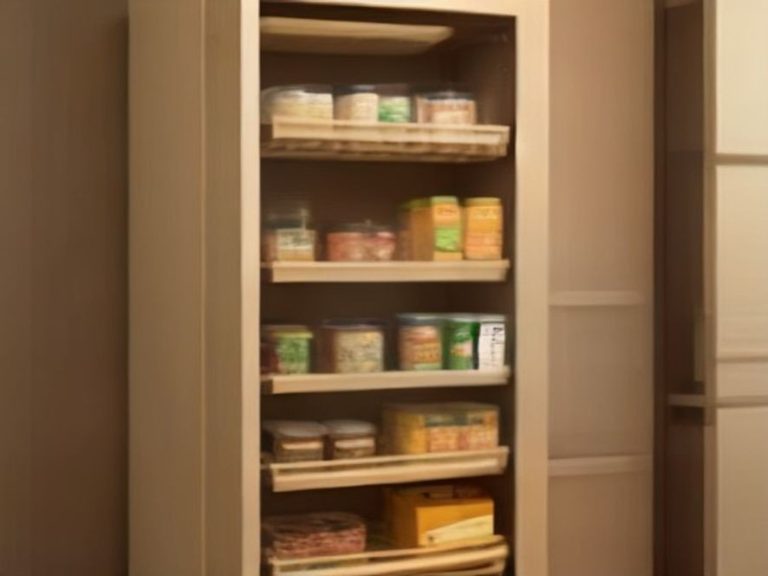
Layout tip: Place frequently used oils and vinegars at the front and in easy-to-grab containers. If you have deep shelves, use long, narrow bins that can be pulled out like drawers to access items in the back without a scavenger hunt.
Zone #5: The Bulk and Backup Zone
We all have those items we buy in bulk—extra bags of rice, massive boxes of cereal from Costco, or that 5-pound bag of flour. These items can easily overwhelm a pantry if not managed properly. Designate a specific area for bulk items and backups.
What to include: Extra pasta, rice, flour, sugar, oils, and canned goods. Store these on higher shelves or in the back of the pantry since you don’t need daily access to them.
Rotation rule: Practice “first in, first out.” When you buy a new bulk item, place it behind the older one so you use the oldest stock first. This reduces food waste and saves money.
“An organized pantry isn’t just about neat shelves—it’s about creating a flow that makes daily cooking feel effortless.”
Zone #6: The Flexible “Dump” Zone
Let’s be honest: not everything fits perfectly into a category. You might buy a new snack to try, receive a gift basket, or have a specialty ingredient for a single recipe. Leave one shelf or a large bin as a “transition zone” for these items.
What to include: New or experimental foods, seasonal items, or things you haven’t decided where to place yet.
Maintenance tip: Check this zone weekly and either integrate items into their proper zones or remove them if they’re not being used. This prevents your pantry from becoming a wasteland of forgotten food.
Pantry Zone Setup Comparison
| Zone Type | Best Location | Key Container Type | Maintenance Level |
|---|---|---|---|
| Breakfast Station | Eye level | Canisters and bins | Easy |
| Baking HQ | Mid-level | Airtight square containers | Medium |
| Snack Hub | Eye to mid-level | Clear bins | Easy |
| Dinner Prep | Mid to lower level | Pull-out bins | Medium |
| Bulk/Backup | High shelves | Heavy-duty bins | Low |
Step-by-Step Guide to Creating Lasting Pantry Zones
1. Empty and Assess
Take everything out of your pantry. This gives you a visual inventory of what you actually have. Group similar items on your kitchen counter to see natural categories forming.
2. Clean the Shelves
Before putting anything back, wipe down every shelf. Use a mild cleaner or a vinegar-water solution to remove dust, crumbs, and sticky spots. This is also the time to check for any pest activity and address it.
3. Map Your Cooking Routine
Think about the last week of meals. What did you reach for most often? Where did you go first? Design your zones around this real-world usage, not an idealized Pinterest board.
4. Invest in the Right Storage
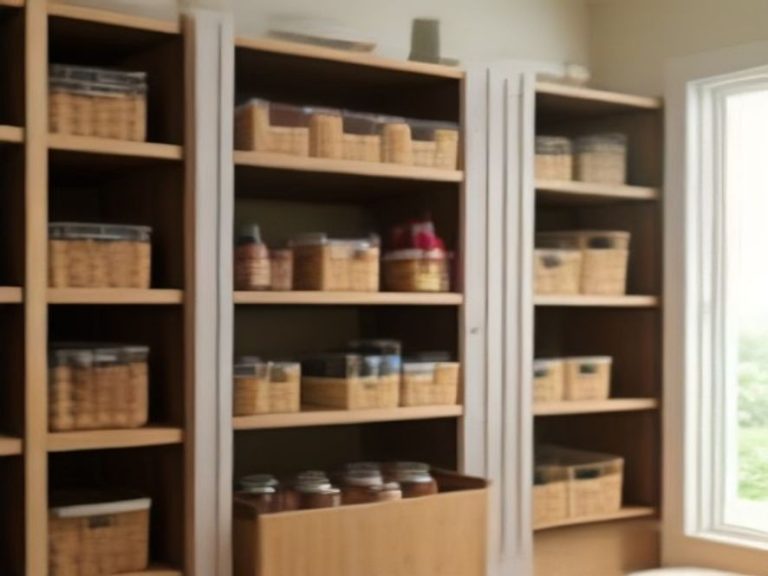
You don’t need to buy everything at once. Start with the most critical items: clear, stackable containers for dry goods and a few sturdy bins for grouping smaller items. Square containers are better than round ones for maximizing shelf space.
5. Label Everything
Labels are the unsung heroes of pantry organization. They make it easy for everyone in the household to find items and put them back where they belong. You don’t need fancy equipment—masking tape and a permanent marker work great.
6. Maintain with a Weekly Reset
Spend 5–10 minutes each week tidying your pantry. Pull items forward, check expiration dates, and make note of what’s running low. This small habit keeps your zones functioning perfectly and prevents the slow slide back into chaos.
Frequently Asked Questions
Q: How many pantry zones should I have?
A: This varies by your space and cooking habits, but 4–6 zones is typical. The key is not to create so many zones that the system becomes hard to maintain.
Q: How do I zone a tiny pantry?
A: Focus on your most-used categories. You might combine breakfast and snacks into one zone, and use door organizers to create additional storage without taking up shelf space.
Q: Should I zone by family members?
A: This is a great idea if you have kids. Designate a low shelf for kids’ snacks and lunch items so they can help themselves without needing adult assistance.
Q: How do I keep my zones from getting messy again?
A: Regular maintenance is key. Spend a few minutes each week resetting zones and checking for expired items. Also, resist the urge to just “shove things in” when you’re in a hurry.
Q: What’s the best way to label containers?
A: Use a label maker for a clean, professional look, or use chalkboard labels for a more flexible option. The most important thing is that the labels are easy to read and understand.
Q: Can I zone a walk-in pantry differently than a small one?
A: Yes, in a walk-in pantry, you have more freedom to create larger zones and even include small appliances. In a small pantry, efficiency is key—vertical space and door organizers become much more important.
Enjoy Your Efficient, Peaceful Pantry
Creating effective pantry zones is about more than just putting things in pretty containers—it’s about designing a system that works with your real life. When your pantry is organized around how you actually cook and eat, it becomes a joy to use rather than a source of stress.
Start with one zone this weekend, see how it feels, and expand from there. Before you know it, you’ll have a pantry that stays organized without constant effort.
Which pantry zone would make the biggest difference in your daily cooking routine? Share your thoughts in the comments below!
References & Further Reading
- 12 Pantry Storage Mistakes You Need To Stop Making Yesterday – Tasting Table
- 6 Pantry Mistakes You Didn’t Know You Were Making—and How to Remedy Them – Better Homes & Gardens
- How to Organize a Small Pantry Without Buying Lots of Containers – Artfull Houses
- The Absolute Best Storage Hack For Deep Pantry Shelves – Tasting Table