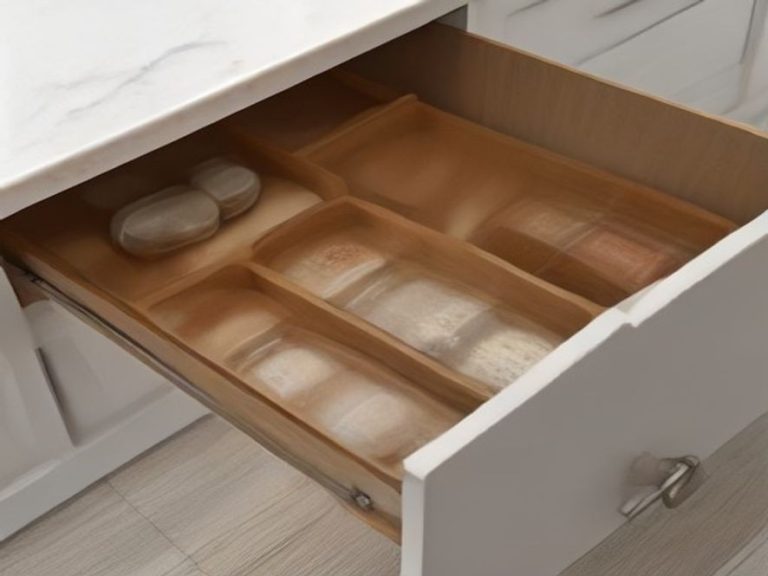
How to Organize Kitchen Drawers for Faster Cooking: Time-Saving Storage Solutions & Workflow Tips
You’re mid-recipe, butter sizzling in the pan, and you need a spatula—but you’re digging through a drawer full of jumbled tools while your garlic starts to burn.
We’ve all been there. A disorganized kitchen drawer doesn’t just look messy—it actually slows you down when every second counts. The best way to organize kitchen drawers for faster cooking isn’t about perfection; it’s about creating a system that works with your natural cooking rhythm, not against it. When you can grab what you need without thinking, you cook faster, cleaner, and with way less stress.
TL;DR
To speed up your cooking, organize kitchen drawers by workflow zones—keep cooking tools near the stove, prep tools near your cutting board, and measuring tools in a dedicated drawer. Use broad categories (3–5 max) instead of tiny compartments, because when you’re rushing, your brain doesn’t have time for precision placement. Store tools vertically in deep drawers to avoid digging, and keep a utensil crock on the counter for your most-used items. The goal is making every tool reachable in under two seconds.
Key Takeaways
- Zone by cooking task. Store tools where you actually use them—cooking utensils by the stove, prep tools by the cutting board.
- Use broad categories, not tight slots. Three to five general zones (like “stirring tools” or “prep tools”) are easier to maintain when you’re in a hurry.
- Go vertical in deep drawers. Stand baking sheets, cutting boards, and lids upright so you can grab one without unstacking everything.
- Keep a countertop crock for daily tools. Spatulas, tongs, and wooden spoons you use every day belong within arm’s reach of the stove.
- Don’t mix measuring tools with cooking tools. Measuring happens during prep—keep those tools near your mixing area, not near the heat .
Why Your Current Drawer Setup Is Slowing You Down
The biggest mistake most of us make is organizing for appearances rather than actual cooking flow. Those perfectly compartmentalized organizers with a slot for every single utensil look beautiful in photos—but they create what experts call “maintenance hell” . When you’re cooking three things at once, you don’t have time to carefully thread a greasy spatula back into its exact slot at the correct angle. So you toss it in, and the system breaks down within days.
The real problem? Your drawer system is designed for a museum, not a kitchen.
The Zone vs. Slot Philosophy
Drawer organization that actually survives weeknight cooking uses zones, not slots. Instead of having a specific spot for every single tool, group similar items together in broad categories . A “stirring tools” zone can hold spatulas, wooden spoons, and whisks without demanding they be returned to exact positions. This forgives the rush of cooking—and that’s what keeps the system working long-term.
Step-by-Step Guide to Organizing Drawers for Speed
Step 1: Map Your Cooking Workflow
Before you move a single utensil, think about how you actually move through your kitchen. Where do you prep? Where do you cook? Where do you plate?
Design expert Alex Hartwell recommends starting by mapping your daily routine: coffee zone, prep zone, heat zone, and clean-up zone . Keeping tools within arm’s reach of their associated task means you move less and cook more efficiently.
Your workflow zones should look something like this:
- Stovetop Drawer: Spatulas, tongs, wooden spoons, ladles, whisks. These are tools you grab mid-cooking.
- Prep Area Drawer: Peelers, zesters, graters, kitchen shears, measuring spoons. Tools you use before anything hits the heat.
- Sink Zone Drawer: Knives, cutting boards, dish towels. Tools for cleaning and initial food prep .
- Baking or Plating Drawer: Flatware, placemats, serving utensils. Items you use at the table.
Italicized practical tip: The drawer within 18 inches of your hob is the most important zone in your kitchen. Whatever you reach for while something is on the heat belongs there .
Step 2: Empty, Sort, and Be Ruthless
This is where most people skip ahead—and that’s why their systems fail. You can’t organize what you don’t fully see. Pull everything out and spread it across your counter.
Sort into three piles:
- Daily drivers: Tools you use at least once a week. These stay in your prime drawer real estate.
- Occasional tools: Items you use monthly. Move these to a secondary drawer or cabinet.
- Never-used items: That avocado slicer, duplicate spatulas, gadgets from three Christmases ago. Donate or toss them.
A key rule: “You never organize a quantity, you organize a frequency” . If it doesn’t come out at least once a month, it doesn’t belong in your active cooking zone.
Step 3: Use Broad Categories, Not Tiny Compartments
This might be the most important speed tip. When you have too many categories, your brain has to make decisions about where each item goes—and that takes mental bandwidth you don’t have when you’re cooking .
Instead of separating whisks, spatulas, spoons, tongs, peelers, zesters, and measuring spoons into individual compartments, try three to five broad zones:
- “Stirring Tools” — Spatulas, wooden spoons, whisks, tongs
- “Prep Tools” — Peelers, zesters, graters, shears
- “Measuring Tools” — Cups, spoons, scales
- “Baking Tools” — Rolling pins, pastry brushes, cookie cutters
- “Miscellaneous” — The one drawer for everything else
Broad categories forgive mistakes. If you toss a whisk into the “stirring tools” zone and it lands next to spatulas, that’s fine. Perfect placement isn’t required .
Step 4: Install Simple Dividers That Hold Zones in Place
Without dividers, your zones will collapse within a week—tools will migrate and everything will mix together again . But you don’t need expensive organizers. Here’s what actually works:
For standard drawers:
Bamboo expandable dividers work in most standard drawer widths and hold their position without screws or adhesive. Set the dividers first, then fill each section. Don’t fill first and try to fit dividers around the contents .
For deep drawers:
Avoid shallow organizers that leave empty space underneath—they tempt you to layer tools, which destroys organization instantly . Instead, use tall bins or stackable containers that fill the full depth. For pots and pans, stack lids vertically in a lid organizer at the back, and nest pots in size order at the front .
For shallow drawers:
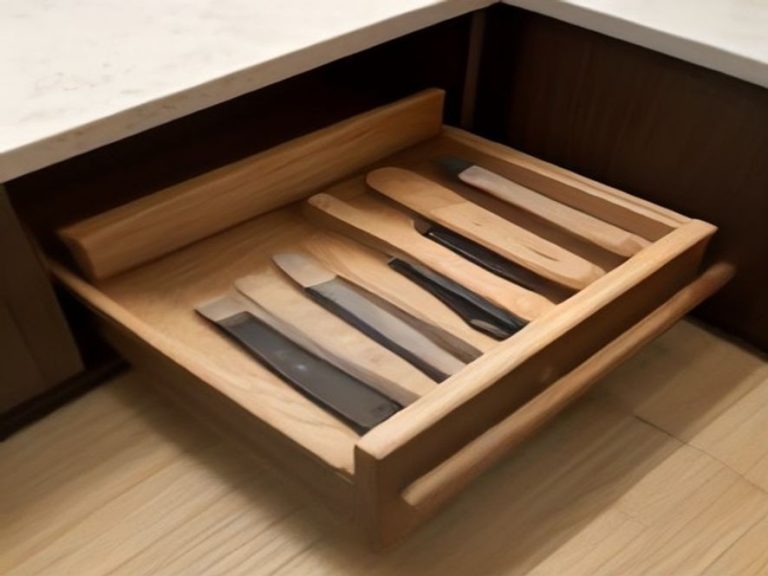
Try diagonal dividers. Installing wooden dividers at an angle rather than vertically lets you include longer items like rolling pins or large whisks that wouldn’t fit otherwise .
Step 5: Keep Measuring Tools Completely Separate
This is one of the most overlooked speed tips. Measuring cups and spoons are used during prep before cooking starts, while cooking utensils are used at the stove during active cooking . If you mix them in the same drawer, you’re accessing the drawer from two different locations at different times.
Dedicate one small drawer near your prep area exclusively to measuring tools. This way, when you’re gathering ingredients, you’re not digging through greasy spatulas to find a measuring spoon. It also prevents cross-contamination—measuring tools stay cleaner because they’re used before the cooking starts .
Step 6: Use Vertical Storage in Deep Drawers
Deep drawers are notorious for becoming black holes because items get stacked on top of each other. The fix: file, don’t pile.
For baking sheets, cutting boards, and muffin tins, use vertical dividers so these flat items stand upright, side by side . You can use a heavy-duty file organizer or a sturdy magazine holder as a budget-friendly alternative . Think of it like a filing cabinet for your kitchen—you can pull out one sheet pan without unstacking everything else.
Step 7: Add a Countertop Utensil Crock
Some tools genuinely belong out of drawers entirely. A utensil crock on the counter next to your hob holds the handful of tools you reach for every single day . This frees up drawer space for things you use slightly less frequently and puts your absolute essentials within immediate reach.
Italicized practical tip: A magnetic knife strip on the wall takes knives out of drawers entirely, which is safer and better for blade longevity than having them jostle around with other metal tools .
Comparison Table: Best Drawer Systems for Speed
| Drawer System | Best For | Speed Impact | Difficulty | Cost |
|---|---|---|---|---|
| Broad Zone Dividers | All-purpose utensil drawers | High—grab and return in seconds | Easy | Low |
| Vertical Pan Storage | Deep drawers for baking sheets | High—no unstacking needed | Moderate | Low-Medium |
| Diagonal Dividers | Shallow drawers with long tools | Medium-High—fits awkward items | Moderate | Low |
| Stackable Trays | Deep drawers for small gadgets | Medium—good for multi-tier use | Easy | Low-Medium |
| Countertop Crock | Daily-use utensils (spatulas, tongs) | High—zero drawer access time | Very Easy | Low |
| Cutlery Tray | Flatware and small prep tools | Medium—requires precise placement | Very Easy | Low |
How to Keep Your System Fast Over Time
Organization isn’t a one-time event. The reason most kitchen organization efforts fail isn’t the initial setup—it’s that nothing prevents things from drifting back . Here’s how to maintain the speed:
Do a monthly 10-minute check. Go through each drawer and remove anything that’s crept in from elsewhere, any duplicates, and anything broken .
Follow the one-in, one-out rule. Before a new utensil goes into a drawer, something has to come out. This keeps drawer space from filling back up over time .
Adjust zones when your habits change. If you’ve started batch cooking every Sunday, your prep tools probably need to move closer to your workspace. The system works best when it reflects how the kitchen is actually used .
Frequently Asked Questions
Why do my drawers get messy so fast even after I organize them?
It’s likely because you’re using a system with too many tight compartments. When cooking, you don’t have time for precise placement—broad zones that forgive imperfect returns work better .
What’s the fastest way to find utensils while cooking?
Store your most-used tools in the drawer within 18 inches of your stove and keep a countertop crock for the absolute essentials .
Should I store measuring cups with cooking utensils?
No. Measuring tools are used during prep, while cooking utensils are used at the stove. Keeping them separate saves steps and reduces drawer digging .
How do I organize a deep drawer without things getting buried?
Use vertical storage—stand items upright like files in a filing cabinet, or use stackable trays. Avoid shallow organizers that leave unused space below them .
How many categories should I have in a utensil drawer?
Three to five broad categories maximum. Too many categories create decision fatigue when you’re rushing .
Is it better to store utensils horizontally or vertically in drawers?
For deep drawers, vertical is better—you can grab one item without disturbing others. For shallow drawers, horizontal with broad dividers works well .
Conclusion
Organizing your kitchen drawers for faster cooking isn’t about buying the right organizers—it’s about creating a system that respects how you actually cook. Use broad zones instead of tight slots, store tools where you use them, and keep your most-used items within arm’s reach of the stove. The goal is a kitchen where you can grab what you need in under two seconds without thinking about it. When your drawer system works with your cooking flow instead of against it, you’ll spend less time hunting and more time actually enjoying the cooking process.
References & Further Reading for Home Cooks:
- Cosmo Appliances: The Drawer Organization That Actually Stays Organized
- Wait You Need This: Organize Kitchen Drawers for Maximum Efficiency
- Coohom: Smart Kitchen Drawer Solutions
Which kitchen speed challenge do you want us to tackle next? Share your questions in the comments below!