How to Fix a Cluttered Kitchen Cabinet: The Best Way to Organize Baking Sheets and Cutting Boards
That moment when you open your kitchen cabinet and a avalanche of baking sheets and cutting boards tumbles out can make anyone dread cooking.
You are not alone. That messy cabinet filled with flat, slippery items is one of the most frustrating storage problems in any kitchen. Baking sheets slide around, cutting boards lean at odd angles, and finding the right pan often means pulling everything out and starting over. The good news is that you can fix this problem with some simple strategies that work for any kitchen and budget.
TL;DR
This guide shows you how to organize baking sheets and cutting boards using vertical dividers, tension rods, pull-out racks, and clever repurposed items like file organizers. You will learn to measure your space properly, choose the right method for your cabinet type, and keep everything accessible. Most solutions cost under $20 and take less than an hour to set up. The goal is to stop the clutter and make your cooking space more efficient.
Key Takeaways
- Vertical storage is the most effective way to organize baking sheets and cutting boards
- Measure your cabinet before buying any organizer or starting a DIY project
- File organizers from the office supply aisle work as affordable pan holders
- Tension rods create instant dividers in shallow cabinets
- Group items by size and use frequency to make daily cooking easier
The Real Causes Behind Kitchen Cabinet Clutter and How to Fix Them
Why Baking Sheets and Cutting Boards Become a Mess
The main problem is that these items are flat and thin, which makes them hard to stack neatly. When you pile them horizontally, the stack becomes heavy and unstable. You have to lift several items just to reach the one at the bottom. Non-stick surfaces can get scratched from rubbing against each other.
Kitchen organization experts agree that storing these items vertically solves most of these problems . When you stand baking sheets and cutting boards on their edges, they take up less space and become much easier to grab.
Common Cabinet Types and Their Challenges
Different cabinets create different storage problems:
- Deep lower cabinets let items slide to the back where you cannot reach them
- Shallow upper cabinets do not have enough depth for vertical storage
- Narrow cabinets limit how many items you can fit
- Cabinets with fixed shelves restrict your height options
Each cabinet type needs its own solution. The best way to organize your kitchen depends on what you are working with.
Step-by-Step Fix Guide for Organizing Your Kitchen Cabinet
Step 1: Take Everything Out and Measure
Start by removing every baking sheet, cutting board, cooling rack, and muffin tin from your cabinets. This gives you a clean space to work with. Wipe down the empty shelves with a damp cloth.
Count how many items you have. Group them by size:
- Small (quarter sheet pans, small cutting boards)
- Medium (half sheet pans, standard cutting boards)
- Large (full sheet pans, large charcuterie boards)
Separate items you use weekly from specialty pieces you only use a few times per year.
Measure your cabinet interior. Write down the width, depth, and height. This information helps you choose the right organizer or build one that fits perfectly.
Step 2: Choose Your Storage Method
Method A: Vertical Dividers (Best for Lower Cabinets)
Vertical dividers are the most popular solution for kitchen organization. They turn your cabinet into a filing system for flat items.
You have several options:
- Adjustable wire dividers – These expand to fit your cabinet and create slots for each item
- DIY plywood dividers – Cut grooves in wood to create custom slots
- Repurposed file organizers – Turn office organizers on their side to hold baking sheets
The file organizer trick is brilliant and affordable. An Instagram creator discovered that $6 classroom storage files work perfectly when placed on their sides facing each other . This creates mini shelves that keep everything separate and accessible.
Place your first divider about 2 to 3 inches from the cabinet wall. Then add more dividers every few inches based on how many items you need to store .
Method B: Tension Rods (Best for Shallow Upper Cabinets)
Tension rods create horizontal barriers that keep items from sliding forward. This method works in cabinets that are 8 to 12 inches deep .
Install a tension rod horizontally about 2 to 3 inches from the front of the shelf. Place your baking sheets behind the rod in an upright position. The rod holds them in place when you open the cabinet door.
You can also use tension rods vertically to create dividers inside the cabinet . Install them from the bottom shelf to the top, spaced a few inches apart.
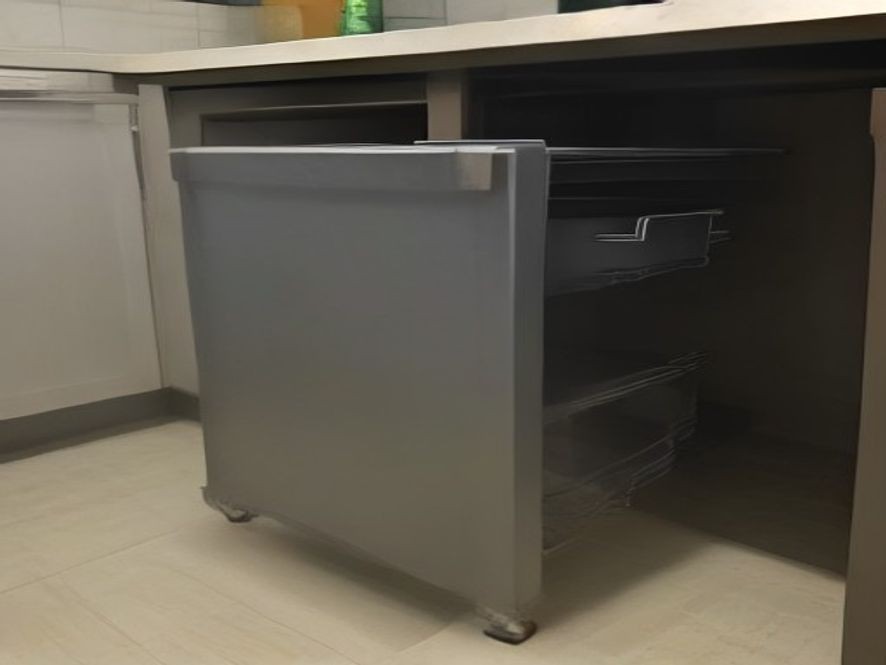
Method C: Pull-Out Racks (Best for Deep Cabinets)
If you have deep lower cabinets, a pull-out rack can save you from losing items in the back. These racks slide forward on metal glides, making everything accessible .
Measure your cabinet opening before buying a rack. The rack should be 1 to 2 inches narrower than your cabinet to slide smoothly.
Method D: Shelf Risers (Best for Limited Cabinet Space)
Shelf risers create two levels of storage on one shelf. Place your largest baking sheets underneath, and smaller items on top .
This method works well for cutting boards that you use regularly. Stack similar sizes together to keep things neat.
Step 3: Install Your Organizer
Once you have chosen your method, it is time to install it. Here is how:
For file organizers:
- Place them on their sides inside the cabinet
- Position them facing each other to create slots
- Add contact paper or command strips to keep them from sliding
For tension rods:
- Extend the rod until it fits snugly between the cabinet sides
- Adjust height as needed
- Test with a baking sheet to make sure it holds securely
For DIY wood dividers:
- Cut 1/2 inch plywood for the box frame
- Cut grooves using a table saw or router
- Assemble with wood glue and nails
- Slide into your cabinet for a custom fit
Step 4: Load Your Items Strategically
Place your most-used items in the most accessible spots. Reserve harder-to-reach areas for specialty pieces you use less often.
Group similar items together:
- All baking sheets in one section
- Cutting boards in another
- Cooling racks and muffin tins in separate slots
Label sections if you have a large collection. This helps everyone in the household put things back in the right place.
Comparison Table: Storage Methods at a Glance
| Method | Best For | Effectiveness | Difficulty | Cost |
|---|---|---|---|---|
| Vertical Wire Dividers | Lower cabinets with 12+ inch depth | High | Easy | $15-$30 |
| File Organizers (repurposed) | Any cabinet, small spaces | High | Very Easy | $6-$12 |
| Tension Rods | Shallow upper cabinets | Medium | Easy | $5-$15 |
| Pull-Out Rack | Deep cabinets | Very High | Medium | $30-$80 |
| DIY Plywood Dividers | Custom fit needed | Very High | Hard | $20-$50 |
| Shelf Risers | Limited shelf space | Medium | Very Easy | $10-$25 |
Smart Tips for Long-Term Success
Check for damage before storing. Discard warped baking sheets or cutting boards with peeling non-stick coatings . These can contaminate food and take up valuable space.
Do not overload slots. Stacking more than 3 or 4 sheets per slot can bend thinner pans .
Add non-slip shelf liner to keep items from sliding around. This is especially helpful for cutting boards.
Keep a step stool nearby if you store items on high shelves. Heavy items should always remain at waist height for safety.
“Most kitchen problems come from small maintenance habits that are often ignored.”
Budget-Friendly Alternatives
You do not need to buy expensive organizers. Here are some free or low-cost solutions:
- Cardboard boxes cut to size can act as dividers
- Shoe boxes work as drawer organizers for small items
- Command hooks mounted inside cabinet doors hold pot lids
- Repurpose old books as shelf risers
Nest your mixing bowls and storage containers to save space. Store matching lids vertically in a repurposed box .
FAQ
Why do my baking sheets keep falling over in the cabinet?
They need vertical support. Install dividers or tension rods to hold them upright.
How do I organize cutting boards without buying special racks?
Use a repurposed file organizer or stand them between tension rods.
What is the best way to store baking sheets in a shallow cabinet?
Use tension rods to hold them vertically or try a slim pull-out rack.
How many baking sheets should I keep?
Keep the sizes you use regularly and donate or discard duplicates.
Can I store cutting boards next to baking sheets?
Yes, but group them by type so you can find what you need quickly.
Should I store baking sheets flat or upright?
Upright is better for accessibility and space efficiency.
How do I prevent nonstick baking sheets from scratching?
Use dividers to keep them separated and store them vertically.
Conclusion
Organizing your kitchen cabinet for baking sheets and cutting boards does not have to be complicated. With simple tools like file organizers, tension rods, or DIY dividers, you can transform a cluttered mess into an efficient cooking space.
The best way to organize depends on your cabinet type and budget. Start by measuring your space and counting your items. Then choose a method that fits your needs. Even small changes can make a big difference in how your kitchen functions.
Remember that good kitchen organization saves time and reduces stress during meal prep. When you can grab the right baking sheet or cutting board without digging through a pile, cooking becomes much more enjoyable.
Which kitchen problem do you want solved next? Share your thoughts in the comments.
Practical Kitchen Organization Resources and Guides: