How to Keep Kitchen Tools and Gadgets Organized Every Day: Your Guide to a Clutter-Free Cooking Space
That overwhelming feeling when you open a drawer and a avalanche of spatulas, whisks, and gadgets tumbles out—or when you spend five minutes searching for a vegetable peeler buried under a pile of mismatched utensils—is a daily frustration that makes cooking feel like a chore.
An organized kitchen isn’t just about aesthetics—it saves time, reduces stress, and makes cooking more enjoyable. This practical guide will show you how to keep kitchen tools and gadgets organized every day, so you can find what you need, when you need it, and actually enjoy spending time in your cooking space.
TL;DR
- Declutter first: Get rid of duplicate tools, broken items, and gadgets you never use before organizing anything.
- Create zones: Group similar items together near where you use them most .
- Use drawer dividers: Keep utensils separated and easy to find with adjustable drawer organizers .
- Think vertical: Use wall-mounted racks, hanging pot racks, and magnetic knife strips to free up counter and drawer space .
- Adopt daily habits: Put things back where they belong right after using them to maintain order effortlessly .
- Evaluate drawer depth: Shallow drawers work best for utensils; deep drawers need organizers or dividers to prevent clutter .
The Real Causes Behind Kitchen Disorganization and How to Fix Them
Why Kitchen Drawers Become a Black Hole of Clutter
Most kitchen disorganization comes down to two problems: too much stuff and no clear home for each item. Kitchen tools and gadgets that don’t have a designated spot inevitably end up in the nearest drawer, creating a jumbled mess over time. The best way to fix this is to give every tool a specific home and commit to putting it back after each use.
Step-by-Step Guide to Organizing Kitchen Tools and Gadgets
Step 1: Declutter First—Be Ruthless
Before you buy any organizing products, pull everything out of your drawers and cabinets. This is the most important step. Separate items into four piles:
- Keep: Tools you use regularly
- Maybe: Items you use occasionally (store these elsewhere)
- Donate/Sell: Good-quality items you never use
- Throw away: Broken, damaged, or worn-out items
Be honest with yourself. If you haven’t used a gadget in the past year, you probably don’t need it. Single-use items like avocado slicers, egg separators, and specialized pasta tools are often guilty of taking up space without earning their keep.
Step 2: Group Tools by Function and Create Zones
Organize tools based on how and where you use them. This kitchen organization method is called “zoning,” and it makes cooking much more efficient.
Zone 1: Prep Zone (near cutting board and counter)
- Chef’s knives and paring knives
- Cutting boards
- Vegetable peelers
- Grating tools (Microplane, box grater)
- Measuring cups and spoons
Zone 2: Cooking Zone (near stove and oven)
- Spatulas and turners
- Tongs
- Ladles and spoons
- Whisks
- Timer and thermometers
Zone 3: Baking Zone (separate area or drawer)
- Rolling pins
- Pastry brushes
- Cookie cutters
- Sifters and strainers
Zone 4: Gadget Drawer (for everything else)
- Garlic press
- Zester
- Can opener
- Pizza cutter
Step 3: Use Drawer Dividers and Organizers
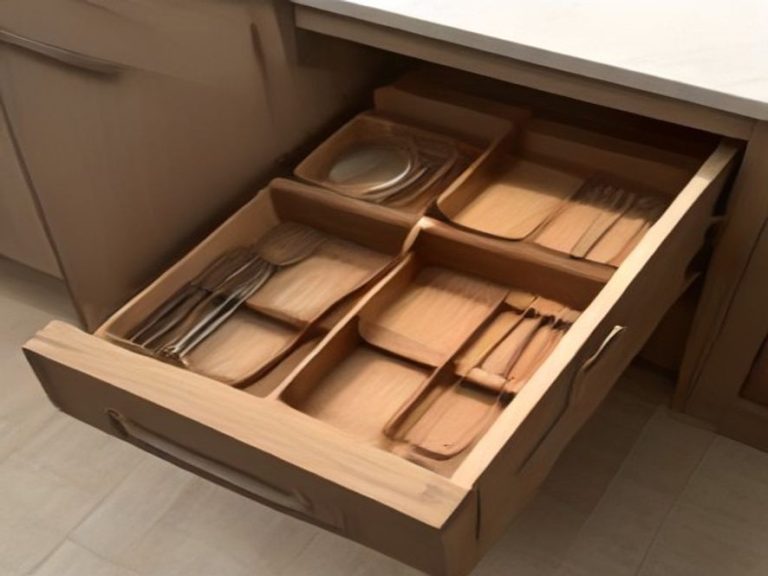
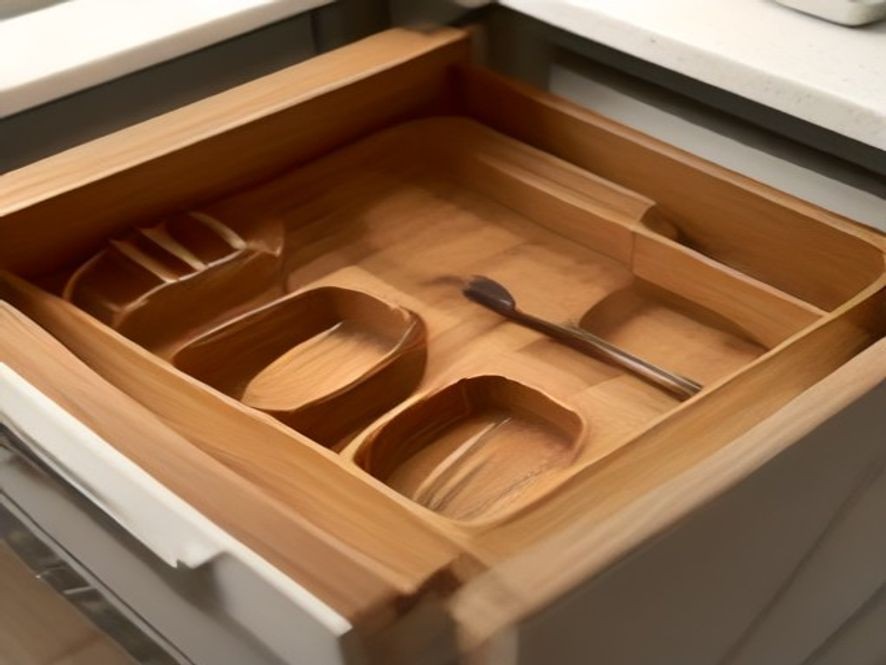
Drawer dividers are essential for keeping utensils separated and visible. Adjustable bamboo or plastic dividers fit most drawer sizes and allow you to customize compartments for different tool types.
How to set up a utensil drawer:
- Place longer tools (spatulas, ladles, tongs) in the back
- Place shorter tools (peelers, zesters, openers) in the front
- Keep the most-used items closest to the front
- Use a small container or caddy for measuring spoons
“An organized drawer lets you see at a glance what you have, so you don’t accidentally buy duplicate tools,” says professional organizer Marie Kondo. “Items should be stored in a way that sparks joy and makes sense for how you cook” .
Step 4: Take Advantage of Vertical Space
Wall-Mounted Magnetic Knife Strips
Professional chefs swear by magnetic knife strips. They keep knives within easy reach, protect blades from getting dull in a drawer, and free up valuable drawer space. Make sure to install them securely and place them out of reach of children.
Pegboards
Pegboards are perfect for smaller kitchens. They turn wasted wall space into vertical storage for frequently used pots, pans, and utensils . Hang your most-used items where you can see and reach them easily.
Hanging Pot Racks
If you have the ceiling height, a hanging pot rack is a classic kitchen organization hack. It frees up cabinet space, keeps your best cookware easily accessible, and can be a stylish design feature. Just make sure it’s properly anchored and at a safe height.
Step 5: Keep Frequently Used Tools Out
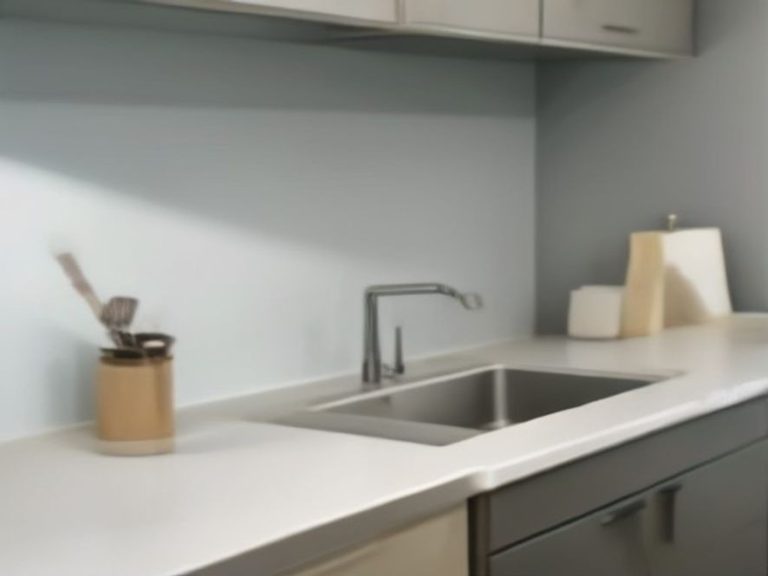
Store the tools you use daily within arm’s reach, ideally in a countertop crock or utensil holder near the stove . This includes your best spatula, tongs, wooden spoon, and ladle. Crocks are also excellent for storing cooking utensils you use daily, like whisk, spatula, and tongs .
The same rule applies to oils, vinegars, and frequently used spices—the cabinet above or next to the stove is prime real estate for high-use items .
Step 6: Use Under-Shelf Baskets and Over-the-Door Organizers
Over-the-door racks are a secret weapon for small kitchens. They turn the inside of a cabinet door into extra storage for measuring spoons, pot holders, cutting boards, and shallow pans . Under-shelf baskets mount beneath shelves to add extra storage for dish towels, small pans, or lids .
“Take advantage of every inch of available vertical space,” advises professional kitchen designer Helen Parker. “Even a 6-inch gap between two shelves can be used for a sliding basket or shallow organizer” .
Step 7: Label Everything
Labels aren’t just for pantry jars. Use a label maker or chalkboard labels on storage bins, baskets, and containers to identify what belongs where. This is especially helpful for infrequently used items—you’ll know exactly where to find (and return) that specialty cookie cutter or immersion blender.
Comparison Table: Kitchen Tool Organization Methods
| Method | Best For | Space Efficiency | Cost | Maintenance |
|---|---|---|---|---|
| Drawer Dividers | Utensils, small gadgets | High | $ | Low |
| Magnetic Knife Strip | Knives, metal tools | Very High | $ | Low |
| Pegboard | Pots, pans, utensils | Very High | $$ | Low |
| Hanging Pot Rack | Cookware, bulky items | Very High | $$$ | Low |
| Countertop Crock | Daily-use utensils | Medium | $ | Medium |
| Under-Shelf Basket | Small items, towels | High | $ | Low |
| Over-the-Door Rack | Cutting boards, lids | Very High | $ | Low |
| Stackable Bins | Gadgets, baking tools | High | $ | Low |
Daily Habits to Keep Kitchen Tools Organized
Organization only works if you maintain it. Here are simple daily habits that take just seconds but make all the difference:
- Clean as you go: Wash tools or place them in the dishwasher right after use—don’t let them pile up in the sink.
- Return tools immediately: Put each tool back in its designated spot after using it. This takes seconds and prevents clutter from accumulating.
- Do a quick 5-minute reset: After each meal, spend a few minutes wiping down counters and straightening drawers.
- Review monthly: Every month, take a few minutes to reorganize any drawers or areas that have gotten messy. This is also a great time to donate gadgets you no longer use.
Frequently Asked Questions (FAQ)
How do I organize a deep kitchen drawer without everything getting lost?
Use stackable trays, drawer dividers, or small bins to create layers and compartments within the drawer .
What’s the best way to organize kitchen tools without a lot of drawers?
Use wall-mounted options like pegboards or magnetic strips, and consider under-shelf baskets or over-the-door organizers for extra space.
How often should I declutter my kitchen tools?
Aim for a seasonal review (every 3–4 months) plus a quick monthly check-in. Donate or toss anything you haven’t used in the past year.
Should I store knives in a drawer?
Storing knives in a drawer without protection dulls the blades and is dangerous. Use a magnetic strip, knife block, or in-drawer knife holder instead.
What’s the best way to organize measuring cups and spoons?
Store measuring cups nested inside each other and measuring spoons on a ring. Keep them together in a designated drawer or countertop container.
Can I organize pots and pans without a huge cabinet?
Yes. Use a hanging pot rack, wall-mounted storage, or an over-the-door rack for lids and smaller pans.
Conclusion: Start Small and Build Better Habits
You don’t need a massive kitchen remodel to get organized. Start with one drawer or cabinet today—declutter, group like items, and give everything a designated home. Then build daily habits that keep it that way: clean as you go, return tools immediately, and do a quick reset after each meal. With a little effort and consistency, your kitchen will become a place of calm, creativity, and enjoyment rather than frustration and clutter.
Which kitchen problem do you want solved next? Share your thoughts in the comments.
Learn more about kitchen tool organization from trusted sources here: