How to Organize Deep Kitchen Cabinets So Everything Is Easy to Reach
You open a deep cabinet, and a pot lid falls out. The blender is wedged behind the stand mixer. You’re kneeling on the floor, reaching into the dark abyss, and you still can’t find the 9×13 baking dish. Sound familiar? Deep cabinets look generous on paper, but in practice, they behave like a black hole .
The good news: you don’t need a renovation to fix this. You just need to stop treating deep cabinets like one giant pile and start organizing them in a way that makes the back as accessible as the front .
The Golden Rule: If You Can’t Reach It, It’s Just a Black Hole
Deep cabinets fail for one simple reason: anything beyond the first 12–15 inches quickly turns into a dark storage cave where items go to die . The solution isn’t packing more in—it’s bringing the back to you.
The quickest test to see if your deep cabinet is working: can you grab what you need without moving more than one other item? If not, the cabinet is overpacked or poorly arranged .
5 Proven Fixes for Deep Cabinets
1. Install Pull-Out Shelves
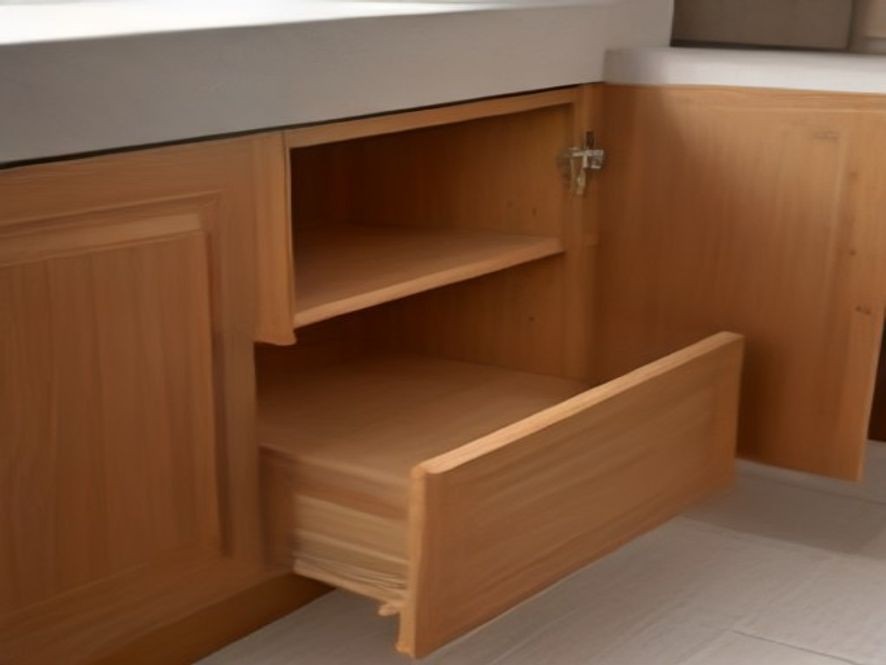
Pull-out shelves are the single most effective solution for deep cabinets. They slide forward on tracks, making the entire back of the cabinet instantly accessible .
Why they work: Instead of reaching blindly into the depths, the whole shelf glides toward you so everything becomes visible at once . It’s like turning a cabinet into a set of drawers .
Options:
- Hardware-mounted: These require measuring and installing drawer slides, but they’re sturdy and support heavy items . The Rev-A-Shelf 5343 is a professional-grade option for tall pantries with soft-close slides .
- Peel-and-stick: A renter-friendly alternative. Products like the Mustorn Pull Out Cabinet Organizer use strong adhesive strips and require no tools or drilling . Just note they have a lower weight capacity than mounted versions .
A quick installation tip from a DIY expert: If you’re building your own, subtract 1 inch from your cabinet width measurement to account for the drawer slides. Build the shelf as a shallow drawer using wood glue and finish nails, then attach the slides .
2. Use Bins with Handles (and Label Them)
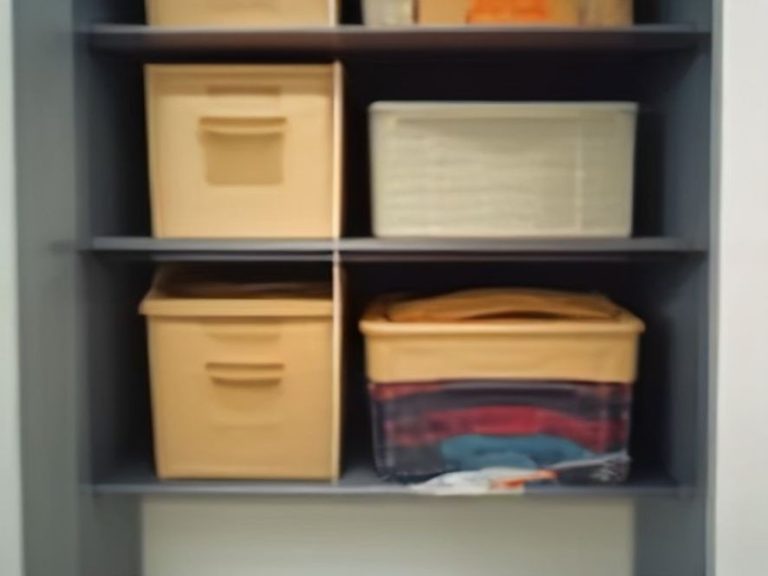
Bins and baskets are the scrappy underdogs of deep cabinet organization. Instead of reaching into the cabinet, you just pull out the bin .
Why they work: They create portable “drawers” that let you bring an entire category of items forward at once.
The catch: They require discipline. If bins aren’t labeled or consistently used, things slowly migrate between them .
What to look for:
- Clear bins so you can see the contents at a glance
- Bins with handles for easy gripping
- Narrow bins instead of one large container—they make it easier to pull out exactly what you need without disturbing the whole cabinet
- Bins that fit the cabinet depth so they slide smoothly without catching on the cabinet frame
3. Add Tiered Shelf Risers for Vertical Layers
Tiered risers create a “stadium seating” effect, making items in the back higher than items in the front so everything is visible .
Why they work: They solve the visibility problem without requiring installation. Cans, spices, and jars become instantly visible .
DIY alternative: You can cut sheets of wood to fit your cabinets and build your own risers . Even cardboard boxes can be repurposed into tiered storage with a little duct tape reinforcement .
What to watch for: Tiered risers don’t help much with access—you still need to reach in—but they make it much easier to see what you’re reaching for.
4. Use Tension Rods for Vertical Dividers
Tension rods wedged between cabinet walls create instant vertical dividers for baking sheets, cutting boards, and trays .
Why they work: Instead of stacking flat items in a clanging pile, they stand upright like files. You can grab one without unstacking the whole pile.
What to look for: Adjustable tension rods that fit snugly between the cabinet walls.
Bonus: You can also use them to hang lightweight items inside a cabinet without drilling .
5. Keep Heavy Items Low and Forward
This one sounds obvious, but people still store heavy appliances in the back because “that’s where they fit.” That’s how you end up lifting a stand mixer over a stack of glass storage containers .
The rule: Put heavy items (Dutch ovens, mixers, slow cookers) closest to the front edge or on a pull-out shelf . If you need two hands and a deep bend to reach it, the item is too far back .
Quick Comparison: Which Solution Fits Your Kitchen?
| Solution | Best For | Time to Install | Cost | Renter-Friendly? |
|---|---|---|---|---|
| Pull-out shelves (mounted) | Heavy items, daily use | 1–3 hours per cabinet | $30–$150 | Usually not |
| Pull-out shelves (peel-and-stick) | Light to medium items | 5 minutes | $20–$40 | Yes |
| Bins with handles | Category storage (snacks, spices) | 5 minutes | $10–$30 per bin | Yes |
| Tiered risers | Cans, jars, small items | 5 minutes | $15–$60 | Yes |
| Tension rods (vertical dividers) | Baking sheets, cutting boards | 2 minutes | $5–$15 | Yes |
| Cabinet door organizers | Small items, wraps, oven mitts | 5 minutes | $10–$25 | Yes |
The Zone Method: Don’t Treat Deep Cabinets as One Pile
Deep cabinets fail when they become a catchall for everything . Instead, assign a job to each section:
- Front zone: Daily items you reach for every week
- Back zone: Rarely used items (holiday platters, the bread maker you use twice a year)
- Vertical zones: Use risers or containers to create layers
In one real kitchen, a 36-inch-deep cabinet kept swallowing baking sheets, a stand mixer, cast iron pans, and random grocery bags. What actually worked was splitting it into zones: a riser for baking pans on one side, a pull-out tray for the mixer, and a low bin for giant mixing bowls . That one change cut “digging time” from a minute or two down to a few seconds.
The Free Cardboard Box Hack
If you’re on a tight budget, cardboard boxes can work wonders. Here’s how:
- Empty the cabinet completely and clean it
- Find sturdy boxes that fit neatly in the cabinet (Amazon boxes, liquor boxes, or Priority Mail boxes work well)
- Reinforce the bottom seams with duct tape
- Fill a box with packaging airbags and place it in the back of the cabinet to act as a “riser”
- Place another reinforced box directly in front of it
- Group like items together inside the boxes
It’s not as elegant as pull-out shelves, but it’s practically free and dramatically improves access.
Two Quick Maintenance Habits
Weekly reset: Spend two minutes pulling items forward and returning bins to their zones .
One-in, one-back rule: When you buy a new product, push backups to the rear container immediately so the front stays reserved for daily items .
Frequently Asked Questions
What is the best way to organize a deep kitchen cabinet?
Install pull-out shelves. They bring the entire cabinet contents forward so nothing gets lost in the back . If you’re a renter, peel-and-stick pull-outs are a great alternative .
Should I use bins or pull-out shelves for deep cabinets?
Both work, but they serve different purposes. Pull-out shelves are better for heavy items and daily use—they’re smoother and require no lifting. Bins are cheaper, more flexible, and easier to install, but they require you to lift the bin in and out .
How can I keep items from sliding to the back of deep cabinets?
Use bins, tiered risers, or pull-out shelves to create physical barriers. Also, reserve the back for rarely used items and keep daily items in the front .
What is the cheapest way to organize deep cabinets?
Use tiered risers made from sturdy cardboard boxes. A few boxes, some duct tape, and 15 minutes of work can dramatically improve access for under $5 .
How do I know if my deep cabinet is organized correctly?
Test it: can you grab what you need without moving more than one other item? And can you see what’s inside with one quick glance? If not, it needs a better system .
A deep cabinet can be one of the most frustrating parts of a small kitchen—or one of the most useful. The difference comes down to whether you’ve designed a system that brings the back to you or just stacked things in layers. Start with pull-out shelves or bins, create zones, and keep heavy items forward. Your future self—the one kneeling on the kitchen floor—will thank you.
References
Expert Solutions for Deep Cabinet Organization:
- Yahoo – The Fix for Deep Kitchen Cabinets
- Coohom – Pull-Out Shelves vs Bins: 5 Deep Cabinet Insights
- Yahoo – 7 Clever Ways to Organize Deep Cabinets
- Tasting Table – Not Bins, Not Lazy Susans: There’s a Smarter Solution
- Yahoo – Skip Bins and Lazy Susans: A Smarter Way
- House Digest – Practically Free Deep Cabinet Organizing Hack
- Yahoo – Peel-and-Stick Deep Cabinet Solution
- Anika’s DIY Life – DIY Pull-Out Shelves
- Coohom – 5 Fixes for Hard-to-Reach Items in Deep Cabinets
- Nicolaslawn – How to Organize Deep Kitchen Cabinets
- Pro Cabinet Supply – Rev-A-Shelf 5343 Pantry Pullout
Which kitchen problem do you want solved next? Share your thoughts in the comments.