How to Deep Clean the Inside of Kitchen Drawers: The Ultimate Guide to a Fresh and Organized Storage Space
That faint, musty smell every time you open the cutlery drawer, the sticky film on the sides from years of greasy hands, and the mysterious crumbs scattered in the corners—your kitchen drawers are trying to tell you they need a deep clean.
TL;DR
Deep cleaning kitchen drawers means completely emptying them, vacuuming crumbs from corners and tracks, and wiping down all surfaces with a gentle cleaner . Use warm water and mild dish soap for general grime; for stubborn grease, add baking soda or use a vinegar solution . Always dry drawers thoroughly before replacing liners and items to prevent warping and mold . Clean utensil drawers every 3–6 months, and use this opportunity to declutter and reorganize with dividers for long-term order .
Key Takeaways
- Empty Completely: You can’t clean what you can’t see—remove everything from the drawer for a thorough clean.
- Vacuum First: Remove loose crumbs and dust with a vacuum crevice tool before using any liquid to prevent “mudding” .
- Use Gentle Cleaners: Stick to mild dish soap and warm water; avoid bleach, ammonia, and harsh scrubbers that can damage finishes .
- Minimize Moisture: Use a damp (not wet) cloth and dry immediately to prevent warping, especially on wood drawers .
- Clean Hardware Separately: Remove drawer pulls and soak them in warm soapy water for a deep clean .
- Line and Organize: Add non-slip liners and dividers to keep drawers clean and organized longer .
Why Kitchen Drawers Need Deep Cleaning
Kitchen drawers work hard every day. They hold your utensils, cutlery, and gadgets, but they also collect a hidden cocktail of grime.
The Hidden Build-Up
Grease and Fingerprints: Every time you open a drawer with hands that have touched cooking oil, you transfer grease to the handles and the top edge of the drawer face . Over time, this creates a sticky film that attracts dust.
Crumbs and Food Particles: Drawers, especially utensil drawers, are a landing zone for crumbs, spills, and counter debris . These can attract pests and create unsanitary conditions.
Moisture and Mold: Wood and fiberboard drawers are porous. Moisture from damp utensils or kitchen humidity can be absorbed, creating a breeding ground for mold and mildew—and that musty smell .
“Most kitchen problems come from small maintenance habits that are often ignored.”
Step-by-Step Guide: How to Deep Clean Kitchen Drawers
Step 1: Empty Everything Out
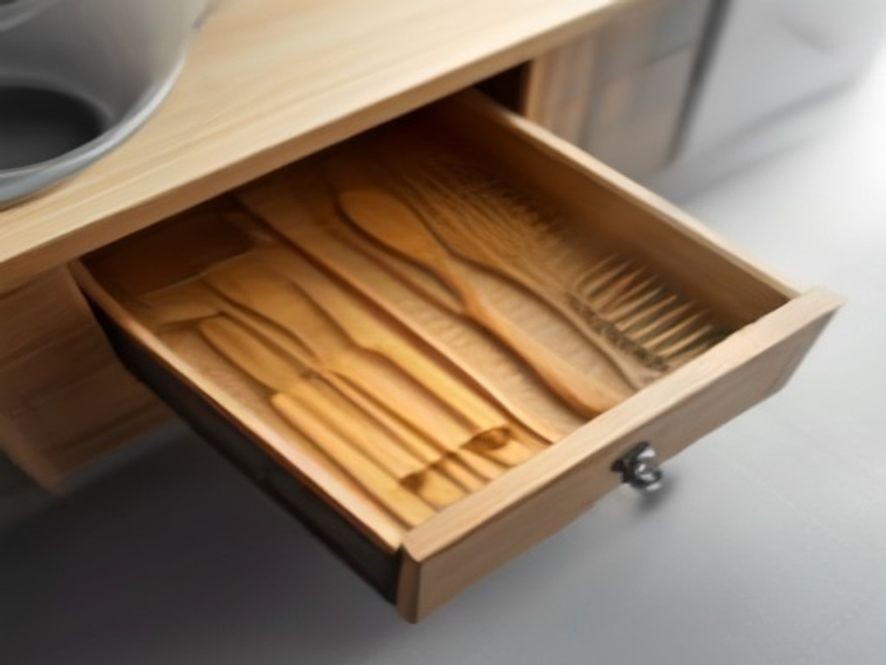
Start with a clean slate. Remove every item from the drawer—utensils, gadgets, and the organizer tray .
- Place items on a counter or table for sorting.
- Use this opportunity to declutter: toss broken items, donate duplicates, and discard expired or orphaned items .
- Wipe off dust and grease from the items themselves before putting them back later .
Step 2: Vacuum Crumbs and Dust
Before introducing any moisture, vacuum the empty drawer thoroughly .
- Use a crevice tool or brush attachment to reach corners and the tracks where debris gets lodged .
- This step prevents “mudding”—turning dry dust and crumbs into a wet paste when you wipe them .
Step 3: Choose the Right Cleaner
For General Cleaning: Warm Water and Mild Dish Soap
This is the safest and most effective method for most drawer materials .
- Mix a few drops of mild dish soap with warm water.
- Dip a microfiber cloth in the solution, wringing it out until it is damp, not dripping .
- Wipe down the back, sides, bottom, and the inside face of the drawer.
- Pay attention to handles and the top edge of the drawer face, where finger oils accumulate .
Important: “The biggest mistake is using too much water, especially on wood drawers—this can warp or damage the finish,” says Becky Rapinchuk, founder of Clean Mama .
For Stubborn Grease: Baking Soda or Vinegar
If soapy water isn’t enough for sticky buildup, try these solutions:
- Baking Soda Boost: Add 1 teaspoon to 1 tablespoon of baking soda to your soapy water. Apply with a soft cloth, wipe with a damp cloth immediately, and dry .
- Vinegar Solution: Mix equal parts white vinegar and warm water with a few drops of dish soap in a spray bottle. Spray the drawer, let it sit for a minute or two, and wipe clean with a microfiber cloth . Use vinegar sparingly on wood—high concentrations can dull the finish .
For Greasy Handles and Knobs: Remove and Soak
Drawer hardware can get especially grimy.
- Remove drawer pulls with a screwdriver .
- Soak them in a bowl of warm water, white vinegar, and a drop of dish soap for 30 minutes .
- Rinse, dry, and reattach.
Step 4: Address Musty Odors
If your drawer has a musty smell, you may have a mold or mildew problem .
- Clean the drawer thoroughly as described above.
- Sprinkle baking soda inside the drawer and let it sit for a while to absorb odors and help kill mold spores .
- Vacuum or wipe out the baking soda.
- Dry completely—leave the drawer open or place it in the sun if removable .
Step 5: Dry Completely
Moisture is the enemy of drawer longevity.
- Use a fresh, dry microfiber cloth to buff surfaces dry immediately after wiping .
- Leave drawers open for 15–20 minutes to ensure all residual humidity evaporates before restocking .
Step 6: Clean Organizers and Utensils
While the drawer dries, clean the organizer tray and utensils:
- Plastic, metal, or glass organizers: Wash in warm soapy water .
- Wooden dividers: Wipe with a soapy cloth (do not soak) .
- Utensils: Check for any grease or food residue and wash as needed.
Step 7: Add Liners and Reorganize
Before putting everything back, consider adding protection:
- Non-slip liners: Protect the drawer base from spills and keep items from sliding around .
- Avoid adhesive contact paper: It can peel off the finish or leave a sticky residue .
Organize by category: Group similar items together and assign a purpose to each drawer .
- Cutlery tray for forks, knives, spoons
- Utensil drawer for spatulas, ladles, whisks
- Gadget drawer for peelers, measuring spoons, tongs
- Wrap drawer for foil, parchment, cling wrap
Use drawer dividers or organizers to keep everything in its place .
Comparison Table: Recommended Cleaning Frequency
| Drawer Type | Recommended Cleaning Frequency | Why It Matters |
|---|---|---|
| Utensil/Cutlery Drawer | Every 3–6 months | High-traffic, catches crumbs and spills from counters |
| Drawers Near the Stove | Every 3 months | Exposed to airborne grease and splatters |
| Pantry/Cabinet Drawers | Twice a year | Houses food items that can expire or attract pests |
| All Drawers (Quick Wipe) | Weekly | Wipe handles and visible surfaces to prevent buildup |
Pro Tips for Long-Lasting Cleanliness
- Test first: Always test your cleaner on an inconspicuous spot to ensure it won’t damage the finish .
- Avoid harsh chemicals: Stay away from ammonia, bleach, solvents, and steel wool .
- Regular maintenance: Wipe drawer handles and frequently touched areas weekly .
- Use natural deodorizers: Place baking soda or activated charcoal in a drawer to keep it smelling fresh .
FAQ Section
How often should I deep clean my kitchen drawers?
For heavily used utensil drawers, aim for every 3–6 months . Drawers near the stove may need more frequent cleaning due to grease buildup .
What’s the best way to remove sticky grease from kitchen drawers?
Use a solution of warm water and mild dish soap. For stubborn grease, add baking soda to the soapy water or use a vinegar solution .
Can I use bleach to clean kitchen drawers?
No—avoid bleach, ammonia, and harsh solvents, as they can strip paint, damage wood, and discolor finishes .
How do I get rid of musty smells in my drawers?
Clean thoroughly, then sprinkle baking soda inside and let it sit before vacuuming. Ensure the drawer is completely dry before restocking to prevent mold recurrence .
Should I use shelf liners in my drawers?
Yes—non-slip liners protect the drawer base and make future cleaning easier. Avoid adhesive contact paper that can damage the finish .
What’s the best way to organize kitchen drawers after cleaning?
Group similar items by category (cutlery, utensils, gadgets). Use dividers and organizers to keep everything in its place .
Essential Resources for Kitchen Maintenance and Appliance Care:
- Real Simple: How to Clean Grease From Kitchen Drawers
- Southern Living: How Often to Clean Kitchen Cabinets
- Better Homes & Gardens: Pantry and Kitchen Organization Tips
Which kitchen problem do you want solved next? Share your thoughts in the comments.