How to Deep Clean a Kitchen Pantry From Top to Bottom: The Ultimate Guide to a Fresh and Organized Space
That cluttered shelf with half-empty bags of flour, the mysterious sticky spot you keep avoiding, and the can of soup that expired two years ago—your pantry is trying to tell you it needs some attention.
TL;DR
Deep cleaning your pantry from top to bottom means completely emptying it, decluttering ruthlessly, scrubbing every surface, and reorganizing with a system that works for your cooking habits . Remove everything first so you can see what you’re dealing with . Vacuum crumbs, wipe shelves with warm soapy water, and dry completely before restocking . Check every item for expiration dates and signs of pests . Finally, group items by category, store frequently used items at eye level, and use clear bins and labels for easy maintenance .
Key Takeaways
- Empty Completely: You can’t deep clean properly with items still on the shelves—take everything out .
- Declutter Ruthlessly: Toss expired items, donate unopened goods you won’t use, and check for pests before returning anything .
- Clean Top to Bottom: Start with high shelves and work down, vacuuming crumbs before wiping with warm soapy water .
- Organize by Category: Group similar items together (baking, snacks, canned goods) and put frequently used items at eye level .
- Maintain Regularly: Deep clean every 3–6 months and wipe spills immediately to prevent stubborn stains .
Why a Pantry Deep Clean Matters
Your pantry works hard every day. It holds your staple ingredients, snacks, and cooking essentials. But over time, it becomes a dumping ground for half-used items, forgotten spices, and expired goods.
The Hidden Problems
Pests love crumbs. Pantry moths and weevils thrive in spilled flour, grains, and cereal that accumulate in corners and behind containers .
Expired food takes up space. Old spices lose their flavor, stale snacks go uneaten, and outdated cans clutter your shelves.
Sticky spills attract more grime. A small syrup spill that you don’t clean properly becomes a dust magnet and harder to remove later.
“Most kitchen problems come from small maintenance habits that are often ignored.”
Step-by-Step: How to Deep Clean Your Pantry from Top to Bottom
Step 1: Empty the Pantry Completely
This is the most important step. You cannot clean what you cannot see.
- Take everything out and place it on your kitchen counter, table, or a clean towel on the floor .
- As you remove items, create three zones: Keep, Toss, Donate .
- Take a “before” photo—it’s motivating to see the progress later .
Step 2: Declutter Ruthlessly
Now that everything is out, it’s time to be honest about what should go back in.
- Check expiration dates. If it’s expired, toss it. If it’s stale or past its prime, toss it .
- Look for pests. Check boxes and bags for webbing, small caterpillars, or holes—signs of pantry moths or weevils .
- Donate unopened items you won’t use, as long as they haven’t expired.
- Consolidate duplicates. If you have two half-full bags of flour, combine them into one .
Step 3: Deep Clean the Empty Space
Now for the satisfying part—scrubbing every surface.
- Start from the top. Dust ceiling corners, light fixtures, and top shelves first so debris falls downward .
- Vacuum everything. Use a vacuum with a brush attachment to remove crumbs, dust, and debris from shelves, corners, and baseboards .
- Wipe shelves with warm soapy water. Use a sponge or cloth with warm water and mild dish soap. For stubborn sticky spots, use a vinegar and baking soda paste .
- Clean walls and baseboards. Wipe down the interior walls and baseboards while the shelves are empty .
- Sweep and mop the floor. Finish with the floor, reaching into corners .
- Dry everything completely. Moisture left on shelves can cause mold or warp wood .
Pro tip: Lay down shelf liners after cleaning to make future spills easier to manage .
Step 4: Clean Your Storage Containers
Before you put anything back, take a moment to clean the containers themselves.
- Wipe down jars, bottles, and boxes to remove dust and sticky residue .
- Transfer items from torn or damaged packaging into airtight containers .
- Label containers with the item name and expiration date .
Step 5: Reorganize for Functionality
Now comes the fun part—putting everything back in a way that actually works.
Organize by category. Group similar items together so you can find things quickly .
- Baking: Flour, sugar, baking soda, chocolate chips
- Grains and pasta: Rice, quinoa, noodles
- Canned goods: Soups, beans, vegetables
- Snacks: Bars, chips, dried fruit
- Sauces and condiments: Oils, vinegars, jarred sauces
Use the “eye level is buy level” rule. Place the items you use most often right at eye level . Less frequently used items can go on higher or lower shelves .
Store heavy items on lower shelves. This makes them safer to reach and reduces the risk of dropping heavy cans .
Place older items in front. This follows the “first in, first out” rule, helping you use items before they expire .
Comparison Table: Pantry Cleaning Frequency
| Cleaning Type | Frequency | Best For |
|---|---|---|
| Quick wipe-down | Weekly | Spills, visible crumbs, maintaining order |
| Light organization | Monthly | Rotating items, checking for expired goods |
| Deep clean | Every 3–6 months | Full purge, thorough scrubbing, pest prevention |
| Full overhaul | Annually | Major reorganization, shelf replacement, deep grout cleaning |
Pro Tips for a Pantry That Stays Clean
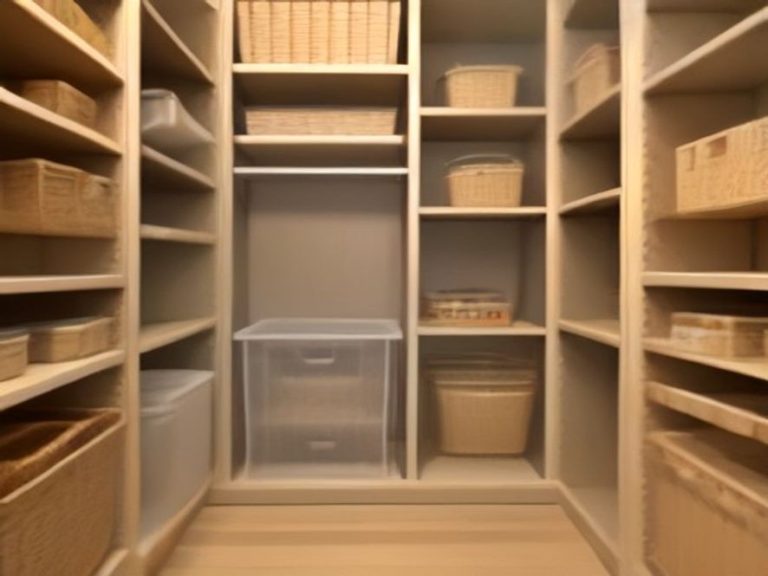
Use clear bins. Transparent containers help you see what you have at a glance, preventing duplicate purchases .
Label everything. Labels help you and your family quickly find items and put them back in the right place .
Store open items in airtight containers. This keeps food fresh longer and prevents pests from getting in .
Add a moisture absorber. Place an open box of baking soda or activated charcoal in the pantry to absorb odors and excess moisture .
Take a “before and after” photo. It’s a great way to appreciate your hard work and stay motivated to maintain it .
FAQ Section
How often should I deep clean my pantry?
Experts recommend deep cleaning your pantry at least twice a year, or every three months if you have a high-traffic kitchen .
What’s the best way to clean sticky spills on pantry shelves?
Soften dried sticky residue with a warm damp cloth, then wipe with warm soapy water. For stubborn spots, use a vinegar and baking soda paste .
How do I check for pantry pests?
Look for webbing, small caterpillars, or tiny holes in packaging—especially in flour, rice, and cereal boxes .
Should I use shelf liners in my pantry?
Yes—shelf liners make cleaning easier and protect shelves from spills. They also provide a little grip for jars and containers .
What’s the best way to organize spices in a pantry?
Store spices in a dedicated section or organizer. Keep them in a cool, dark place away from heat and light to preserve flavor .
How do I prevent my pantry from getting disorganized quickly?
Make sure everyone in the household knows your system. Label shelves and bins, and do a quick 5-minute tidy every week .
Essential Resources for Kitchen Maintenance and Appliance Care:
- Southern Living: Pantry Cleaning Schedule
- Martha Stewart: How to Clean Your Pantry
- Better Homes & Gardens: Pantry Organization Mistakes
Which kitchen problem do you want solved next? Share your thoughts in the comments.