How to Clean the Back of a Refrigerator: Dust, Dirt, and Grease Removal
That dark, dusty space behind your fridge isn’t just collecting crumbs—it’s slowly making your appliance work harder and costing you money.
TL;DR
Cleaning the back of your refrigerator takes about 30 minutes and can save you money on energy bills. Unplug the fridge, carefully pull it away from the wall, and vacuum the condenser coils with a brush attachment. For greasy buildup, use a mild degreaser on a cloth—never spray liquids directly on the coils. Clean behind your fridge at least twice a year, or more often if you have pets .
Key Takeaways
- Dust acts like insulation on condenser coils, trapping heat and forcing your fridge to work harder .
- Unplug first—cleaning near electrical components can be dangerous if the fridge is still connected .
- Use dry tools like vacuum attachments and soft brushes on the coils. Avoid water or spray cleaners on the coils themselves .
- Clean the floor and wall behind the fridge while you’re back there to prevent dust from getting sucked back in .
- Watch for warning signs—higher energy bills, constant running, or excessive heat on the sides mean your coils need cleaning .
Why Cleaning the Back of Your Fridge Matters
The space behind your refrigerator is one of the most neglected spots in any kitchen . Over time, it collects dust, pet hair, crumbs, and even grease from cooking that settles on surfaces .
The real problem is what happens to your condenser coils back there. These metal coils are responsible for releasing heat pulled from inside your fridge. When they’re coated in dust and grime, that layer acts like insulation—trapping heat and forcing the compressor to work much harder to keep your food cold .
“Your refrigerator has metal coils that pull heat from inside and send it into your kitchen,” explains HVAC expert Russ Teaca. “This gunky buildup insulates the coils and keeps their heat contained to the inside, like a heavy wool jumper” .
Dirty coils lead to higher energy bills, shorter appliance lifespan, and can even cause the compressor to fail prematurely .
What You’ll Need
Here’s your shopping list for this job:
- Vacuum cleaner with a crevice or brush attachment
- Soft brush or specialized coil brush for loosening compacted dust
- Microfiber cloths for wiping surfaces
- Mild dish soap and warm water for cleaning panels and walls
- Degreaser (optional) for greasy buildup—apply to cloth, not directly on coils
- Furniture sliders or cardboard to help move the fridge without scratching floors
- Flashlight to see what you’re doing back there
- Rubber gloves for handling grime and cleaning solutions
Step-by-Step Cleaning Guide
Step 1: Clear the Area
Remove anything stored on top of your fridge—containers, pet treats, or odds and ends. This prevents items from falling and breaking when you move the fridge .
Step 2: Unplug the Refrigerator
This is the most important safety step. Unplug the fridge from the wall outlet before you start cleaning near any electrical components . Avoid opening the doors after unplugging to keep the contents cold while you work .
Step 3: Move the Fridge Carefully
Gently pull the refrigerator away from the wall. Most fridges have hidden casters that make this easier . Here’s how to do it safely:
- Grip both sides from the front and slowly rock it side to side while pulling forward
- Use furniture sliders or a piece of cardboard under the fridge to protect your floors and make sliding easier
- Ask someone to help if the fridge is particularly heavy
- Be careful not to pinch the power cord or the water supply line for your ice maker
Step 4: Locate the Condenser Coils
Find where your condenser coils are located:
- Behind a panel at the bottom front (most common—remove the kickplate or base grille with a screwdriver)
- On the back of older models, exposed directly
- Behind a panel on the back or bottom—consult your owner’s manual if unsure
Some newer models don’t require regular coil cleaning, so check your manual to see if you’re one of the lucky ones .
Step 5: Remove Loose Dust
Use a vacuum cleaner with a brush or crevice attachment to suck away dust and debris from the coils . For heavily caked-on dirt, you may need to gently pull off large dust bunnies with gloved hands before vacuuming .
Step 6: Loosen Compacted Debris
Use a soft brush or a specialized coil brush to gently dislodge any remaining debris stuck between the coil fins. Be very careful not to bend the delicate metal fins—bent fins can restrict airflow and reduce cooling efficiency .
Once loosened, vacuum again to remove everything you’ve dislodged .
Step 7: Clean Removable Panels
If you removed a grill or panel, wash it with warm, soapy water. Dry it thoroughly before replacing it .
Step 8: Wipe Down the Back and Wall
- Use a damp microfiber cloth with mild dish soap to wipe the back of the fridge (avoid getting moisture on electrical components)
- For greasy buildup on non-electrical surfaces, apply a degreaser to a cloth and wipe gently
- Clean the wall behind the fridge with a damp cloth and mild detergent
- If you find any mold, clean the area thoroughly with a bleach and water solution (1 part bleach to 10 parts water) while wearing gloves and a mask
Step 9: Clean the Floor
Thoroughly vacuum or sweep the floor underneath and behind the fridge . Then mop the area to remove any sticky residue .
“Vacuum the floor underneath too. If you leave dust and pet hair under the fridge, the fan will pull it right back into the coils” .
Step 10: Let Everything Dry
Allow all cleaned surfaces to dry completely before sliding the fridge back into place. This prevents mold and mildew growth in the damp area .
Step 11: Replace the Fridge and Plug It In
Slide the fridge back into position, leaving 2-3 inches of space between the back and the wall for proper airflow . Plug it back in and check that it’s running properly.
Many people notice their fridge sounds “totally different” and runs much quieter after a good coil cleaning .
How Often Should You Clean Behind the Fridge?
| Situation | Recommended Frequency |
|---|---|
| Average home | Twice a year |
| Homes with pets | Every 2-3 months |
| Dusty environment | Every 3 months |
| If you notice warning signs | Immediately |
A good reminder system is to clean your coils when daylight saving time changes or with the changing seasons .
Warning Signs Your Coils Are Too Dirty
- Your fridge runs constantly or cycles on and off more frequently than usual
- Your energy bill has spiked without any other explanation
- The sides or back of your fridge feel excessively hot to the touch
- Your food isn’t staying as cold as it should
Specific Scenarios and Solutions
Dealing with Grease Buildup
If grease from cooking has settled on the back of your fridge, apply a degreaser to a cloth and gently wipe the affected areas. Let it soak for a moment to break down the goop, then wipe away—being careful not to bend any of the inner coil fins .
Cleaning Behind a Built-In Refrigerator
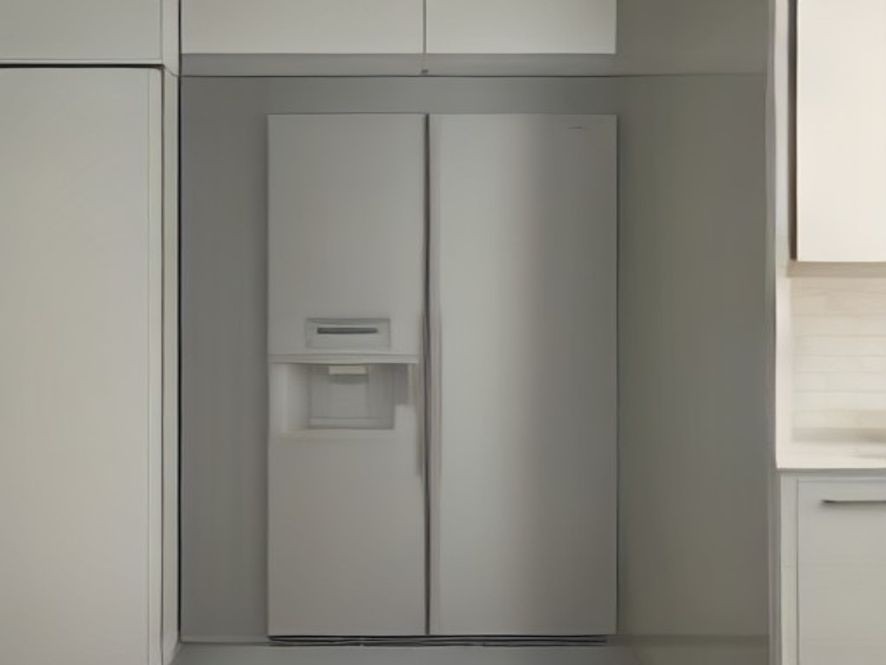
Built-in fridges are trickier because they’re snug against cabinets. Use a flexible vacuum hose to reach tight spaces, and focus on cleaning the accessible areas . If you’re uncomfortable moving the fridge, consider hiring a professional cleaning service—they can handle the job safely and efficiently .
Dealing with Mold
If you discover mold behind the fridge:
- Wear gloves and a mask to protect yourself from mold spores
- Mix a solution of 1 part bleach to 10 parts water, or use a commercial mold cleaner
- Scrub the affected areas thoroughly
- Ensure the area is completely dry after cleaning
- Improve ventilation in the area to prevent future mold growth
Safety Reminders
Always unplug the refrigerator before cleaning the back or coils. This prevents the risk of electric shock .
Never spray water or cleaning solutions directly onto the condenser coils—this can cause corrosion and electrical problems .
Be careful when moving the fridge—don’t tilt it, as this can damage the compressor .
FAQ: Cleaning Behind the Refrigerator
1. How do I know if my fridge has coils that need cleaning?
Most refrigerators do, except some newer models. Check your owner’s manual or look for a grill at the bottom or back of the unit .
2. Can I use vinegar to clean the back of my refrigerator?
Yes—a 1:1 solution of white vinegar and water works well for wiping down surfaces, but avoid getting it on the coils themselves. Use a cloth dampened with the solution rather than spraying .
3. How long does it take to clean behind the fridge?
About 15 to 30 minutes for the whole process .
4. Can dirty coils cause my fridge to break down?
Yes. Dust buildup forces the compressor to work harder, which can shorten its lifespan and lead to costly repairs or replacement .
5. Is it worth hiring someone to clean behind my fridge?
If you lack the time, mobility, or confidence to move heavy appliances safely, professional cleaners can handle the job quickly and without risk of damage .
Do you have pets that shed? You might need to clean behind your fridge every 3 months instead of 6. Found this guide helpful? Share your experience or your biggest fridge struggle in the comments!
References
Expert guides and professional advice for refrigerator maintenance and cleaning: