Why Is My Kitchen Sink Drain Connection Leaking? A Step-by-Step Troubleshooting Guide
You reach under your kitchen sink to grab a cleaning spray, and your hand lands in a puddle of water. That sinking feeling is unmistakable—your drain connection is leaking.
Water damage can ruin cabinet floors and invite mold if left unchecked, but the good news is most drain connection leaks are simple fixes you can handle yourself. This guide helps you find the leak, understand why it happened, and walk you through the best way to repair it.
TL;DR
A leak under your kitchen sink usually comes from loose connections, worn-out washers or gaskets, a failed seal around the drain strainer, or a cracked pipe. Most fixes involve tightening slip nuts, replacing worn seals, or resealing the sink strainer with plumber’s putty. Start by finding the exact leak source, gather basic tools, and try the simplest solution first—tightening loose connections. If leaks persist, replacing worn parts often does the trick.
Key Takeaways
- Find the source first: Dry everything, place paper towels under joints, and run water to see exactly where moisture appears.
- Check your washers: Rubber or plastic washers inside slip nuts wear out and crack over time—replace them if tightening doesn’t stop the leak.
- The strainer seal matters: Water dripping around the sink basin drain opening usually means plumber’s putty or gasket has failed.
- Inspect for cracks: Plastic tailpieces and P-traps can crack, especially if pipes get jostled by items stored under the sink.
- Don’t overtighten: Plastic fittings can crack if you crank them too hard—hand-tight plus a gentle quarter-turn with pliers is usually enough.
The Real Causes Behind a Leaking Sink Drain Connection and How to Fix Them
A leaking kitchen sink drain connection is rarely a mystery once you know where to look. Here are the most common culprits and how to address each one.
Why Drain Connections Leak: Common Failure Points
Loose Connections Are the Number One Cause
Slip nuts that connect sections of pipe under your sink can work themselves loose over time. The connections rely on compression to form a watertight seal, and when they loosen, water finds its way out. Vibration from daily sink use, storing heavy items that bump pipes, or even the heat of hot water causing parts to expand and contract can all contribute to loosening.
Worn or Damaged Washers and Gaskets
The slip nuts on your P-trap and tailpiece contain rubber or plastic washers that create the actual seal. These parts dry out, crack, or get squashed flat over years of use. When they fail, tightening the nut won’t help—you need to replace the washer.
Failed Seal Around the Sink Strainer
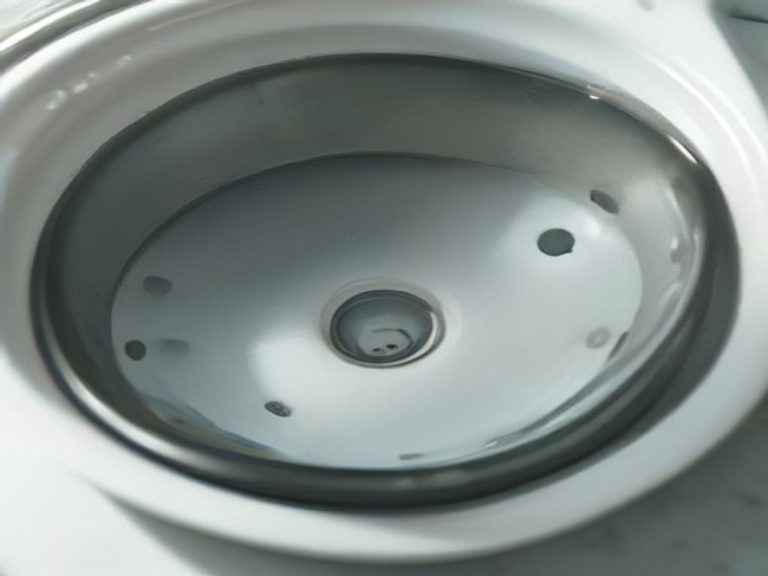
If water is dripping from where the drain pipe meets the bottom of the sink basin itself, the problem is often the plumber’s putty or silicone seal around the drain flange. This seal can deteriorate after years of use or may have been incorrectly applied. Regularly inspecting under your sink every few months helps you catch these issues early.
Cracked Pipes
Plastic tailpieces (the vertical pipe from the sink strainer) and P-traps can develop cracks, especially at connection points. Even a hairline crack can cause a persistent drip. Inspect these parts carefully, especially if you’ve recently jostled them while storing items under the sink.
Cross-Threaded or Damaged Threads
If a slip nut was forced on at an angle during installation, it can cross-thread and never seal properly. Similarly, threads can strip over time, making it impossible to tighten the connection.
How to Fix a Leaking Kitchen Sink Drain Connection: Step-by-Step
Before you start, grab these basic tools:
- Bucket or large bowl
- Adjustable wrench or channel-lock pliers
- Flashlight
- Replacement washers (take old ones to the hardware store for matching)
- Plumber’s putty or silicone sealant
- Clean towels or rags
- Plumber’s tape (PTFE tape)
Step 1: Identify the Exact Leak Source
This is the most important step. Always place a bucket under the pipes before you start working to catch any water.
- Dry every connection under your sink completely with a towel.
- Place dry paper towels or newspaper under each joint—the P-trap connections, the tailpiece, and the drain strainer area.
- Fill the sink with a few inches of water, then pull the stopper and let it drain.
- Shine a flashlight under the sink and watch closely. The first wet spot on your paper towels tells you exactly where the leak starts.
Common leak locations:
- Dripping from the P-trap connections: Means slip nuts or washers there are the problem.
- Water running down the outside of a pipe: Suggests a cracked pipe or a leak higher up that’s traveling down.
- Dripping from where the pipe meets the sink basin: Points to the strainer seal or flange.
Step 2: Tighten Loose Connections
Sometimes the fix is that simple.
- Use your wrench to gently tighten any slip nuts that feel loose. Be careful not to overtighten, especially on plastic pipes—they can crack.
- For slip nuts that are hand-tight plus a little extra from pliers, that’s usually sufficient.
- Run water again and check if the leak stops.
If tightening doesn’t solve it, move to the next step.
Step 3: Replace Worn Washers in Slip Nuts
If tightening failed, the washer inside the nut is likely shot.
- Loosen the slip nut and remove the pipe section.
- Take out the old washer—it may be squashed flat, cracked, or missing.
- Take the old washer to a hardware store to get an exact match. These are called slip joint washers or beveled washers.
- Install the new washer, reassemble the joint, and tighten securely. The new washer should compress and create a fresh seal.
Step 4: Reseal or Replace the Sink Strainer
If water is leaking around the drain opening in the sink basin, the strainer seal needs attention.
- From under the sink, loosen the large locknut holding the strainer assembly to the sink basin. A special tool called a “basket strainer wrench” helps, but channel-lock pliers can work.
- Push the strainer up and out of the sink hole from above.
- Scrape away all old plumber’s putty or silicone from both the sink opening and the underside of the strainer flange.
- Roll a new rope of plumber’s putty (about the thickness of a pencil) and press it around the underside rim of the strainer flange. Do not use plumber’s putty on granite, marble, or plastic sinks—use silicone sealant instead, as the oils in putty can stain or damage these materials.
- Press the strainer firmly back into the sink opening from above. Excess putty will squeeze out—wipe this away with a cloth.
- From below, reattach the rubber gasket and friction ring, then tighten the large locknut securely. As you tighten, more putty will squeeze out inside the sink—wipe it away.
- Test by filling the sink and checking for leaks underneath.
Step 5: Inspect for Cracked Pipes
If you’ve tried everything and still see moisture:
- Remove the tailpiece or P-trap and examine it closely in good light.
- Look for hairline cracks, especially near threaded ends. Even tiny cracks can leak.
- If you find damage, replace the part. Tailpieces cost around $5, and new P-traps are also inexpensive.
Simple Tips to Prevent Future Leaks
- Inspect under the sink every few months: A quick visual check can catch loose connections or worn seals before they cause damage.
- Be careful what you store: Heavy items can bump pipes and loosen connections. Store lighter items near plumbing.
- Replace washers every few years: Even if they look fine, rubber and plastic washers degrade over time. Proactive replacement prevents surprise leaks.
- Don’t overtighten: Hand-tight plus a gentle turn with pliers is enough. Over-tightening strains fittings and causes cracks.
When to Call a Professional Plumber
Some situations are best left to a licensed plumber. Always prioritize safety—if you’re unsure, call a pro.
- Persistent leaks after DIY fixes: If you’ve tried everything and water still appears, a deeper issue may exist.
- Corrosion or rust on metal pipes: This can indicate pipes are nearing the end of their life and may need full replacement.
- Multiple leaks: If several connections are leaking at once, there may be a pressure or installation problem.
- The leak returns quickly: If you fix it and it leaks again within days, something more serious is wrong.
“Most kitchen drain leaks come from small, overlooked issues—loose connections, worn washers, or old putty. Regular inspection and quick fixes keep your kitchen running smoothly.”
Frequently Asked Questions (FAQs)
1. Why is my kitchen sink drain connection leaking after I just tightened it?
The washer inside the slip nut is likely worn out or cracked. Tightening alone won’t fix it—you need to replace the washer. Another possibility is the pipe itself has a hairline crack.
2. How do I know if the leak is from the strainer or the tailpiece?
Dry everything, place paper towels under each area, and run water. If the paper towels under the strainer get wet first, that’s your source. Water running down from above usually means the strainer seal has failed.
3. Can I use plumber’s tape to stop a drain connection leak?
Plumber’s tape (PTFE tape) is designed for threaded water supply connections, not drain slip nuts. Drain connections seal with compression washers, not tape. Use it on faucet supply lines, not drain pipes.
4. What’s the difference between plumber’s putty and silicone sealant for sink drains?
Plumber’s putty is a traditional, clay-like compound that seals gaps but doesn’t adhere strongly. Silicone sealant acts as both an adhesive and sealant, creating a stronger bond. Putty can stain granite or marble, so use silicone on those surfaces.
5. Why does my sink drain keep leaking every few months?
This often happens when the strainer was not tightened enough during installation. Use a basket strainer wrench to get it truly tight, and avoid using too much putty, which can prevent the nut from fully seating.
6. Is it safe to store cleaning supplies under the sink if I have a leak?
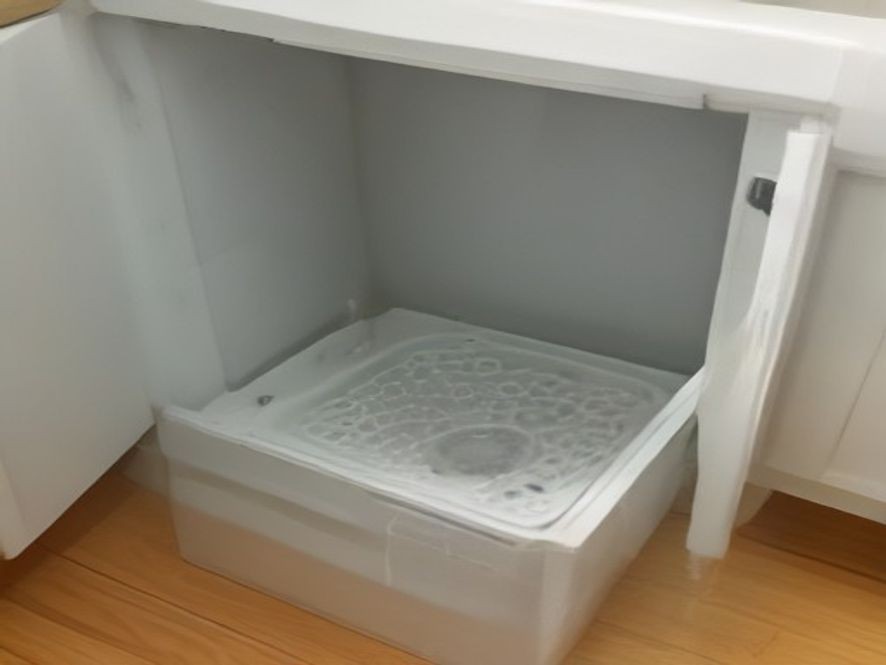
Store items in a plastic tub or tray to protect them from drips. Fix the leak promptly to prevent damage to your cabinets and to avoid chemicals mixing with water, which could create hazards.
References
Trusted Sources for Kitchen Sink Drain Repairs:
- Coohom – How to Repair a Leaking Kitchen Sink Drain
- Loctite – How to Seal a Kitchen Sink Drain
- Las Vegas Review-Journal – Likely Causes for Leak Under Sink
Which kitchen problem do you want solved next? Share your thoughts in the comments.