Kitchen Deep-Cleaning Checklist for a Neglected Kitchen: Your Complete Guide to Rescuing a Forgotten Cooking Space
You open your kitchen cabinets and a cloud of dust puffs out. The stovetop has a crusty layer of burnt-on food that has been there for months. The refrigerator smells funky, and you cannot remember the last time you cleaned behind the stove. Your kitchen has been neglected, and the thought of tackling it feels overwhelming.
Do not panic. A neglected kitchen is not hopeless—it just needs a systematic, step-by-step approach. This guide is your rescue plan. It breaks down the overwhelming task of deep cleaning a long-neglected kitchen into manageable steps, from the ceiling to the floor. You will know exactly what to do, in what order, and with what tools. By the end, your kitchen will feel like new again.
TL;DR
This guide provides a comprehensive checklist for deep cleaning a kitchen that has been neglected for a long time. It covers every area from ceiling to floor, with special attention to the grease, grime, and buildup that accumulate over months of neglect. You will learn the correct order to clean, the best products and tools to use, and how to tackle the toughest jobs like ovens, refrigerators, and greasy cabinets. The key is to work in zones, let cleaners do the work, and be patient.
Key Takeaways
- Work from top to bottom. Start with ceilings and high cabinets, and finish with the floor. This prevents re-cleaning .
- Let cleaners sit. For neglected kitchens, grime is baked on. Cleaning products need time to break down the buildup .
- Work in zones. Break the kitchen into areas (cooking zone, storage zone, cleaning zone) to avoid overwhelm .
- Degrease first. Grease is the biggest enemy in a neglected kitchen. Use a dedicated degreaser on cabinets, hoods, and walls .
- Be patient. A neglected kitchen did not get dirty overnight, and it will not get clean in an hour. Plan for a full day or spread it over a weekend .
- Safety first. Unplug appliances before cleaning, let surfaces cool completely, and never mix cleaning chemicals .
The Real Causes Behind a Neglected Kitchen
A neglected kitchen usually happens gradually. Life gets busy, and cleaning tasks get pushed aside. Here is what builds up when you delay deep cleaning:
- Grease accumulation: Every time you cook, tiny oil particles become airborne and settle on every surface. Over months, this forms a sticky, yellowish film that is tough to remove .
- Burnt-on food: Spills and splatters that are not wiped immediately bake onto the stovetop, oven, and microwave surfaces with repeated use.
- Dust and pet hair: These mix with grease to form a grimy paste on top of cabinets, appliances, and light fixtures.
- Food debris: Crumbs and spills that fall behind appliances or into cracks attract pests and cause odors .
- Mineral deposits: Hard water leaves chalky buildup on faucets, sinks, and inside appliances like dishwashers and coffee makers .
The good news is that with the right approach, even the most neglected kitchen can be restored.
The Ultimate Deep-Cleaning Checklist
This checklist is organized from top to bottom. Follow it step by step.
Step 1: Prepare Your Space and Gather Supplies
Before you start, you need access and the right tools.
Clear the Kitchen:
- Remove everything from countertops, the stovetop, and the sink .
- Empty the refrigerator and freezer (you can use a cooler to keep perishables cold).
- Take everything off the top of the refrigerator and cabinets.
- Remove all items from lower and upper cabinets (if you are doing a full clean).
Gather Your Supplies:
You will need:
- Microfiber cloths (at least 5–6)
- Non-abrasive sponges
- A spray bottle with white vinegar
- Baking soda
- A degreaser (commercial or DIY with dish soap and warm water)
- All-purpose cleaner
- Glass cleaner
- A razor scraper for glass stovetops
- A vacuum with crevice and brush attachments
- A mop and bucket
- Rubber gloves
- An old toothbrush for grout and tight spaces
- Trash bags for expired food and clutter
Step 2: Start at the Very Top (Ceiling, Lights, and Fans)
This is the most neglected area in any kitchen. Dust and grease accumulate here and fall onto lower surfaces .
Tasks:
- Dust ceiling corners for cobwebs.
- Wipe down light fixtures and pendant lights. For greasy buildup, use a cloth with warm, soapy water.
- Clean the ceiling fan blades. Use a pillowcase or an extendable duster to trap dust .
- Safety reminder: Turn off ceiling fans and ensure you have a sturdy step stool.
Step 3: Upper Cabinets and Exhaust Hood
These surfaces are directly in the path of cooking grease and are often overlooked.
Tasks:
- The top of cabinets: This is a dust and grease magnet. Wipe with a degreaser or warm, soapy water .
- Cabinet fronts: Use a degreaser and a microfiber cloth to remove the sticky film . Let it sit for a minute, then wipe clean. Repeat if necessary.
- Exhaust hood: Clean the exterior. Remove the grease filter and soak it in hot, soapy water or a degreaser for 30 minutes. Scrub, rinse, and let dry .
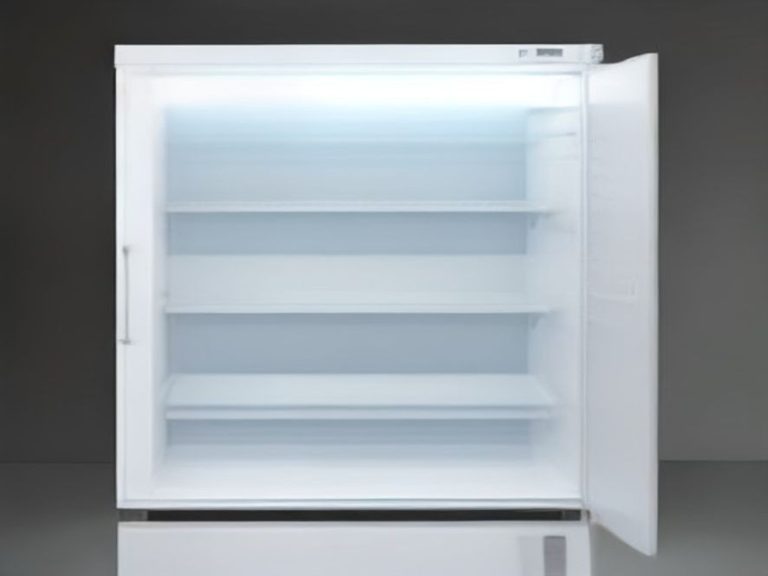
Step 4: The Refrigerator and Freezer
This is a major job, but it is essential for hygiene and efficiency.
Tasks:
- Interior: Remove all food. Check expiration dates and toss anything old . Remove shelves and drawers and wash them in warm, soapy water. Wipe the interior walls with a solution of baking soda and water or a food-safe cleaner .
- Exterior: Wipe down the front, handles, and the top. Use stainless steel cleaner if applicable.
- Coils: Unplug the fridge and pull it away from the wall. Vacuum the condenser coils at the back to improve efficiency . Italicize this tip: “Dusty coils can increase your energy bill by up to 30 percent.”
- Behind the fridge: Vacuum and mop the floor behind the fridge. Check for spills or pests.
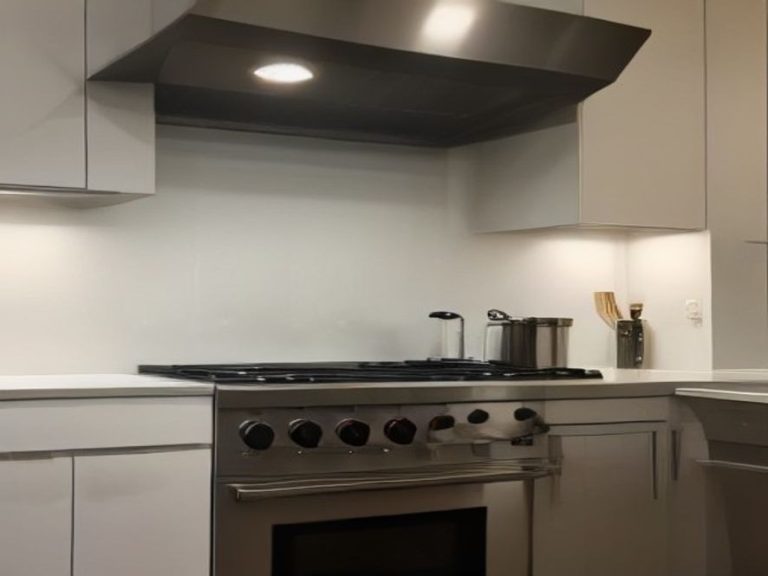
Step 5: The Oven and Stovetop
This is often the dirtiest area in a neglected kitchen.
Tasks:
- Stovetop:
- For glass cooktops: Use a non-abrasive cleaner and a razor scraper at a 45-degree angle to lift burnt-on food . Do not use steel wool.
- For gas stovetops: Remove grates and burner caps. Soak them in hot, soapy water and scrub with a non-abrasive sponge . Wipe the cooktop surface with a degreaser.
- Oven:
- Remove oven racks and soak them in the sink with hot, soapy water.
- Make a paste of baking soda and water (about ¾ cup baking soda with a few tablespoons of water).
- Spread the paste over the oven interior, avoiding the heating elements.
- Let it sit for at least 4 hours or overnight for heavy buildup .
- Wipe out the paste with a damp cloth. For stubborn spots, use the razor scraper gently.
- Wipe the oven door glass with the paste as well.
Step 6: The Microwave
Microwaves can get surprisingly gross, especially the ceiling.
Tasks:
- Fill a microwave-safe bowl with water (and a few slices of lemon or a splash of vinegar).
- Microwave on high for 3–5 minutes. The steam will loosen all the food splatters .
- Carefully remove the bowl and wipe down the interior with a microfiber cloth. The grime will come off easily.
- Clean the turntable with warm, soapy water.
- Wipe the exterior and the control panel.
Step 7: The Sink and Countertops
Now you can focus on the main work surfaces.
Tasks:
- Countertops: Wipe down with a cleaner appropriate for the material. For natural stone (granite, marble), use a pH-neutral stone cleaner . For laminate, an all-purpose cleaner works well.
- Backsplash: Use a degreaser on the tiles. For grout lines, make a paste of baking soda and water and scrub with an old toothbrush.
- Sink: Sprinkle baking soda over the basin and scrub with a sponge . Wipe down the faucet and handles. For the drain, pour in baking soda and vinegar, let it fizz, then flush with hot water.
Step 8: Lower Cabinets and Drawers
Clean the interiors and exteriors of your lower cabinets.
Tasks:
- Remove everything from the lower cabinets and drawers.
- Vacuum crumbs and dust from the interior.
- Wipe down the shelves, drawer interiors, and cabinet fronts with a degreaser or warm, soapy water .
- Check for pests or signs of moisture.
- Organize items before putting them back. Use this as an opportunity to declutter.
Step 9: Small Appliances (Toaster, Air Fryer, Coffee Maker)
Small appliances have hidden compartments that collect grime.
Tasks:
- Toaster/Toaster Oven: Unplug. Remove and empty the crumb tray. Wash it in warm, soapy water and dry thoroughly . Wipe the exterior.
- Air Fryer: Unplug. Remove the basket and wash it with warm, soapy water. Wipe the interior with a damp cloth.
- Coffee Maker: Run a cycle with equal parts water and vinegar, then run two cycles with plain water to rinse . Italicize this tip: “Do this monthly to remove mineral buildup.”
Step 10: The Floor
This is always the final step.
Tasks:
- Sweep or vacuum thoroughly, especially in corners and under the edges of appliances.
- Mop with a floor cleaner suitable for your flooring type. Change the mop water as needed to avoid spreading dirt.
Comparison Table: Cleaning Effort by Area
| Area | Neglect Level (1-10) | Tools Needed | Estimated Time |
|---|---|---|---|
| Ceiling/Lights/Fans | 8 | Duster, step stool, soapy water | 20–30 min |
| Upper Cabinets/Hood | 10 | Degreaser, microfiber cloth, sponge | 45–60 min |
| Refrigerator Interior | 9 | Baking soda, sponge, cooler for food | 45–60 min |
| Refrigerator Coils | 9 | Vacuum with crevice tool | 15–20 min |
| Oven | 10 | Baking soda paste, scraper, sponge | 2–4 hours (plus soak) |
| Stovetop | 10 | Non-abrasive cleaner, scraper, degreaser | 30–45 min |
| Microwave | 7 | Water, vinegar, microfiber cloth | 15–20 min |
| Countertops/Sink | 6 | Appropriate cleaner, sponge, toothbrush | 30–40 min |
| Lower Cabinets/Drawers | 8 | Degreaser, vacuum, sponge | 45–60 min |
| Small Appliances | 7 | Soapy water, sponge, vinegar (coffee maker) | 30–45 min |
| Floor | 8 | Vacuum/broom, mop | 20–30 min |
Chart: Cleaning Priority Based on Neglect and Impact
FAQ: Common Questions About Deep Cleaning a Neglected Kitchen
How long does it take to deep clean a neglected kitchen?
Plan for 6–8 hours for a thorough clean, or spread it over a weekend . A heavily neglected kitchen with an oven that has never been cleaned might take longer.
What is the hardest part of a neglected kitchen to clean?
The oven and the range hood are usually the worst. Baked-on grease and carbon require soaking and patience .
Can I use bleach to clean a neglected kitchen?
Use bleach sparingly and only on non-porous surfaces like sinks. Never mix it with other cleaners, especially ammonia or vinegar, as it creates toxic gases .
How do I get rid of bad smells in a neglected fridge?
Empty the fridge, wipe all surfaces with a baking soda and water solution, and place an open box of baking soda inside to absorb odors .
What should I do if I find mold in my kitchen?
Clean small areas with a mixture of white vinegar and water. For larger infestations, consult a professional, as mold spores are dangerous .
How do I clean greasy walls and backsplashes?
Use a degreaser or warm, soapy water. Let it sit for a few minutes, then wipe with a microfiber cloth. For textured walls, use a sponge mop .
Is it worth cleaning a very old, neglected oven, or should I replace it?
Most ovens can be restored with a thorough clean. If the oven is old and heavily rusted, replacement may be more cost-effective .
References
Trusted Sources for Deep Cleaning a Neglected Kitchen:
- The Spruce: How to Deep Clean Your Kitchen
- Martha Stewart: How to Deep Clean Your Kitchen in an Hour or Less
- Real Simple: The Complete Kitchen Cleaning Guide
- Food & Wine: 8 Kitchen Areas You’re Definitely Forgetting to Clean
Which kitchen problem do you want solved next? Share your thoughts in the comments.