How to Deep Clean a Kitchen Before Moving Into a New Home: Your Complete Fresh-Start Guide
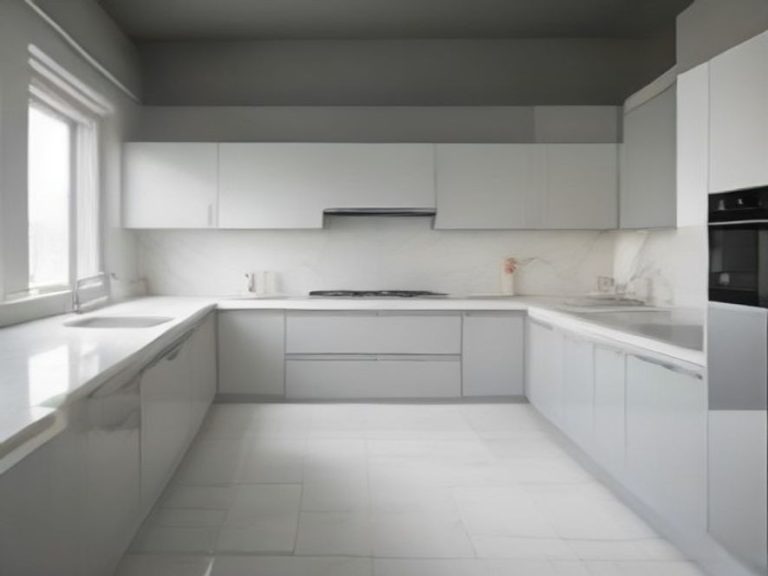
You have just gotten the keys to your new home. The moving truck is on its way, and you are standing in an empty kitchen that looks clean enough—but you know that “looks clean” and “is actually clean” are two very different things.
This is your one and only chance to deep clean every corner of your kitchen without any furniture, boxes, or belongings in the way . Once you unpack, reaching those forgotten spots becomes nearly impossible. This guide walks you through a systematic, top-to-bottom deep clean that transforms your new kitchen from “someone else’s” to truly yours.
TL;DR
Deep clean your new kitchen before unpacking to access every surface easily. Start by clearing everything out and gathering supplies. Work from the top down—ceilings, cabinets, appliances, countertops, and floors last. Run cleaning cycles on all appliances before using them . Sanitize all food-contact surfaces using food-safe methods . Pull appliances away from walls to clean behind them and vacuum refrigerator coils for efficiency . Document any existing damage for your records.
Key Takeaways
- Clean before you unpack. Empty spaces allow full access to every surface, corner, and crevice .
- Work from the top down. Start with high surfaces so dust falls onto areas you have not cleaned yet .
- Run cleaning cycles on all appliances. Even if they look clean, food residue, bacteria, and soap scum may linger from prior use .
- Clean, then sanitize. Removing dirt comes first; sanitizing kills remaining germs .
- Don’t forget hidden areas. Behind appliances, refrigerator coils, and rubber door seals are often neglected .
- Document existing damage. Take photos of any pre-existing stains, scratches, or issues before you move in.
The Real Reasons Move-In Cleaning Matters
You might think the previous owners or a professional cleaner have already taken care of things. But even a recently renovated or professionally staged property has hidden dust, grime inside cabinets, and residue left by previous occupants . Here is what you are really dealing with:
- Previous occupants’ habits. Kitchens harbor more germs than bathrooms, and appliances like water dispensers and coffee makers are among the germiest because they are rarely cleaned thoroughly .
- Baked-on residues. Even if the oven looks clean on the outside, the interior may have years of baked-on grease.
- Hidden dust and mold. Rubber seals on refrigerators and dishwashers trap moisture and crumbs, creating an environment where mold and bacteria grow .
- Appliance efficiency. Dusty refrigerator coils make the compressor work harder, increasing electricity bills and shortening the unit’s lifespan .
Starting fresh removes these unknowns and gives you a documented baseline for the condition of your new kitchen .
Step-by-Step Move-In Kitchen Deep Clean Checklist
Follow this checklist in order. Work from the top down for maximum efficiency.
Step 1: Prepare Your Space and Gather Supplies
Clear the kitchen completely. Remove any items left behind by the previous occupants. Empty cabinets, drawers, and the refrigerator. The goal is to have full access to every surface .
Gather your supplies: You will need rubber gloves, microfiber cloths, non-abrasive sponges, an all-purpose cleaner, baking soda, white vinegar, a degreaser, a vacuum with crevice and brush attachments, a mop and bucket, and trash bags . Consider an N95 mask and safety goggles for dusty or fume-heavy work like oven cleaning . For sanitizing, you will need either unscented bleach, hydrogen peroxide, or a commercial food-safe sanitizer .
Safety reminder: Never mix bleach with ammonia or acids like vinegar. This creates toxic gases that can cause severe respiratory distress or chemical burns . Clean with one product, ventilate the room, and only then move on to the next .
Step 2: Start at the Top
Dust from high surfaces will fall onto lower areas if you do not handle them first.
Tasks:
- Dust ceiling corners for cobwebs.
- Wipe down light fixtures and ceiling fan blades. This can be a messy job, so consider a dust mask .
- Clean air vents and grilles. Lift them up and vacuum or wash off dust and dirt .
- Dust the tops of cabinets. This area accumulates significant dust and grease .
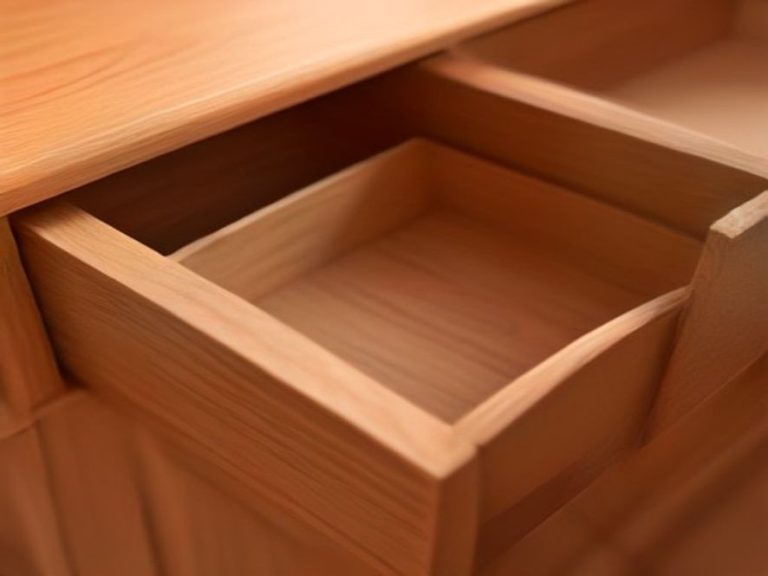
Step 3: Deep Clean Cabinets and Drawers
Do not start loading your dishes before you have thoroughly cleaned the cabinets .
Tasks:
- Vacuum loose debris, dust, and crumbs from inside every cabinet and drawer .
- Wipe down all interior surfaces—back panels, shelves, drawer interiors, and edges—with a degreaser or warm, soapy water .
- Clean cabinet fronts, handles, and knobs. For grease stains, use a paste of baking soda and water .
- Check for leaky pipes or signs of pests under the sink before you move your items in .
- Let everything dry completely before placing items inside.
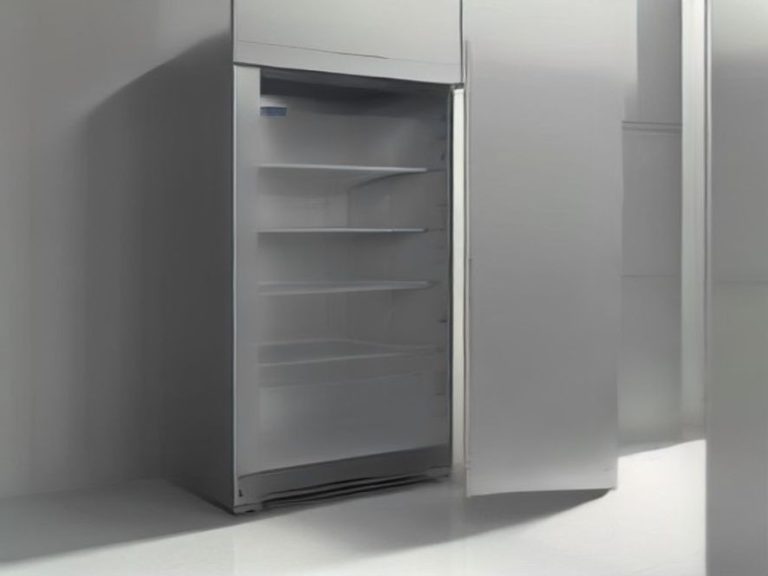
Step 4: Clean the Refrigerator and Freezer
Even if the fridge is empty, it may still have odors or residue from past use .
Tasks:
- Unplug the refrigerator and open the doors. Let it warm up if there is any ice buildup .
- Remove all shelves, drawers, and door bins. Wash them in warm, soapy water .
- Wipe down the interior walls, ceiling, and floor with a solution of baking soda dissolved in hot water. This neutralizes odors without leaving a chemical residue .
- Clean the rubber door seals (gaskets). Use a soft toothbrush dipped in warm, soapy water to clean the folds where moisture and crumbs get trapped . Never use bleach on rubber seals.
- Vacuum the condenser coils. These are typically behind a front grille, along the back panel, or on top of built-in units. A coil brush and a vacuum with a crevice tool work best . Dusty coils increase electricity bills and shorten the fridge’s lifespan .
- Pull the refrigerator away from the wall and clean behind and underneath it .
- Clean the water and ice dispenser if your fridge has one. The ice trays and water tubing do not get as much attention as the shelves .
Step 5: Clean the Oven and Stovetop
This is the most labor-intensive part of the kitchen, but it is essential for a true fresh start.
Tasks:
For the oven interior:
- Remove oven racks and trays. Soak them in the sink with hot, soapy water .
- Skip the self-cleaning cycle. It bakes residue further into the enamel and can fill your home with smoke . Instead, make a paste of baking soda and water.
- Spread the paste over the interior walls, ceiling, door glass, and floor—avoiding the heating elements .
- Let it sit overnight (8 to 12 hours) to soften the baked-on residue .
- The next day, wipe out the softened residue with a damp cloth. For leftover spots, spray a 3:1 water-to-vinegar solution and wipe clean .
- Clean the oven door glass inside and out.
For the stovetop:
- Remove grates, burner caps, and knobs (if gas) or the metal bowls (if electric coils). Soak them in hot, soapy water .
- Wipe the cooktop surface with a degreaser .
- For glass cooktops, use a non-abrasive cleaner and a razor scraper at a 45-degree angle for burnt-on food.
- Clean the vent hood with a degreaser . Mesh grease filters can be soaked in boiling water with dish soap and baking soda for 15 minutes . If your hood is ductless, it likely has a charcoal filter that cannot be cleaned and should be replaced .
- Clean underneath the stove if it has a removable tray that encases the burners .
- Pull the stove away from the wall and clean behind and underneath it.
Step 6: Clean the Microwave
Microwaves can hold onto odors and food particles from previous use.
Tasks:
- Place a glass bowl with water and lemon slices inside and run it on high for 3 minutes . For tough grime, use 250 mL of water with 2 tablespoons of vinegar or lemon juice, and drop in a wooden toothpick to prevent superheating. Heat on high for 3 to 5 minutes .
- Let it sit for a few minutes to allow the steam to loosen the grime .
- Wipe down the interior with a microfiber cloth .
- Clean the turntable and the door edges.
- Wipe the exterior and control panel.
Step 7: Clean the Dishwasher
Even if it looks clean, a dishwasher can harbor food residue and bacteria.
Tasks:
- Pull out the bottom-rack filter and rinse it under hot water with a scrub brush .
- Twist off the spray arms and soak them in hot vinegar to dissolve mineral scale. Use a toothpick to clear each spray nozzle individually .
- Wipe down the door seals and gaskets with a vinegar-dampened cloth to remove grease or mold .
- Run a hot-water cleaning cycle with a cup of white vinegar on the top rack . For extra freshness, sprinkle baking soda and run a short cycle . If there is a sanitizer setting, use it .
Step 8: Clean Countertops and Backsplash
Tasks:
- Wipe down countertops with a cleaner appropriate for the material. For natural stone (granite, marble), use a pH-neutral cleaner. For other surfaces, an all-purpose cleaner works.
- Spray the backsplash with a disinfecting cleaner and wipe clean .
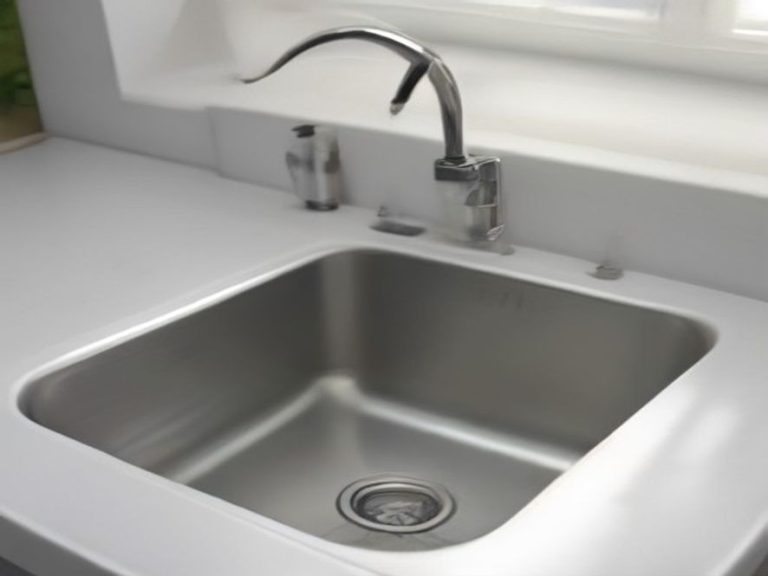
Step 9: Clean the Sink and Faucets
Tasks:
- Scrub the sink basin with a non-abrasive sponge and appropriate cleaner.
- Clean the faucet and around the base, where limescale and buildup often collect .
- Clean the drain area and remove any debris.
- For the garbage disposal, grind ice cubes and citrus peels to freshen it .
Step 10: Clean the Floors Last
Floors are the final step. All the dust and dirt from higher surfaces has now settled here.
Tasks:
- Sweep or vacuum thoroughly, paying attention to corners and under the edges of appliances .
- Mop with an appropriate floor cleaner for your flooring type. Change the mop water regularly.
- If you have carpets, consider a professional steam clean before moving in furniture .
Step 11: Sanitize Food-Contact Surfaces
Cleaning removes dirt, but sanitizing kills germs . This step is crucial for a fresh start.
Sanitizing options:
- Bleach solution: Mix 1 scant teaspoon of unscented bleach with 1 quart (4 cups) of cool water (hot water weakens bleach). Spray on clean surfaces and let sit for at least 1 minute. Let air dry .
- Hydrogen peroxide or white distilled vinegar: Heat ½ cup to about 150°F (hot but not boiling). Spray on clean surfaces and let sit for 1 minute .
Step 12: Final Walkthrough and Documentation
Tasks:
- Walk through the kitchen and check every area.
- Wipe down high-touch areas like doorknobs and light switches one last time .
- Take clear, well-lit photos of every area, including any pre-existing stains, scratches, or damage. This protects you if there is a dispute later .
- Run an air purifier with a HEPA filter for a few hours to capture lingering dust and VOCs from cleaning products .
Comparison Table: Move-In Cleaning Priorities
| Area | Why It Matters | Time Estimate | Priority |
|---|---|---|---|
| Oven and Stovetop | Baked-on food and grease affect performance and safety | 45–60 minutes | High |
| Refrigerator | Clean coils save energy; clean interior prevents odors | 30–45 minutes | High |
| Cabinets/Drawers | Dirty shelves contaminate food and dishes | 20–30 minutes | High |
| Dishwasher | Old food residue and mold can contaminate dishes | 15–20 minutes | High |
| Behind Appliances | Dust and debris affect efficiency and attract pests | 15–20 minutes | Medium |
| Countertops | Food-contact surface needs sanitizing | 10–15 minutes | Medium |
| Floors | Dust and dirt from all other surfaces settle here | 15–20 minutes | Medium |
| Microwave | Old food particles and odors affect your food | 10–15 minutes | Low |
Chart: Importance of Pre-Move-In Cleaning
FAQ: Common Questions About Move-In Kitchen Cleaning
Why should I clean the kitchen before moving in?
Once furniture and boxes fill the rooms, cleaning becomes much harder . Empty spaces allow full access to every surface, making the process far more efficient.
How long does it take to deep clean a kitchen before moving in?
Budget 2–4 hours for a thorough move-in clean. A heavily soiled kitchen may take longer.
Do I need to clean behind appliances?
Yes. Pulling out appliances to clean behind them is much easier while the kitchen is empty . This also lets you vacuum refrigerator coils to improve efficiency .
What is the safest way to sanitize kitchen surfaces?
Clean first with soap and water, then sanitize. A diluted bleach solution (1 teaspoon unscented bleach per quart of cool water) is a very effective sanitizer . Always clean surfaces first, as dirt can inactivate bleach .
Can I use vinegar to sanitize everything?
Vinegar can sanitize some surfaces, but it is not effective against all pathogens at room temperature . For natural stone like granite or marble, avoid vinegar and other acidic cleaners, as they can etch the surface.
Should I run a cleaning cycle on the dishwasher before using it?
Yes. Even if it looks clean, a dishwasher can harbor food residue, mold, and bacteria . Run a hot-water cycle with vinegar, and clean the filter and spray arms first .
References
Trusted Sources for Move-In Kitchen Deep Cleaning:
- Better Homes & Gardens: Just Moved In? Don’t Use These Appliances Until You Run a Cleaning Cycle
- Zoocasa: The Move-In Deep Clean Checklist That Prevents Expensive Home Issues Later
- University of Maine Cooperative Extension: Kitchen Cleaning Made Easy
- Rainbow Restoration: Step One: Clean Your New House!
- Southern Living: 10 Things You Should Always Deep Clean Before Moving Into a New House
Which kitchen problem do you want solved next? Share your thoughts in the comments.