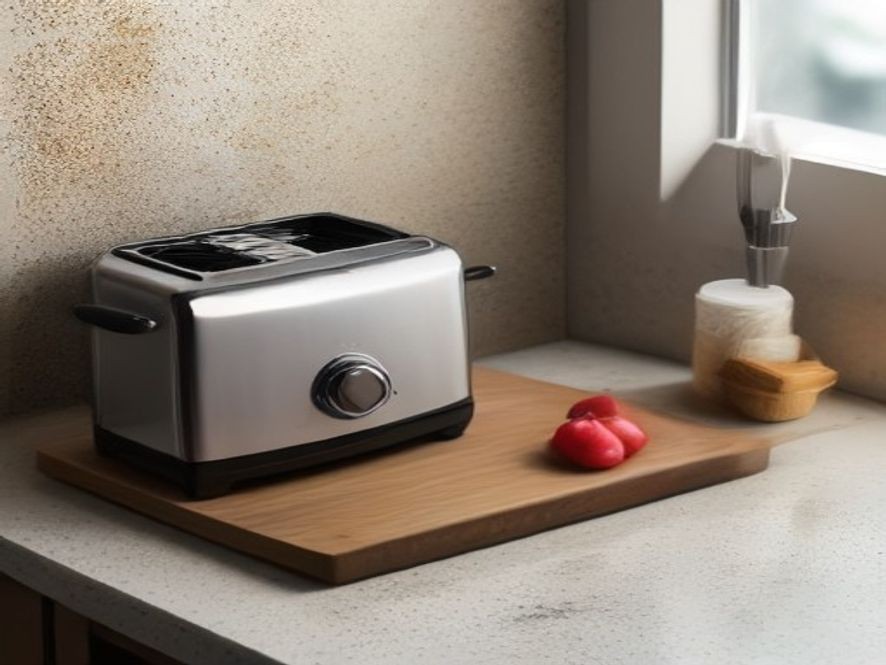
How to Clean a Toaster With Crumbs and Burnt Food
You pop in a slice of bread, press the lever down, and wait. But instead of that warm, inviting aroma, a whiff of something burnt and unpleasant fills the kitchen—and you realize it’s coming from your toaster.
It’s a common kitchen moment. That trusty appliance that gives you perfect toast in the morning can start to smell a little off when crumbs and bits of burnt food build up inside. The good news is that the best way to fix a toaster that’s full of crumbs and burnt food is simple, doesn’t require harsh chemicals, and can be done in about 15 minutes. This guide offers practical solutions and tips to understand the causes of the problem and get your toaster working like new again.
TL;DR
The best way to deal with a toaster full of crumbs and burnt food is to unplug it, let it cool, and remove and wash the crumb tray. After shaking out loose debris, gently brush the inside with a soft brush and wipe down the exterior with a damp cloth. Regular cleaning prevents odors and fire hazards, keeping your toaster safe and your toast tasting great.
Key Takeaways
- Safety first: Always unplug your toaster and let it cool completely before cleaning.
- Crumb tray is key: Regularly emptying and washing the crumb tray prevents the bulk of buildup and is the most effective solution.
- Gentle tools are best: Use a soft brush, like a pastry brush or toothbrush, to clean inside. Never use metal objects that can damage the delicate heating elements.
- Shake it out: Turning the toaster upside down and giving it a gentle shake dislodges stubborn crumbs stuck inside.
- Keep water out: Never submerge a toaster or let water get inside the slots. Clean the interior only with dry methods or a barely damp cloth.
How to Fix a Toaster Full of Crumbs: A Step-by-Step Guide
Knowing how to tackle a dirty toaster is a must for any home cook. Here’s a simple guide to clean it safely and effectively.
Step 1: Unplug, Cool Down, and Prep
This is the most critical rule for any kitchen appliance. Always unplug the toaster from the wall outlet before you start cleaning. It’s also essential to let it cool down completely. Even a few minutes after toasting, the heating elements can be dangerously hot .
“Cleaning a plugged-in toaster risks electric shock, especially with moisture involved” . Take a moment to ensure your safety before you begin.
Step 2: Remove and Clean the Crumb Tray
Most toasters have a slide-out crumb tray on the bottom . This tray catches most of the mess. Pull it out and shake all the loose crumbs and burnt bits directly into the trash .
For a deeper clean, wash the crumb tray in warm, soapy water. You can use a sponge or dishcloth to scrub it clean, then rinse it thoroughly and dry it completely before sliding it back into the toaster . “It’s recommended that the crumb tray be emptied after each use” .
Step 3: Shake Out Loose Crumbs
Even with the tray removed, a lot of crumbs can get trapped in the interior of the toaster. Take your unplugged, cool toaster over to the sink or a trash can. Turn it upside down and give it several firm (but gentle) shakes . You’ll be surprised at how much debris falls out, including bits that were caught on or near the heating elements.
Step 4: Gently Brush the Interior
Now it’s time to address the stubborn pieces still stuck inside. Grab a soft tool like a pastry brush, a clean dry toothbrush, or a small crevice brush . Use the bristles to gently sweep along the inside walls and around the heating elements. The goal is to dislodge crumbs without damaging the delicate coils .
It’s crucial to never insert metal objects like forks, knives, or spoons into the slots, as this can damage the heating elements or give you a nasty shock .
Step 5: Wipe Down the Exterior
The outside of your toaster can get greasy and grimy over time. Dampen a soft cloth with warm water and a little dish soap, and wipe down the entire exterior. Avoid getting any water into the slots .
For a stainless steel finish, you can use a damp cloth and a little white vinegar to get a streak-free shine . “For stainless steel toasters, add a touch of vinegar to the water for extra shine” . Just make sure to buff it dry with a clean cloth.
Step 6: Reassemble, Dry, and Pop Test
Before you put everything back together, make sure the crumb tray and the interior are completely dry . Slide the clean, dry crumb tray back in. Once everything is dry, you can plug the toaster back in.
It’s a good idea to perform a quick “pop test” to ensure everything is working correctly. Run a cycle with the toaster empty to check that the bread carriage lowers and locks, the elements heat evenly, and the toast pops up without any smoke or burning smells .
Why Does My Toaster Smell Burnt?
Understanding the causes of the problem helps you prevent it. The most common reason for a burnt smell is a buildup of crumbs and food debris .
- Crumbs are kindling: A pile of crumbs can act as kindling that could start a fire in the event of a toaster malfunction .
- Burnt food residue: When crumbs and burnt bits collect on the heating elements, they scorch, creating a persistent burnt odor every time you use the toaster .
- Grease and seeds: Over time, stray seeds or grease from things like crumpets or pastries can build up, creating unpleasant odors and posing a fire risk .
Choosing the Right Cleaning Method
To help you decide which cleaning method is best, here’s a comparison of common approaches:
| Method | Purpose | Effectiveness | Difficulty | Cost |
|---|---|---|---|---|
| Shake and Brush | Remove loose crumbs and debris | Very Effective for routine cleaning | Easy | $0 (Free) |
| Salt as an Abrasive | Gently scrub burnt-on residue from heating coils | Moderately Effective | Easy | $ (Very Low) |
| Vacuum with a Straw Attachment | Suction crumbs from tight corners | Very Effective for deep cleaning | Easy | $0 (with equipment) |
| Lemon and Salt (Exterior) | Cut through grease and polish the exterior | Effective | Easy | $ (Low) |
| Metal Utensils | Pry out stuck items | Destructive | Easy | High risk |
Prevention: The Best Way to Avoid a Burnt Mess
The easiest way to deal with a dirty, burnt-smelling toaster is to stop the problem before it starts. Here are some simple habits to adopt :
- Empty the crumb tray regularly: Make this a weekly habit, or even after every few uses if you toast daily .
- Shake it out: Give your toaster a gentle shake over the sink once a week to get rid of loose crumbs inside.
- Wipe down the exterior: Clean the outside of the toaster every few days to prevent grease and dust from building up .
- Use a cover or store it away: If you don’t use your toaster daily, consider keeping it covered or stored to reduce dust and crumb buildup .
- Keep it away from flammables: Make sure curtains or towels are not hanging near the toaster .
Frequently Asked Questions
How do I get the burnt smell out of my toaster?
The smell is usually caused by old crumbs burning on the heating elements. A thorough cleaning—shaking, brushing, and cleaning the crumb tray—should eliminate the odor .
Can I use vinegar to clean the inside of my toaster?
It’s best to avoid using liquids inside the toaster slots. For the exterior, a cloth dampened with vinegar works great for stainless steel . Never spray or pour vinegar directly into the slots.
What is the best way to clean a toaster without a crumb tray?
If your toaster doesn’t have a removable tray, simply unplug it, let it cool, and turn it upside down over the sink. Shake it gently to remove the crumbs, and use a soft brush to sweep out any remaining debris .
Why does my toaster smell like it’s burning even when empty?
This usually indicates a buildup of crumbs or burnt food on the heating elements. Turn it off, unplug it, let it cool, and give it a thorough clean. If the smell persists after cleaning, it could be an electrical issue, and you should stop using it .
Can I use a knife or fork to get stuck toast out of the toaster?
Never insert metal objects into a toaster, as they can damage the heating elements and cause electric shock . Always use a wooden or plastic tool if you need to retrieve something stuck.
How often should I clean my toaster?
For the best performance and safety, aim to empty the crumb tray weekly and do a deeper clean (shaking and brushing) at least once a month .
What happens if you don’t clean your toaster?
A buildup of crumbs can create a fire hazard, cause a burnt smell, and affect your toast’s taste . Regular cleaning ensures it heats evenly and works safely.
References
Cleaning a toaster safely and effectively: Expert tips:
- ShowMeStepByStep – How to Clean a Toaster
- EatingWell – How to Clean a Toaster and Toaster Oven
- KitchenAid – How to Clean a Toaster
- University of York – Toaster Fire Safety Notice
Cleaning a toaster might seem like a small task, but it’s a key part of kitchen maintenance that keeps your appliance safe and your toast delicious. With this guide, you have the solutions and tips to fix the problem and prevent it from happening again.
Which kitchen problem do you want solved next? Share your thoughts in the comments.