How to Keep Cooking Tools Near the Stove Without Creating Clutter: Smart Solutions for a Functional Kitchen
You need your spatula and tongs right next to the stove, but that overcrowded crock is an eyesore and takes up precious counter space—but keeping tools accessible and your kitchen looking tidy is easier than you think.
You’re in the middle of flipping pancakes, and you reach for your spatula. It’s right there, in the crock next to the stove. But the crock is overflowing, tools are sticking out at odd angles, and it looks messy. You love having everything within arm’s reach, but you hate the clutter. The good news? There are smart, attractive ways to keep your cooking tools near the stove without creating visual chaos.
TL;DR (Too Long; Didn’t Read)
- Main Challenge: You need tools accessible while cooking, but countertop storage looks cluttered.
- Best Solutions: Wall-mounted rails, magnetic strips, under-cabinet hooks, and inside-cabinet door storage.
- Key Rule: Limit countertop storage to only your 5-7 most-used tools.
- Prevention: Declutter regularly and use vertical space to keep counters clear.
- Easy Fix: A narrow wall rail or magnetic strip can hold all your essentials without taking up any counter space.
Key Takeaways
- Think Vertical: Wall space, cabinet sides, and under-cabinet areas can hold tools without using counters.
- Limit the Crock: If you use a countertop crock, only keep your absolute essentials in it—spatula, tongs, wooden spoon, ladle, whisk.
- Group by Frequency: Keep everyday tools within arm’s reach, weekly tools nearby, and monthly tools elsewhere.
- Use the Sides: The sides of cabinets and refrigerators are great spots for magnetic strips or hooks.
- Rotate Seasonally: Swap out tools based on what you’re cooking most often.
The Real Causes Behind Cluttered Stove Storage and How to Fix It
Your stove area is the busiest spot in your kitchen. You need tools close by, but finding the right balance between accessibility and neatness can be tricky.
Why Stove Storage Gets Cluttered
Problem 1: Too Many Tools in One Spot
It’s easy to accumulate tools over time. You buy a new spatula, a fancy whisk, a silicone tong set. Before you know it, your utensil crock is overflowing. You can’t find what you need, and it looks messy.
Problem 2: Countertop Crocks Are a Magnet for Clutter
While convenient, crocks tend to become dumping grounds. They collect dust, grease, and tools you don’t actually use. A full crock looks messy, and reaching into a crowded one is frustrating.
Problem 3: No Clear “Home” for Each Tool
When tools don’t have designated spots, they get tossed wherever there’s space—on the counter, in a drawer, or left in the sink. This creates visual chaos and makes it hard to find what you need.
Problem 4: Storing Everything on the Counter
Counters are prime real estate. When you store too many tools on them, you lose workspace for food prep. Plus, it makes the kitchen feel cluttered and smaller.
Problem 5: Not Decluttering Regularly
Tools accumulate. If you haven’t done a utensil audit in a while, you probably have duplicates and tools you don’t use. They just take up space and add to the clutter.
Step-by-Step Guide: How to Keep Tools Near the Stove Without Clutter
Step 1: Audit Your Stove-Tools Collection
Before you organize, figure out what you actually need.
Step 1: Pull every tool you keep near the stove. Lay them all out.
Step 2: Ask yourself about each one:
- Do I use this at least twice a week?
- Do I have duplicates?
- Does this serve a unique purpose no other tool can do?
Step 3: Create three piles:
- Keep (Everyday): Tools you use multiple times a week.
- Keep (Occasional): Tools you use once a week or less.
- Donate/Toss: Tools you haven’t used in months.
Step 4: Count the “Everyday” pile. Ideally, you should have no more than 7-10 tools in this category.
Everyday Essentials (The Core Set):
- 1 Spatula (silicone or metal)
- 1 Tongs
- 1 Wooden Spoon
- 1 Ladle
- 1 Whisk
- 1 Slotted Spoon
- 1-2 Extra tools you use constantly
Step 5: Store the “Occasional” tools in a drawer or cabinet nearby but not on the counter.
Step 2: Choose Your Storage Solutions
Option A: Wall-Mounted Utensil Rail (Best Overall)
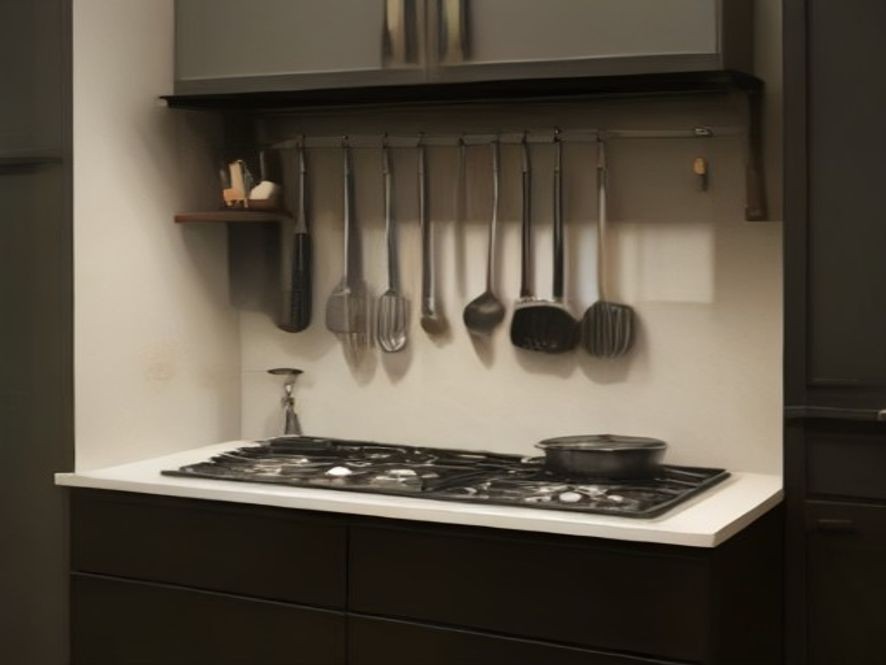
A wall-mounted rail is the most space-efficient and visually clean solution.
Step 1: Choose a wall spot near your stove. Measure the available wall space.
Step 2: Purchase a slotted utensil rail with S-hooks. Stainless steel or brass rails look great and last forever.
Step 3: Install the rail using wall anchors or screws. Make sure it’s securely attached to the wall—tools can be heavy.
Step 4: Hang your core tools by their handles. Leave space between each tool for easy grab-and-go access.
Step 5: Arrange tools in order of frequency—most-used closest to your dominant hand.
Pro Tip: Install the rail at a height where you can easily see and reach all the tools without stretching.
Option B: Magnetic Knife Bar (For Metal Tools)
If your tools are metal, a magnetic strip is sleek and space-saving.
Step 1: Choose a magnetic strip strong enough to hold your tools. Look for one rated for heavy knives or tools.
Step 2: Install the strip on a wall, tile backsplash, or the side of a cabinet.
Step 3: Attach your metal tools by their handles or blades. The magnetic force holds them securely.
Step 4: Arrange tools evenly, leaving space between each one.
Pro Tip: If you have a tiled backsplash, you can use special adhesive strips instead of drilling.
Option C: Under-Cabinet Hooks (For Hidden Storage)
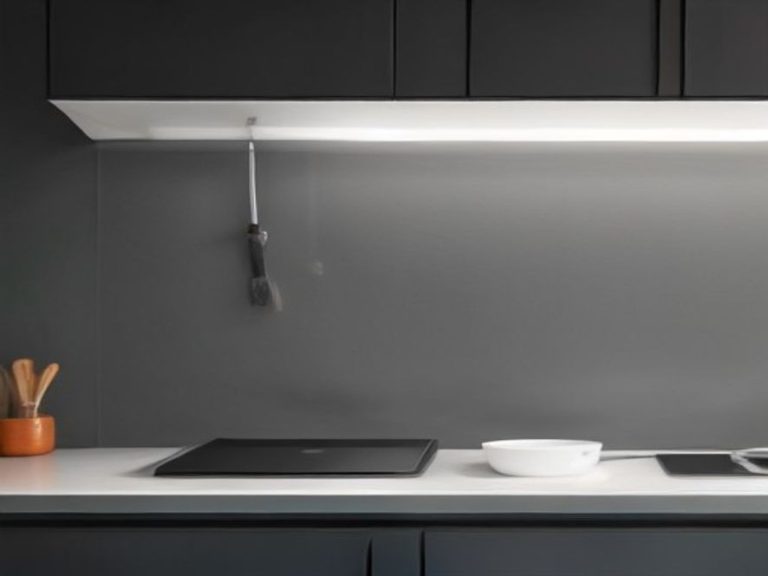
Under-cabinet storage keeps tools accessible but mostly out of sight.
Step 1: Purchase adhesive hooks or a small under-cabinet rail system.
Step 2: Stick hooks to the underside of your wall cabinets, near the stove.
Step 3: Hang tools by their handles, either directly on hooks or using small S-hooks.
Step 4: Tools hang down but are partially hidden by the cabinet, creating a cleaner look.
Pro Tip: Use this method for smaller tools like a whisk or slotted spoon that hang naturally.
Option D: Inside-Cabinet Door Rack (For a Hidden, Clean Look)
This is one of the neatest solutions—tools are stored but completely out of sight.
Step 1: Open the cabinet door closest to your stove. Measure the inside of the door.
Step 2: Purchase an over-the-door rack or adhesive hook system designed for cabinet doors.
Step 3: Install the rack or hooks according to instructions.
Step 4: Hang your most-used tools by their handles on the inside of the door.
Step 5: Close the door—tools are hidden but accessible in seconds.
Pro Tip: Ensure the door can close fully without the tools hitting the shelves inside.
Option E: Narrow Countertop Crock (The Classic, Minimalist Version)
If you prefer countertop storage, you can still keep it clean and uncluttered.
Step 1: Choose a narrow, divided crock with separate compartments. Tall and narrow is better than wide and short.
Step 2: Place it on the counter near the stove but out of the main workspace. A spot in the back corner works well.
Step 3: Limit the crock to your 5-7 core tools. If it’s overflowing, you have too many.
Step 4: Arrange tools neatly—taller tools in the back, shorter in the front.
Step 5: Clean the crock weekly to prevent dust and grease buildup.
Pro Tip: Choose a crock with a removable insert for easy cleaning.
Option F: Cabinet Side or Refrigerator Side (Using Unused Space)
The sides of cabinets and refrigerators are often wasted space.
Step 1: Clean the side surface thoroughly.
Step 2: Install a magnetic strip or adhesive hooks on the side of your cabinet or refrigerator.
Step 3: Hang tools there. It keeps them close to the stove without using counter or wall space.
Pro Tip: Use this for tools you grab often but want to keep off the counter.
Step 3: Implement the “Rule of 7”
Limit your stove-area tools to no more than 7-10 items. This is the sweet spot between having what you need and avoiding clutter.
Step 1: Select your core tools.
Step 2: Every other tool goes elsewhere (drawers, other cabinets).
Step 3: If you buy a new tool, ask yourself: “What am I replacing?” If you’re not replacing anything, you probably have too many.
Step 4: Create a Seasonal Rotation
Your cooking habits change with the seasons.
Summer Rotation: More grilling tools, tongs, spatulas
Winter Rotation: More soup ladles, whisk, wooden spoons
Step 1: Have a “seasonal” bin in a cabinet.
Step 2: Swap out tools based on what you’re cooking.
Step 3: This keeps your stove area focused and uncluttered year-round.
Step 5: Maintain the System
Step 1: Wipe down tools and storage areas weekly.
Step 2: Put tools back in their designated spots after every use.
Step 3: Re-evaluate seasonally. Are there tools that have become everyday items? Swap them in.
Step 4: Encourage everyone in the household to follow the system.
Comparison Table: Stove-Area Storage Solutions
| Method | Space Used | Visibility | Accessibility | Best For | Installation |
|---|---|---|---|---|---|
| Wall Rail | Wall space | Highly visible | Excellent | Frequent users, renters | Medium (some drilling) |
| Magnetic Strip | Wall, cabinet, or fridge side | Sleek, visible | Excellent | Metal tools only | Medium (some drilling) |
| Under-Cabinet Hooks | Under cabinet | Hidden | Excellent | Small to medium tools | Easy (adhesive or drill) |
| Inside Cabinet Door | Cabinet door | Completely hidden | Good (open door first) | Everyday tools | Easy (adhesive or drill) |
| Narrow Counter Crock | Counter | Visible | Excellent | Core 5-7 tools | None |
| Cabinet Side | Cabinet or fridge side | Visible but out of way | Good | Metal tools, small items | Easy (adhesive) |
Frequently Asked Questions (FAQ)
How do I keep tools near the stove without using counter space?
Use vertical storage—wall-mounted rails, magnetic strips, under-cabinet hooks, or inside-cabinet door racks keep tools accessible without taking up counter space .
What are the essential tools to keep near the stove?
Keep your spatula, tongs, wooden spoon, ladle, and whisk near the stove. These are your everyday cooking tools. Anything else can be stored elsewhere .
How do I organize a utensil crock so it doesn’t look cluttered?
Limit it to 5-7 tools. Arrange taller tools in the back and shorter in the front. Clean it weekly to prevent grease and dust buildup .
Can I use a magnetic strip on a tiled wall?
Yes, but you’ll need to install it with wall anchors or use heavy-duty adhesive strips designed for tiles. Make sure the strip is strong enough to hold your tools .
How often should I declutter my stove-area tools?
Aim for a seasonal declutter (every 3 months). Check if you’re actually using all the tools you keep near the stove. If not, rotate them out .
What’s the best way to store tools if I’m renting and can’t drill?
Use adhesive hooks, magnetic strips with strong adhesive backing, or a tension rod with S-hooks inside a cabinet. Over-the-door racks are also renter-friendly .
How do I keep my stove-area tools from looking messy?
Limit the number of tools, use consistent storage methods (all hanging or all in a crock), and clean regularly. A curated, minimal approach always looks better than an overflowing crock .
References
Expert Advice on Kitchen Organization and Stove-Area Storage
- Better Homes & Gardens: How to Organize Kitchen Utensils
- The Spruce: 14 Ways to Organize Kitchen Utensils
- Real Simple: The Best Utensil Organizers
- Food Network: How to Organize Your Utensils
- Apartment Therapy: Genius Kitchen Utensil Storage Ideas
Which kitchen problem do you want solved next? Share your thoughts in the comments.