How to Remove Frost and Ice Buildup From a Freezer Safely
You open the freezer door and instead of food, you’re greeted by a wall of ice that’s slowly eating up your storage space—and your patience.
TL;DR
The safest way to remove frost is to unplug the freezer, empty it, and let the ice melt naturally, speeding things up with bowls of hot water. Never use sharp tools to chip at the ice. Clean and dry the interior thoroughly before plugging back in. Defrost when frost reaches about ¼ inch thick—usually every 6 months for manual-defrost models .
Key Takeaways
- Frost forms when warm, moist air hits cold freezer surfaces—door seals, frequent opening, and overloading are common causes .
- Unplug first, always. Never attempt to defrost with the freezer running .
- No sharp tools. Knives, screwdrivers, or metal scrapers can puncture refrigerant lines and ruin your appliance .
- Speed it up safely. Place bowls of hot water inside or use a hair dryer (kept away from water) to accelerate melting .
- Defrost when frost is ¼ inch thick to keep your freezer running efficiently and save energy .
Why Frost Builds Up in Your Freezer
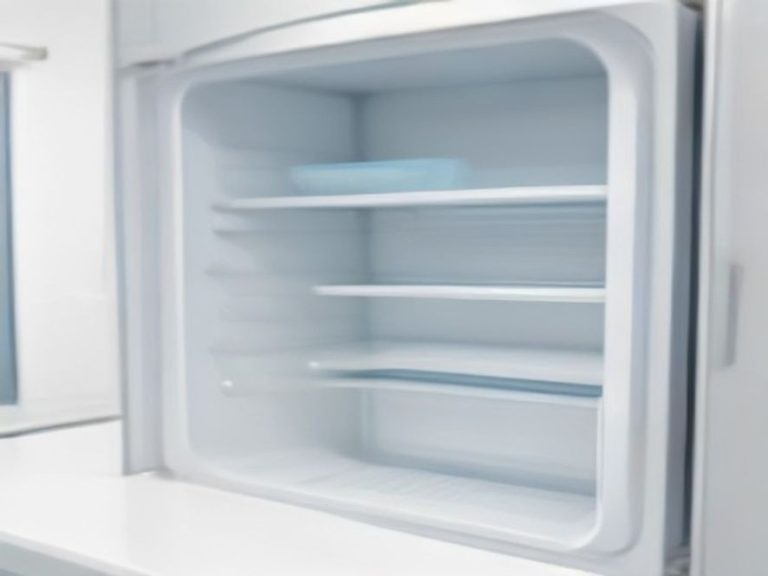
Frost is the result of warm, humid air sneaking into your freezer. Every time you open the door, moisture from the room enters and instantly condenses on the cold surfaces, then freezes into ice crystals . Over time, this layer thickens into the frost you’re trying to remove.
Common causes include:
- A cracked or dirty door seal letting in warm air
- Leaving the door open too long or opening it too often
- Setting the temperature too low
- Overstuffing the freezer, which blocks air circulation
What You’ll Need
Gather these items before you start:
- Towels or absorbent cloths
- A cooler with ice packs for temporary food storage
- Bowls or pots for hot water
- A plastic or wooden spatula (never metal!)
- Mild dish soap and a sponge
- A hair dryer or fan (optional, for faster defrosting)
Step-by-Step Safe Defrosting Guide
Step 1: Turn Off and Unplug the Freezer
Always disconnect the power before you begin. This is the most important safety step—water and electricity don’t mix . If you have a fridge-freezer combo, unplug the whole unit.
Step 2: Empty the Freezer
Remove all food, ice trays, and removable drawers. Store perishables in a cooler with ice packs to keep them frozen while you work . This is also a great time to check expiration dates and toss anything that’s freezer-burned or past its prime .
Step 3: Protect the Floor
Place towels around the base of the freezer and inside the compartment to catch melting water. You can also use a shallow tray or oven pan .
Step 4: Let the Ice Melt
Open the freezer door and let the ice melt naturally. This can take several hours to overnight, depending on how thick the ice is .
To speed things up safely:
- Place a bowl or pot of hot (not boiling) water inside the freezer on a towel or trivet, then close the door. Replace the water when it cools . Steam will soften the ice and speed the process .
- Use a hair dryer on the lowest setting, holding it at least 12 inches away from surfaces to avoid heat damage .
- Position a fan to blow warm air into the open freezer .
Step 5: Remove Large Ice Chunks Gently
Once the ice starts to soften, you can carefully lift or slide off large pieces using a plastic or wooden spatula .
Safety reminder: Never use knives, screwdrivers, or any sharp metal tools to chip away at ice. You risk puncturing the refrigerant lines, which can permanently damage your appliance and release harmful gases .
Step 6: Clean and Dry Thoroughly
Once all the ice has melted:
- Wipe down the interior with warm, soapy water to clean and deodorize .
- Rinse with a damp cloth.
- Dry every surface completely with clean towels. This step is critical—any moisture left behind will refreeze and create new ice buildup .
Step 7: Plug It Back In and Restock
Reconnect the freezer and let it cool down to temperature (around 0°F/-18°C) before putting your food back . Wait about 2-3 hours for the temperature to stabilize .
Quick Comparison: Defrosting Methods
| Method | How It Works | Time | Risk Level | Best For |
|---|---|---|---|---|
| Natural melting | Unplug, leave door open | Several hours to overnight | Very Low | When you have time |
| Hot water bowls | Steam speeds melting | 2-4 hours | Low | Faster results |
| Hair dryer | Direct heat melts ice | 1-2 hours | Medium | Quick spot removal |
| Aluminum foil + steam | Foil conducts heat evenly | 10-30 minutes | Low | Very fast defrosting |
How Often Should You Defrost?
- Manual-defrost freezers: Every 6 months, or when frost exceeds ¼ inch .
- Frost-free models: Rarely need manual defrosting, but clean annually to prevent odors .
If your freezer ices up more frequently, check the door seal, temperature setting, or call a professional—it may have a mechanical issue .
FAQ: Freezer Frost Removal Questions
1. Can I use a knife to chip ice out of my freezer?
Never. Sharp tools can puncture the refrigerant lines, causing permanent damage and possibly releasing harmful gases. Use a plastic spatula for gentle scraping .
2. How long does defrosting take?
At least 2 hours if you speed things up with hot water; up to 24 hours if you let it melt naturally .
3. What’s the fastest way to defrost a freezer?
Place bowls of hot water inside and close the door. For even faster results, some experts suggest lining the walls with aluminum foil first—the foil conducts heat evenly and helps ice lift away in minutes .
4. Can I defrost a freezer without unplugging it?
No. Leaving it running with the door open wastes energy, can burn out the motor, and creates a safety hazard .
5. Why does my freezer keep icing up after defrosting?
A faulty door seal (gasket), frequent door opening, or a blocked defrost drain could be the cause. Check the seal with a bank note test—if it pulls out easily, the seal needs replacing .
Which freezer defrosting struggle is your biggest pain? Share your experience in the comments!
References
Expert freezer defrosting guides and appliance manufacturer safety recommendations: