From Flour to Loaf: The Best Guide to Kitchen Tools and Gadgets for Homemade Bread
That moment you pull a golden, crackling loaf of bread from your oven—and realize it actually worked—is one of the most satisfying feelings a home cook can have.
But the journey from “I want to bake bread” to that perfect, crusty loaf can feel intimidating. There are so many tools out there: proofing baskets, lames, Dutch ovens, and—what on earth is a banneton? The good news is that you don’t need a bakery’s worth of equipment to get started . In fact, you probably already own several of the essentials . This guide will help you solve the problem of where to start by showing you the best way to choose kitchen tools and gadgets for homemade bread—saving you money, cabinet space, and the frustration of buying things you will never use.
TL;DR
- Start simple: You can bake great bread with a digital scale, a mixing bowl, a loaf pan, and your oven . Most other tools are “nice-to-haves” .
- A kitchen scale is non-negotiable: Measuring flour by weight (grams) instead of volume (cups) is the single biggest upgrade for consistent, professional-quality bread .
- A Dutch oven is the secret to a crispy crust: It traps steam, mimicking a professional steam oven and giving your bread that signature bakery look .
- Upgrade as you go: Once you are hooked, you can invest in specialty tools like a bench scraper, proofing baskets (bannetons), and a bread lame .
The Absolute Essentials: What You Need to Start
You can bake a beautiful loaf of bread with just a few basic tools. Here is what you actually need to get started.
1. A Digital Kitchen Scale (This is the Game-Changer)
Baking is a science, and bread is all about precision. Volume measurements like “cups” are notoriously inconsistent . A cup of flour can weigh anywhere from 120g to 170g depending on how you scoop it. That difference can ruin your dough .
What to look for: A digital scale that measures in 1-gram increments, has a tare (zero) function, and can weigh at least 5 pounds . It does not need to be expensive—a $10 scale will change your bread game completely . Professional bakers use scales exclusively, and if you adopt this habit, your loaves will be dramatically more consistent .
Budget swap: You can try converting recipes to cups, but experts agree it is the number one mistake that leads to inconsistent results . A scale is a non-negotiable investment.
2. A Large Mixing Bowl
Your dough needs room to grow. You need a bowl large enough to comfortably hold your dough after it has doubled in size during fermentation .
What to look for: A bowl that holds at least 4 to 5 quarts. Material does not matter much—glass, stainless steel, or ceramic all work. Glass has an advantage because you can watch the fermentation process from the sides .
Budget swap: You almost certainly already own a bowl that works . No need to buy anything new.
3. A Loaf Pan
For classic sandwich bread and beginner-friendly loaves, a standard 9 x 5-inch loaf pan is your best friend. It gives your dough structure and support while you are still learning to read dough consistency .
What to look for: A heavy-weight pan with a dull finish absorbs heat better than a shiny pan . A quality aluminized steel or light-colored metal pan bakes evenly and costs about $10-$15 .
Budget swap: For free-form loaves (like a boule), you can skip the pan entirely and bake directly on a sheet pan.
4. An Instant-Read Thermometer
This tool answers two of the biggest questions for beginner bakers: “Is my water the right temperature for yeast?” and “Is my bread fully baked?” .
Why it matters: Yeast activates best in water that is 100-110°F. And most lean breads are done when they reach an internal temperature of 200 to 210°F . Using a thermometer eliminates the guesswork of tapping the bottom of a loaf and hoping it sounds hollow.
What to look for: A digital instant-read thermometer with easy-to-read numbers .
The Game-Changing Upgrades: Tools That Make Bread Better
Once you have made a few loaves and decide you are hooked, these tools will take your bread from good to great.
1. A Dutch Oven
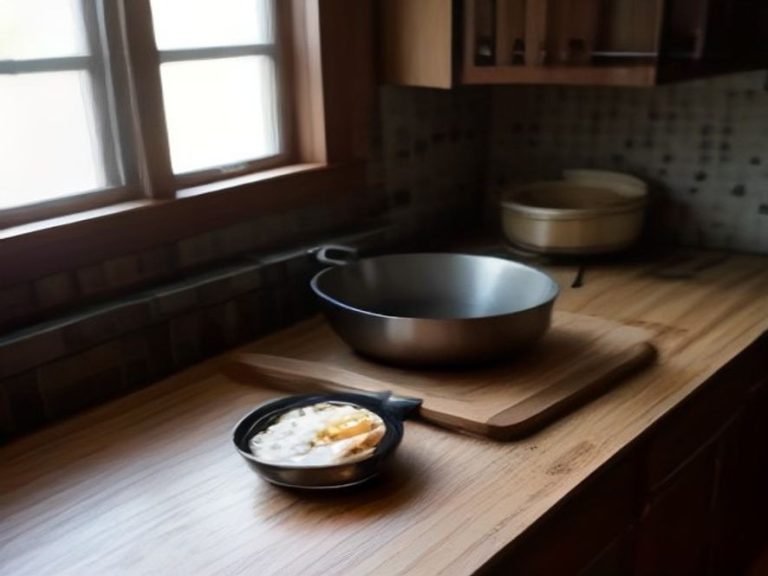
This is arguably the most impactful tool for bread bakers . A Dutch oven mimics a professional steam oven by trapping the steam released from your dough. This steam keeps the crust soft and pliable during the first part of baking, allowing the bread to rise fully. Then, when you remove the lid, the crust crisps up to that perfect, golden-brown finish .
What to look for: An enameled or bare cast iron Dutch oven that is oven-safe up to at least 450°F. The Lodge Dutch oven is a favorite for its affordability and versatility . You can also flip the lid to use the shallow side as a base, making it easier to score your dough without burning your arms . A quality Le Creuset Dutch oven is a splurge-worthy investment if you bake frequently .
Budget swap: You can create steam in a regular oven by placing a shallow pan of boiling water on the bottom rack during the initial baking phase . An inverted rimmed baking sheet can also substitute for a baking stone in a pinch .
2. A Bench Scraper
This simple, flat metal tool is incredibly versatile . A bench scraper makes handling sticky dough so much easier. It allows you to move the dough without it sticking to your hands, divide it into portions, and scrape your work surface clean .
What to look for: A sturdy stainless steel model with a comfortable handle. The OXO bench scraper is a favorite among pros .
Budget swap: A butter knife or large metal spatula can help with dividing dough, but a bench scraper is one of the best value purchases you can make for bread baking .
3. Proofing Baskets (Bannetons)
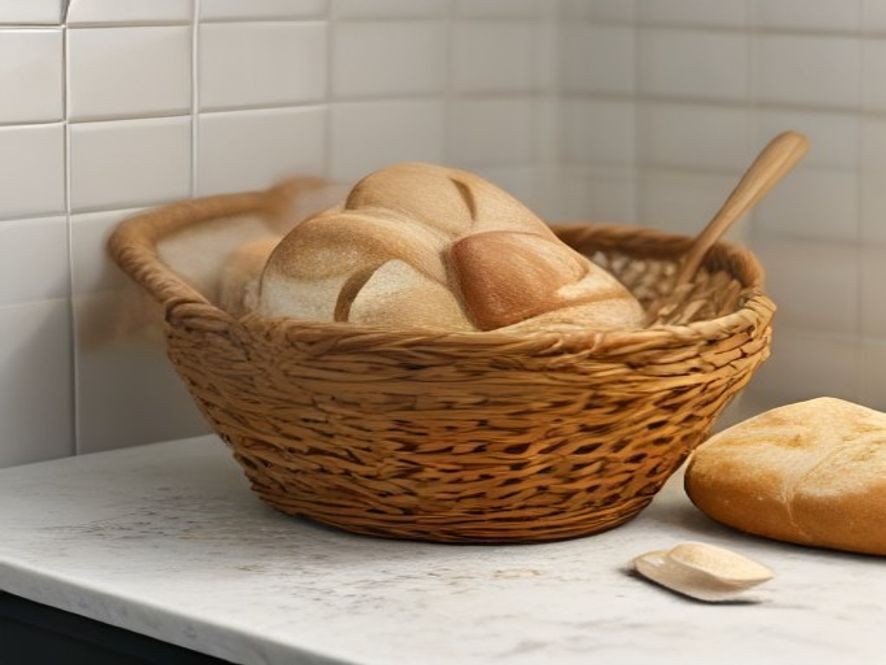
A banneton is a shallow, woven basket used for the final rise (proof) of your bread . It serves two functions: it helps your dough hold its shape, and the breathable material wicks away moisture, which helps create a crispier crust .
What to look for: Bannetons come in round (for boules) and oval (for batards) shapes. They are often sold with a cloth liner. You can get a set of two for around $22, which is a great value .
Budget swap: You can use a metal or plastic colander lined with a floured kitchen towel. The colander allows air to circulate, mimicking the effect of a banneton . Just make sure the dough does not touch bare cotton, as it can stick .
4. A Bread Lame
Scoring your bread before baking is not just for decoration—it controls how the bread expands in the oven and prevents it from splitting unpredictably . A lame (pronounced “LAHM”) is a tool with a super sharp blade specifically for this task .
What to look for: A lame that allows you to make a shallow, confident cut. Most come with replacement blades because a dull blade will drag and deflate your dough .
Budget swap: A very sharp paring or utility knife will work, but a lame is affordable and makes the job much easier .
Comparison Table: Must-Haves vs. Nice-to-Haves
| Category | Tool | Why You Need It | Budget Swap |
|---|---|---|---|
| Must-Have | Digital Kitchen Scale | Weighing ingredients accurately is essential for bread baking . | None—this is a non-negotiable investment. |
| Must-Have | Large Mixing Bowl | Gives dough room to rise during fermentation . | Any large bowl you already own. |
| Must-Have | Loaf Pan | Supports beginner-friendly loaves while you learn . | Bake free-form loaves on a sheet pan. |
| Must-Have | Instant-Read Thermometer | Checks water temperature for yeast and final doneness of bread . | Learn to judge by color and sound (less reliable). |
| Must-Have | Oven | Your oven does the work of baking . | No swap. |
| Game-Changer | Dutch Oven | Traps steam for a crispy, bakery-style crust . | Pan of boiling water for steam . |
| Game-Changer | Bench Scraper | Easy handling and clean division of sticky dough . | Butter knife or metal spatula. |
| Game-Changer | Proofing Basket (Banneton) | Supports dough shape and wicks away moisture . | Colander lined with a floured towel . |
| Game-Changer | Bread Lame | Cleanly scores dough for controlled expansion . | Very sharp paring knife . |
“You can make sourdough at home without buying a single additional item in your kitchen. Sure, there are lots of great tools to make the process easier, but you absolutely do not need a $400 Dutch oven, Danish dough hook, or aliquot tube to start making your own delicious sourdough at home.” – SheKnows Sourdough Baking Guide
FAQ: Solving Your Bread Baking Problems
What is the single most important tool for a bread baker?
A digital kitchen scale. Measuring ingredients by weight instead of volume is the key to consistent results .
Do I need a stand mixer to make bread?
No. A stand mixer with a dough hook is convenient, but you can mix and knead by hand. In fact, using your hands helps you get a feel for the dough’s texture .
What is the best way to get a crispy crust at home?
A Dutch oven is the most effective way because it traps steam . For an electric oven, a pan of boiling water on the bottom rack during baking is a good substitute .
What are bannetons and do I really need them?
A banneton is a proofing basket that helps shaped bread hold its form during the final rise. They are nice to have, but you can use a colander lined with a floured towel .
What does scoring dough do?
Scoring controls how and where the bread expands in the oven. It prevents the loaf from cracking unpredictably and creates a beautiful design .
How do I know when my bread is fully baked?
The most reliable method is to use an instant-read thermometer. Most lean breads are done at 200-210°F . The loaf should also sound hollow when tapped on the bottom.
Which bread-baking problem do you want solved next? Share your thoughts in the comments.
References
Essential Guide to Homemade Bread: Expert-Recommended Tools and Gadgets for Bakers
- Food & Wine: Pro Baker-Approved Sourdough Baking Tools
- Good Housekeeping: Essential Tools for Sourdough Bread
- America’s Test Kitchen: Basic Bread-Making Equipment
- SheKnows: 3 Sourdough Tools You Need & 3 You Don’t
- Epicurious: Essential Bread-Baking Equipment
- Sur La Table: 10 Must-Have Bread-Making Tools
- Consillar: The Only 5 Tools You Need for Bread Baking