How to Clean a Blender After Making Sticky or Thick Foods: Easy Solutions & Tips
That sticky residue from peanut butter, honey, or thick smoothies can turn your blender into a frustrating mess that seems impossible to scrub clean.
You just made a delicious nut butter or a thick green smoothie, and now your blender is coated in a stubborn film that won’t budge with a simple rinse. The blades are gunked up, the corners are caked, and you’re dreading the cleanup. The good news is you don’t have to spend ages scrubbing. With the right techniques—like the self-cleaning method and a few natural helpers—you can get your blender sparkling clean with almost no elbow grease.
TL;DR
The easiest way to clean a blender after thick or sticky foods is to let the blender clean itself. Fill it halfway with warm water, add a few drops of dish soap, and blend for 30–60 seconds. For stubborn residue, use a vinegar soak or baking soda paste to break down grease and stains. Always clean immediately after use, disassemble removable parts for deep cleaning, and never submerge the motor base. A quick rinse after each use prevents buildup and keeps your blender fresh.
Key Takeaways
- Self-cleaning method works wonders: Fill the jar halfway with warm water, add a drop or two of dish soap, and blend on high for 30 seconds. The spinning action scrubs every surface .
- Act fast: Clean your blender right after use before sticky residues have time to dry and harden .
- Vinegar and baking soda tackle tough spots: Use a vinegar soak for greasy residue and baking soda paste for protein-based stains .
- Don’t forget the gasket and lid: Food particles hide in crevices. Disassemble removable parts and clean them separately .
- Never submerge the motor base: Wipe it with a damp cloth only to prevent electrical damage .
Why Sticky Foods Are So Hard to Clean
Thick mixtures like nut butters, honey, protein powders, and oily dressings cling to blender surfaces because they contain fats, sugars, and proteins that bond to plastic or glass. When left to dry, they harden into a crusty layer that’s tough to remove. The narrow spaces around the blades also trap residue, making manual scrubbing difficult and even dangerous .
The Self-Cleaning Method: Let Your Blender Do the Work
This is the fastest and most effective way to clean your blender after making sticky or thick foods. It uses the blender’s own power to create a soapy vortex that loosens residue from every surface.
You’ll Need:
- Warm water (not boiling)
- A few drops of dish soap
- White vinegar or baking soda (for stubborn residue)
Step-by-Step Guide:
- Act Immediately: As soon as you’ve poured out your smoothie or sauce, give the jar a quick rinse to remove loose residue .
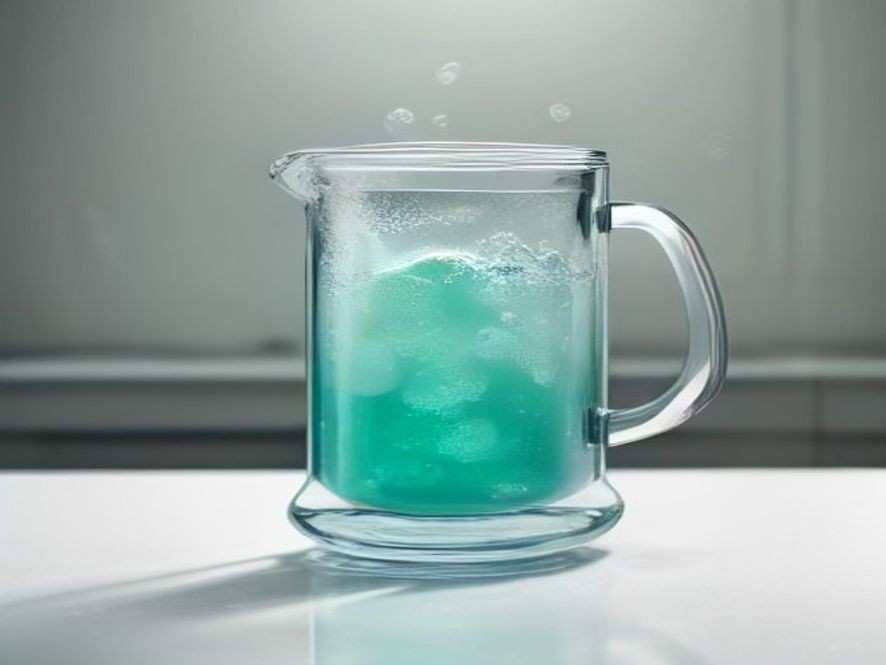
- Add Water and Soap: Fill the blender jar about halfway with warm water. Add just one or two drops of dish soap—too much creates excessive suds that are hard to rinse .
- Blend: Secure the lid tightly and blend on high speed for 30 to 60 seconds. The spinning blades create a powerful vortex that scrubs the sides, bottom, and blades automatically .
- Rinse: Pour out the soapy water and rinse thoroughly with clean warm water.
- Air Dry: Leave the jar upside down or disassembled to dry completely .
“Using too much soap is a common mistake. One drop is often enough—excessive soap creates foam that’s harder to rinse and may leave residue affecting the taste of future blends.”
Tackling Stubborn Residue: Vinegar and Baking Soda
If the self-cleaning method isn’t enough, these natural cleaners will break down tough grease and protein-based stains.
The Vinegar Soak Method
Vinegar cuts through grease and neutralizes odors. It’s especially useful for oily dressings and curry pastes .
- Fill the blender jar halfway with equal parts white vinegar and warm water .
- Blend on low for 30 seconds, then let it sit for 10 to 15 minutes.
- Rinse thoroughly and run a plain water cycle to remove any lingering taste .
The Baking Soda Paste Method
Baking soda acts as a gentle abrasive that lifts stubborn residue without scratching.
- Mix ¼ cup of baking soda with ¼ cup of warm water to form a paste .
- Apply the paste to stained areas or blend it briefly, then scrub with a soft sponge.
- Rinse thoroughly .
The Lemon Deodorizing Trick
For lingering smells from garlic, onions, or spices, add half a lemon to the warm soapy water and blend for 20–30 seconds. The citric acid neutralizes odors naturally .
Deep Cleaning: When to Take It Apart
Even with regular self-cleaning, you should deep clean your blender every few uses, especially if you blend sticky foods often .
Step-by-Step Deep Clean Guide:
- Unplug the blender. This is a critical safety step before handling blades .
- Disassemble removable parts: Separate the jar, lid, gasket (rubber seal), and blade assembly if your model allows it .
- Soak: Submerge the lid, gasket, and blades in warm, soapy water for about 10 minutes .
- Scrub carefully: Use a non-abrasive sponge or a bottle brush to clean around the blades and in crevices. Never use steel wool or abrasive scouring pads—they can scratch plastic or glass surfaces .
- Wipe the motor base: Use a damp cloth to wipe down the base, buttons, and cord area. Never submerge it in water .
- Rinse all parts thoroughly to remove any soap or vinegar residue.
- Air dry completely before reassembling to prevent mold and odors .
Comparison Table: Cleaning Methods for Sticky Foods
| Method | How It Works | Best For | Time Required |
|---|---|---|---|
| Self-Cleaning (Soap + Water) | Blender creates a scrubbing vortex. | Daily cleaning after smoothies and sauces . | 30–60 seconds |
| Vinegar Soak | Acid cuts through grease and oils. | Sticky residue from nut butters, dressings, and curry pastes . | 10–15 minutes |
| Baking Soda Paste | Gentle abrasion lifts protein stains. | Protein powder, dried fruit, and stubborn buildup . | 5–10 minutes |
| Lemon Deodorizer | Citric acid neutralizes odors. | Garlic, onion, and spice smells . | 30 seconds |
Preventing Future Sticky Messes
A few simple habits can prevent sticky residue from building up in the first place.
- Rinse immediately after use: Even if you can’t do a full clean right away, a quick rinse prevents food from drying and hardening .
- Don’t overfill: Leaving space in the jar allows the soapy water to circulate more effectively during cleaning .
- Clean the gasket and lid separately: Odors and residue often collect in lid grooves and seals. Wash these components individually .
- Store the blender upside down: This allows complete air drying and prevents water spots or mold growth .
FAQ Section
Can I put my blender in the dishwasher?
Many blender pitchers and cups are dishwasher-safe, but check your model’s manual first. Frequent dishwasher use can cloud plastic vessels over time .
How often should I deep clean my blender?
Deep clean every 3–4 uses, or at least once a week if you use it daily. If you frequently blend nut butters, oily sauces, or sticky foods, you may need to deep clean more often .
Why does my blender still smell even after cleaning?
Lingering odors usually come from residue trapped around the blade assembly or gasket. Use the lemon trick or a vinegar soak to eliminate stubborn smells naturally .
Can I use hot water in my blender for cleaning?
Use warm water, not boiling. Extreme heat can crack glass blender jars and may set protein-based stains permanently .
Should I remove the gasket when cleaning?
No—the gasket should not be removed. It’s designed to remain in place, and removing it repeatedly can loosen the seal and cause leaks .
How do I clean around the blades safely?
Use a long-handled bottle brush instead of reaching directly between sharp blades. Never put your hand inside while the blender is plugged in .
References
Expert-Approved Tips for a Fresh Blender:
- Southern Living: How to Deep-Clean Your Blender to Remove Stuck-On Food
- CNET: Clean Your Blender in Seconds With No Scrubbing
- Nutribullet: How to Clean a Blender the Right Way
- Dummies.com: Cleaning Your Blender
Which kitchen cleaning problem do you want us to solve next? Share your thoughts in the comments!